Week Twenty Two – Mary Berry’s Classic Apple Pie

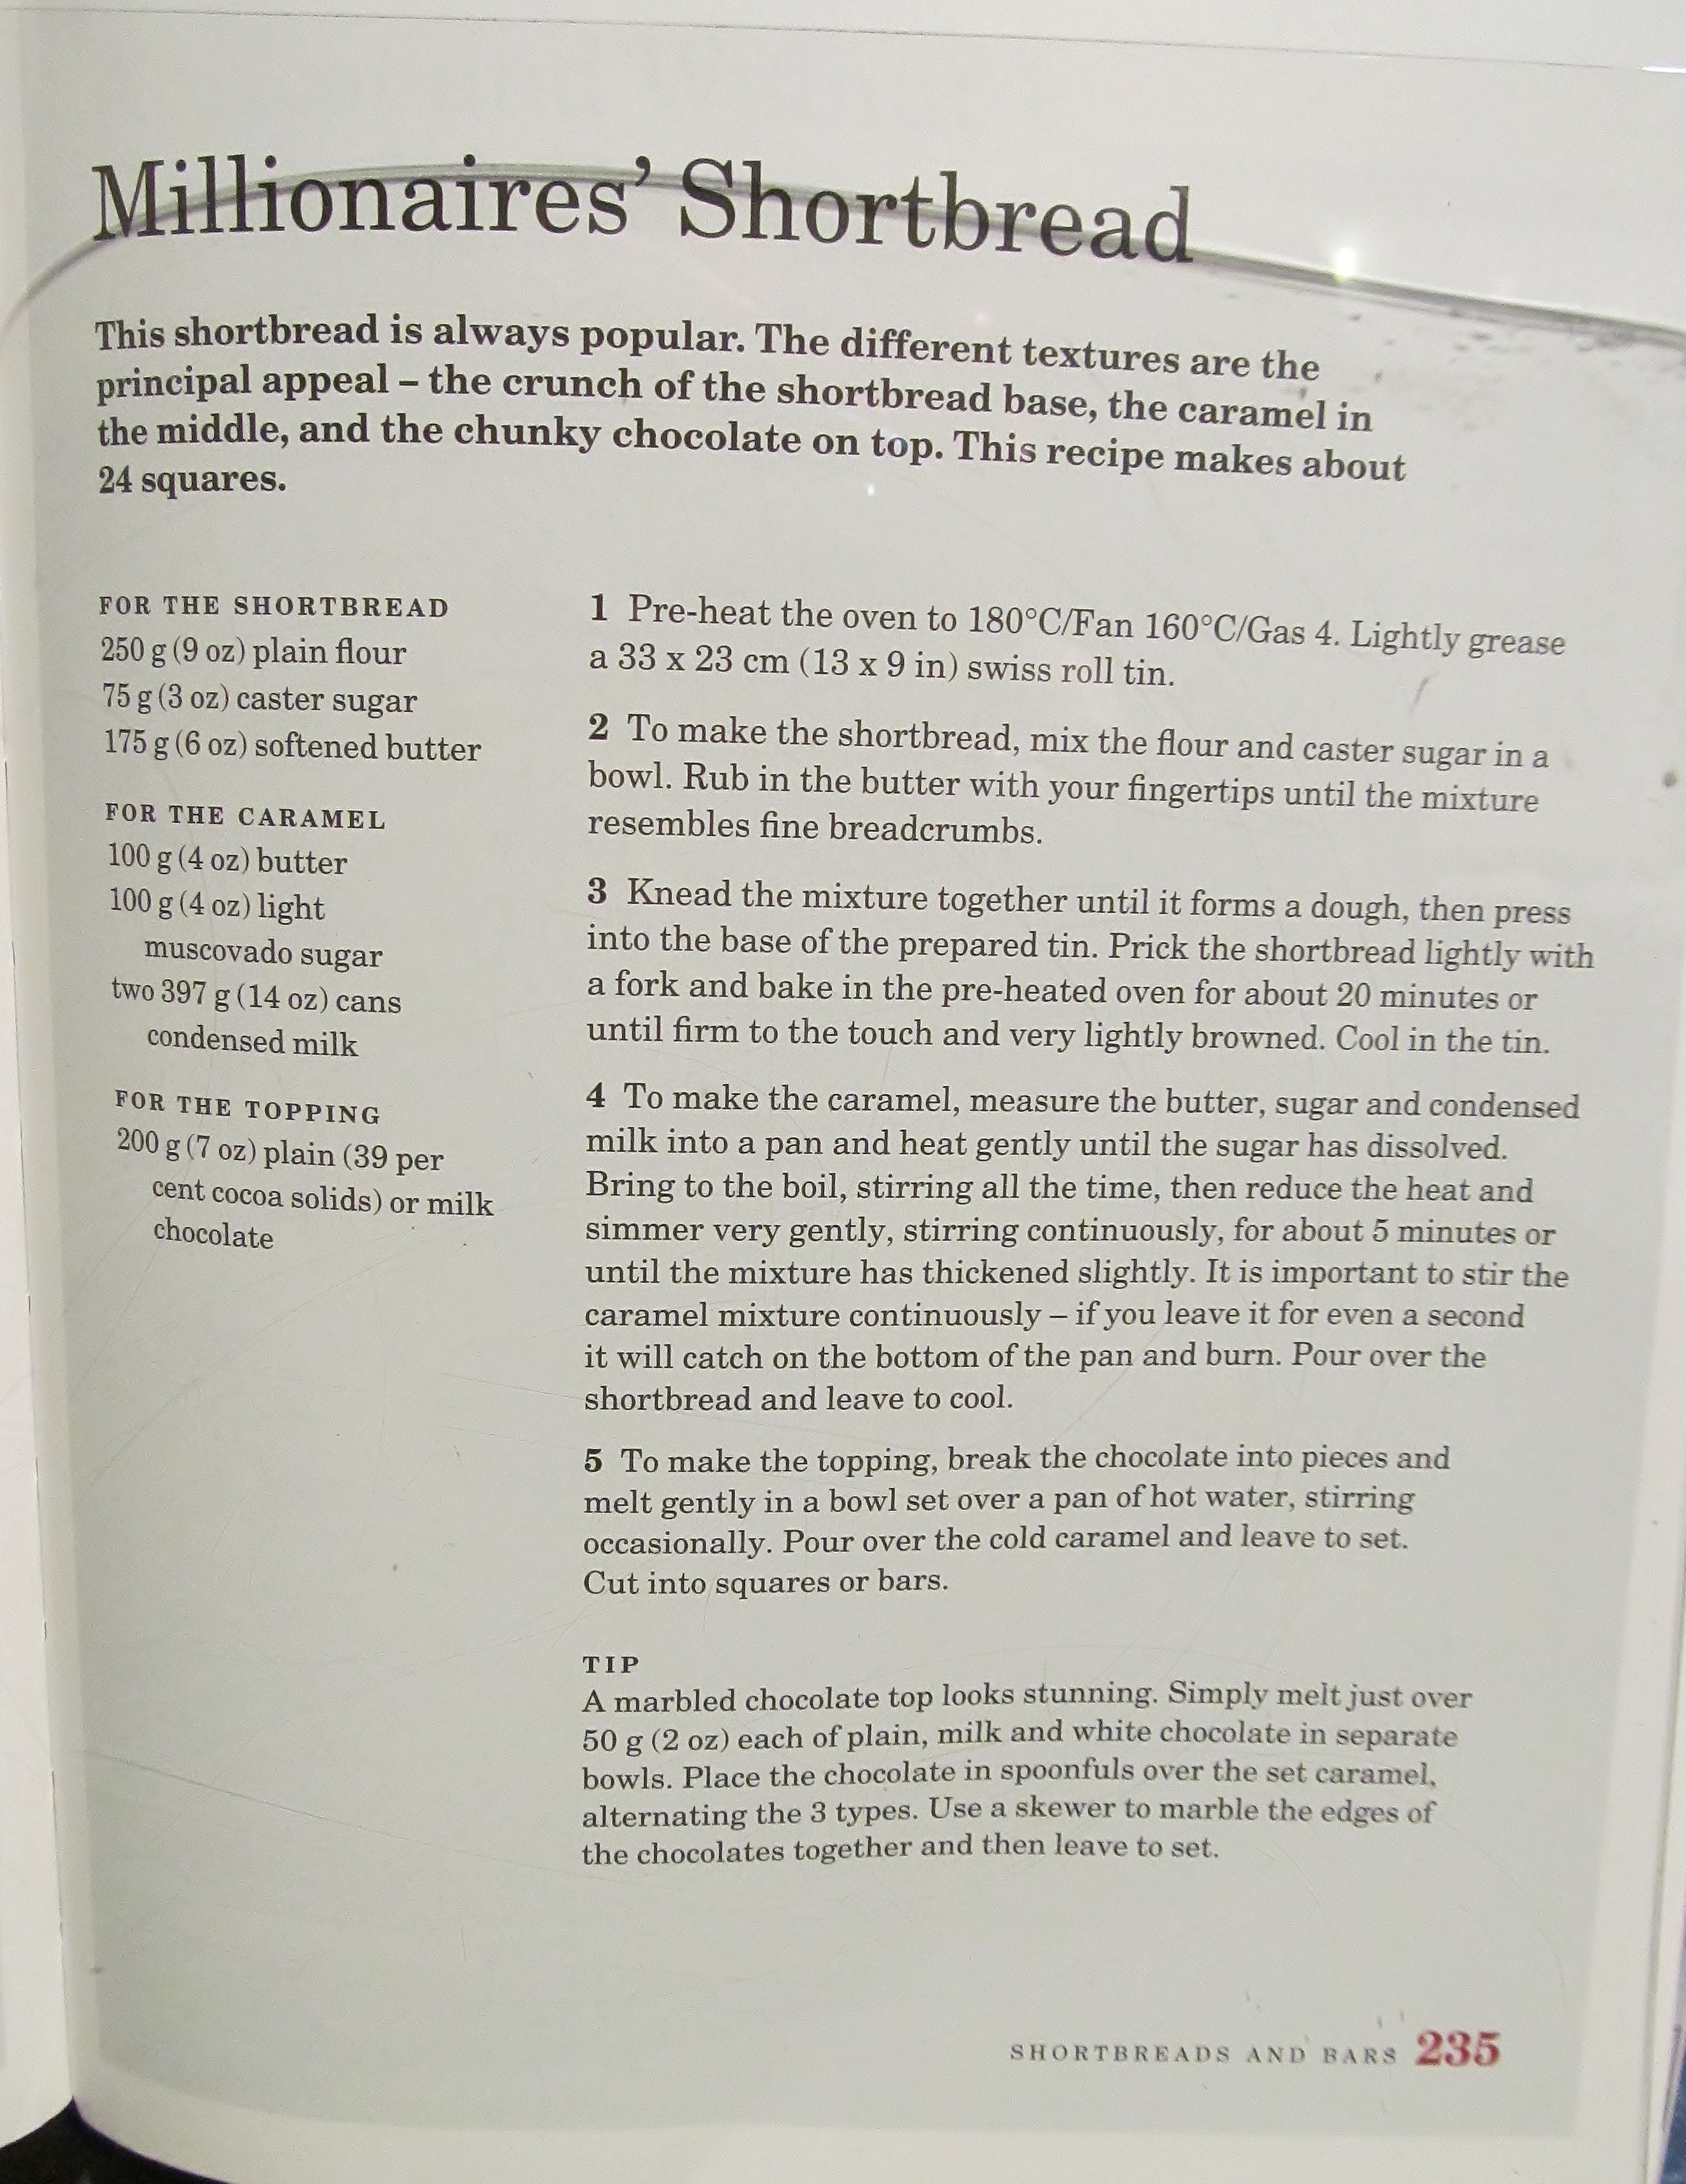
As I still have a good amount of last week’s bake left in the fridge, I wanted to bake something that we could eat for pudding this week so I chose Mary Berry’s classic apple pie recipe.

Mary Berry's Classic Apple Pie

I picked out several lovely apples in Morrisons while doing my weekly shop, and had the rest of the ingredients already. The only variation to the recipe was that Mary adds cloves to hers and we are not keen so I sprinkled some cinnamon on the apples.

Kim's apple pie filling

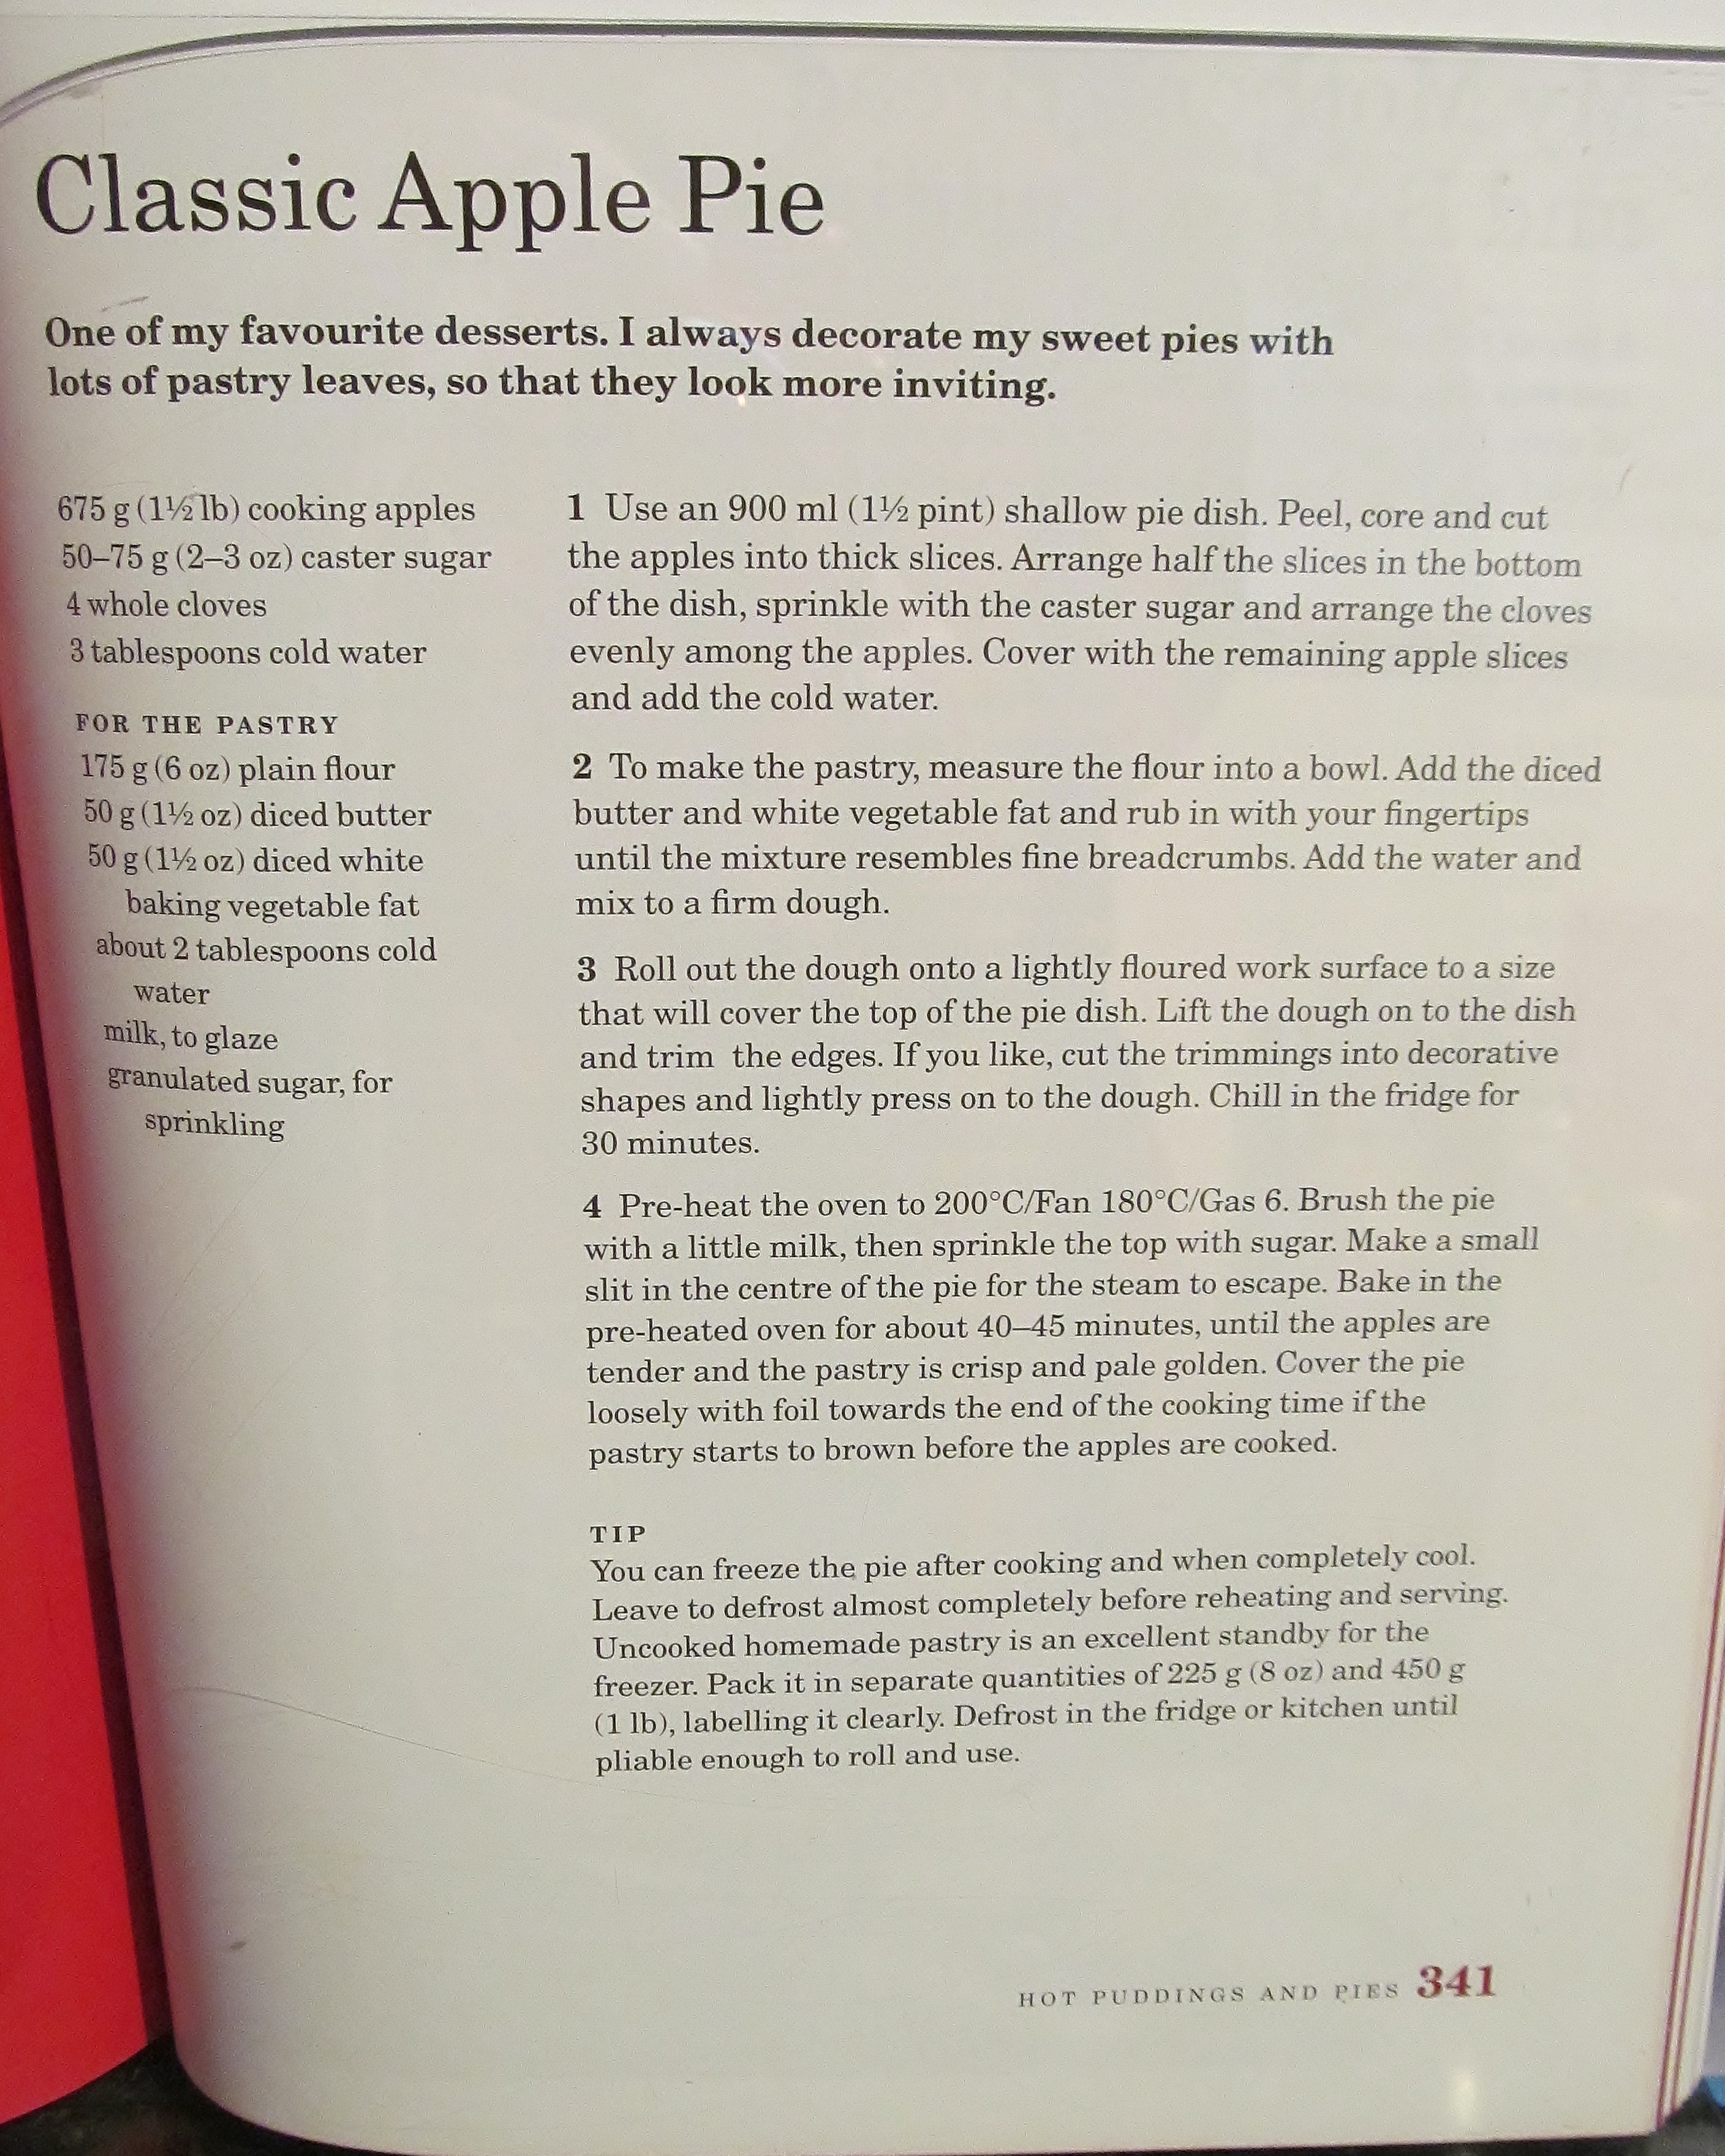
I cut the apples, sprinkled the sugar and cinnamon, added the water and rolled my pastry. Then I needed to decorate it in some way. For Christmas I got a roller that creates lattice work so I decided to try that- what a bad move!!! When it works it looks great but it sure isn’t as easy as it looks!!! I rolled and cut the lattice work and laid it on the top at least 6 times and took it off and re-rolled it until I was happier with it! I guess it will be easier with practice!!! I then used a leaf cutter to cut out some leaves to make the border and finish the pie.

Kim's unbaked apple pieKim's baked apple pie

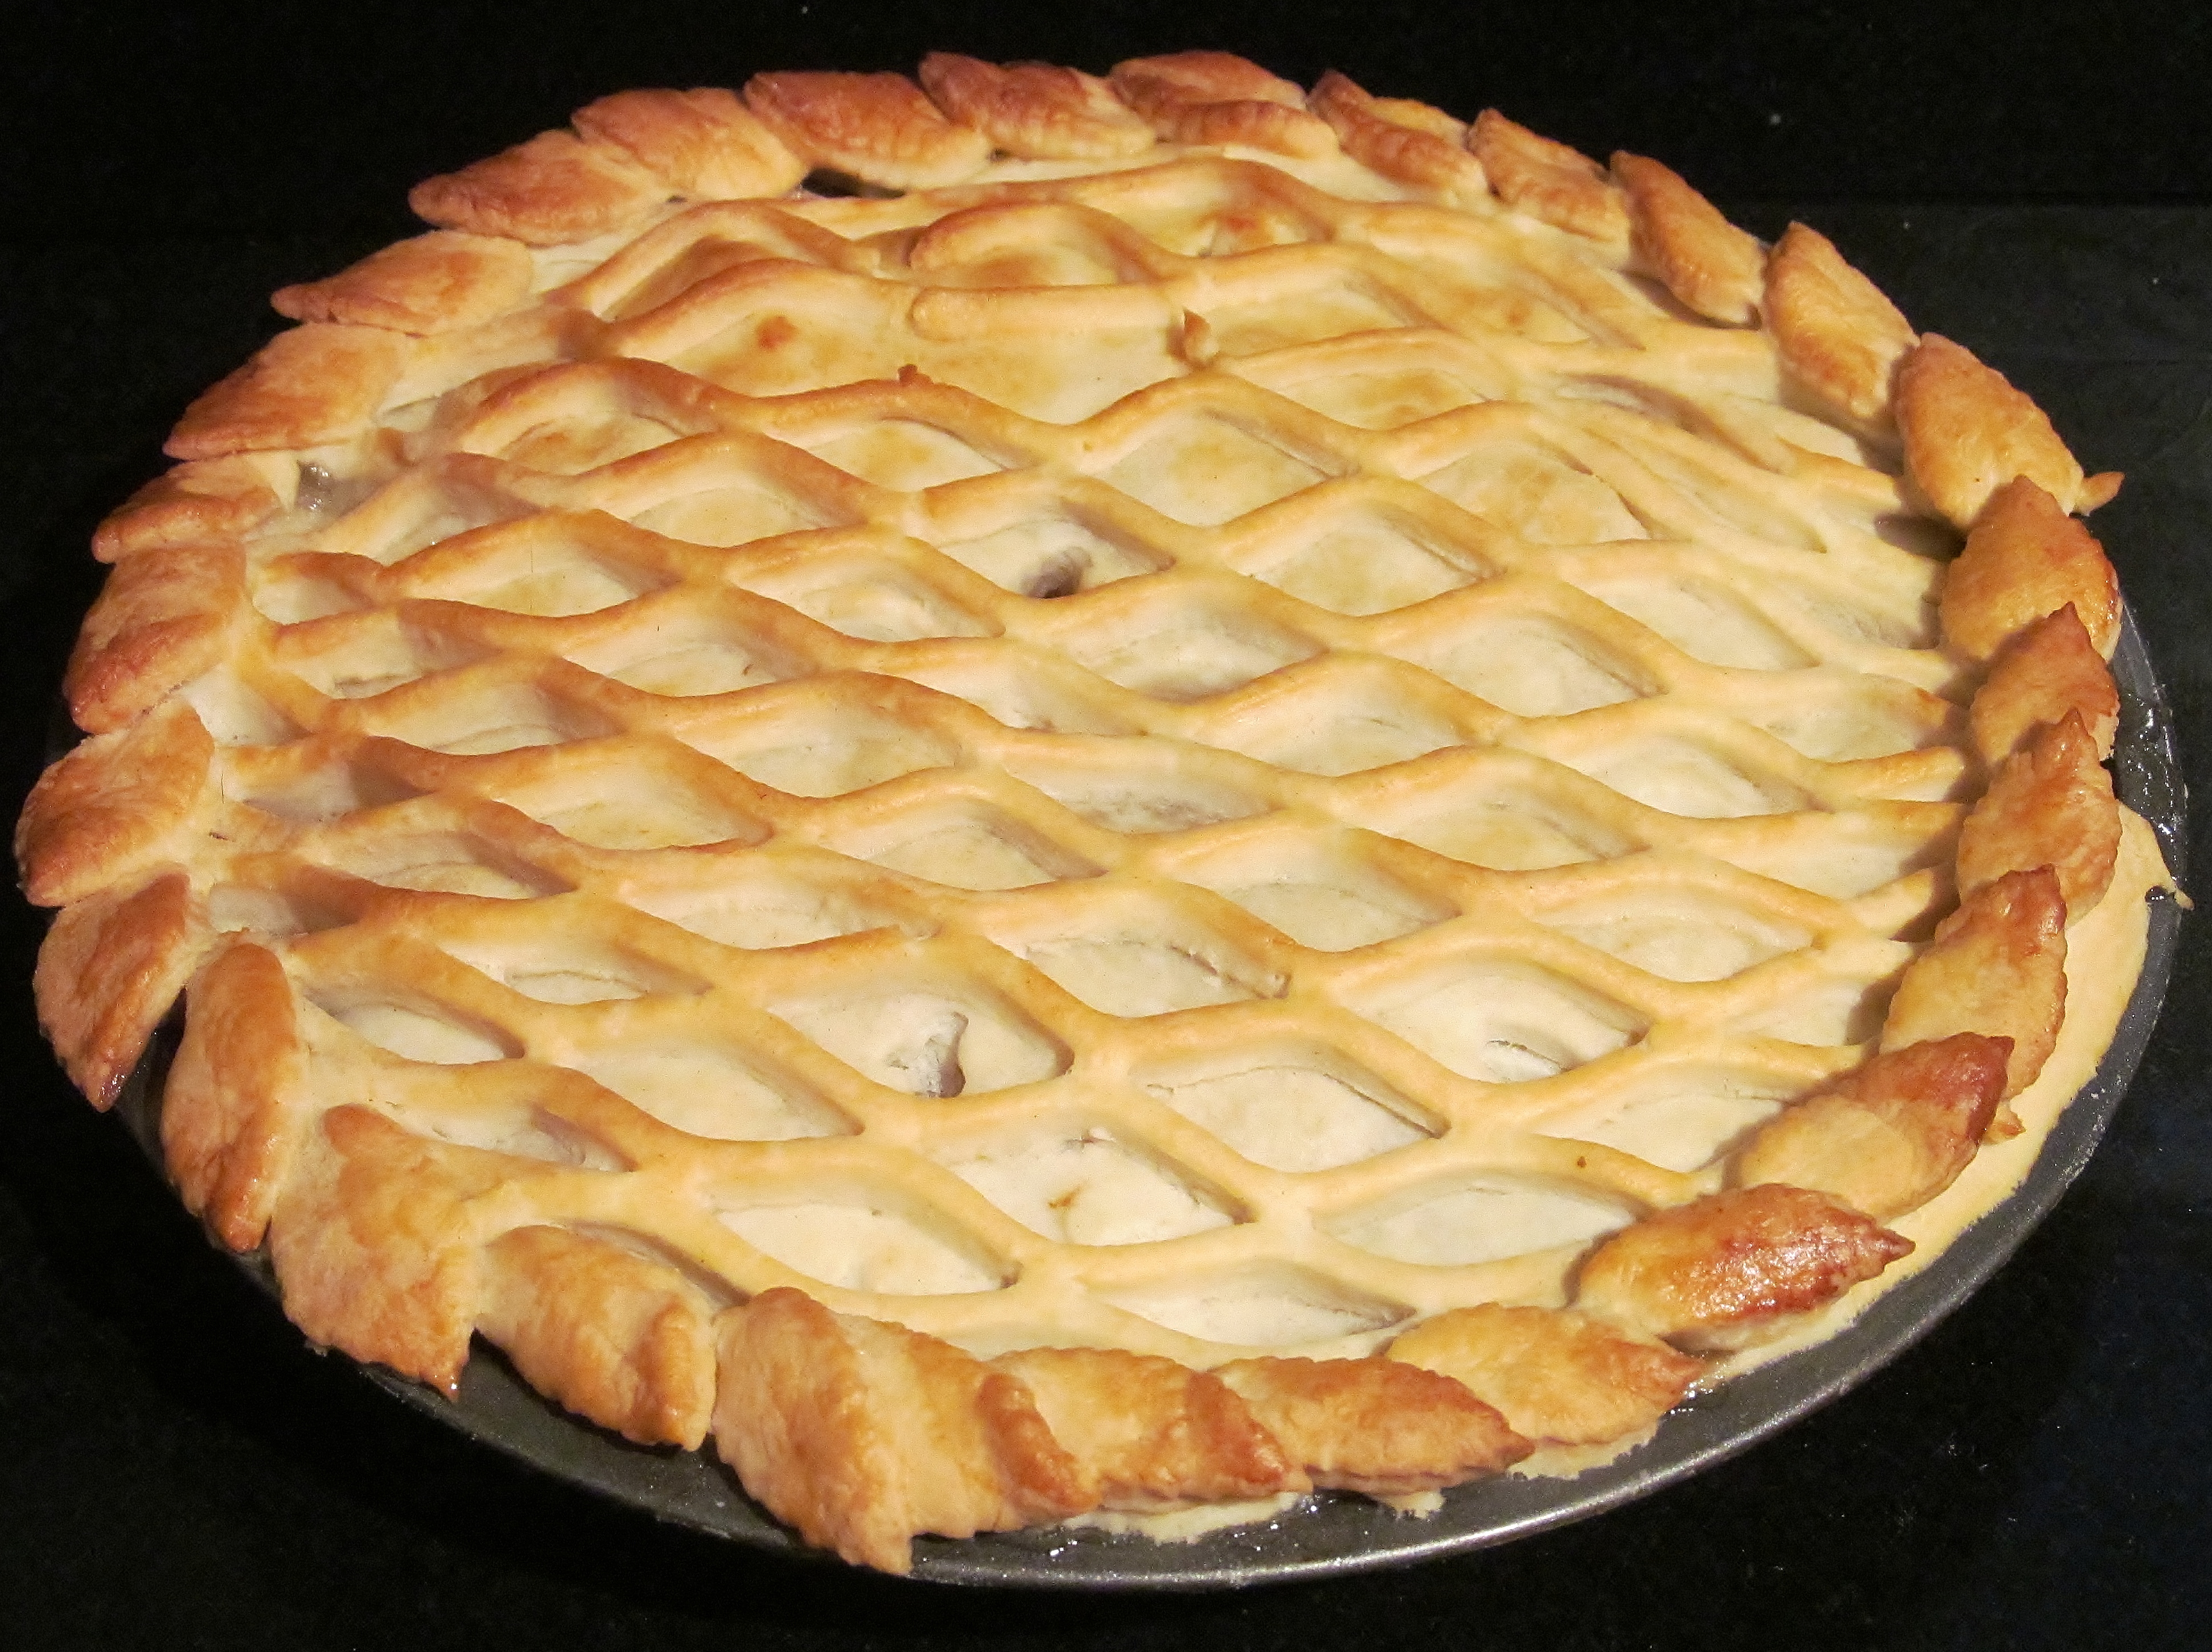
I am happy with the way it looked and baked and hopefully when we eat some later with a little cream, it will taste as good as it looks!!!!

I have also looked through Mary’s book and realised how many more recipes I have yet to do so will try when possible to double up on a few more!

Week Twenty One – Mary Berry’s Millionaire’s Shortbread

Although this blog is a little late in being published, I made Mary Berry’s Millionaire’s Shortbread on Sunday. This brings back lots of childhood memories, my mother used to make this a lot but it was known as Wellington Squares in our house. As my dad loved these so much I have dedicated this recipe to his memory and renamed it to Billionaire’s Shortbread as his name was Bill………..

Anyhow,  the recipe was very familiar to me and I made it in one of the infamous Lakeland tray bake disposable tins which come in very handy. I have been aware of not taking so many pictures of various stages recently to have taken a few more this week as there are three distinct stages to this scrummy cake.

Mary Berry's Millionaire's Shortbread

The shortbread base is first and fairly easy to do, it’s just getting the balance of golden rather than burnt!

 Kim's Billionaire's Shortbread base

Then there is the caramel middle, Mary Berry is not wrong when she says stir ALL the time, if you don’t, it will catch and burn and you end up with burnt bits in it. This didn’t catch but it has done for me in the past so be careful.

Kim's Billionaire's Shortbread caramel middle

The topping is then the melted chocolate. Mary recommends just a plain top or a mix of plain, milk and white chocolate in a marble pattern. Traditionally in our house, it’s a milk chocolate topping with white lines and then swirled so that’s what I did and love the look of it. So here you have, Kim‘s Billionaire’s Shortbread in memory of my lovely Dad who was taken too soon by illness.

Kim's Dad Bill Kim's Billionaire's Shortbread

Oh and don’t forget to support the Comic Relief Bake Off and make a donation here:

http://http://www.rednoseday.com/whats-going-on/whats-on-tv/bake-off


Week Fifteen (eventually) – Mary Berry’s Key Lime Pie

Mary Berry's Key Lime PieWeek fifteen and I have eventually managed to blog about it. It hasn’t been the best of weeks for various reasons ………

Ok, Mary Berry’s Key Lime Pie. Mary makes it in a similar way to her Lemon Meringue Pie and that went well so I made the biscuit base with confidence and put it in the fridge to set. The topping required the juice of four limes mixed with condensed milk and double cream. Well as much as I have been loving Mary’s recipes, they are very much on the rich side and as I have been watching my cholesterol intake and wanted to try some of this, I added the lime juice to “light” condensed milk and half fat creme fraiche and it seemed to work well. This also went into the fridge to set and then I had to remove it from the tin to add the final topping.

Mary asks you to whip the remaining double cream and add it to the pie and sprinkle the rind of a lime over the top. Well, I added the remaining creme fraiche which you can’t whip and mixed the grated lime rind to it. It may not look so spectacular but it’s better for the waistline.

Kim's lighter version of Key Lime Pie

The weekend is approaching fast and the christmas cake recipe is calling, so watch this space…….

Week Twelve – Marbled Chocolate Ring Cake

Week twelve and I feel like I have settled into this challenge now and look forward to what to make next. This week was a special week for me as I passed my Social Care with Children & Families Diploma, and with a Distinction too! Woohooo! So I was looking for this week’s inspiration with the view of a celebration and this fitted the moment, and I could do it in my mixer, as my thumb is on the road to recovery but not up to any hand mixing yet.

Mary Berry’s recipe called for a ring mould tin and to line this. Not as easy as it sounds so I thought I would look online to see if there any any hints and tips. Unfortunately I found nothing, zip, nada…….so decided to give it a go myself. It didn’t look pretty but it did the job!

The mix was pretty straightforward, just throw pretty much everything in a bowl and mix- my kind of cooking! Then add half this mixture in various places in the tin, add the cocoa/water mix to the rest of the mix , and then add to the tin. This should give it it’s marbled effect. Then into the oven for 40 minutes or so.

40 minutes later and the buzzer pinged, I looked at it but it was a bit underdone so I added another 5 minutes to the timer. Then it was done , time for a little cooling and then to tip it out. The paper lining worked well and came off easily and then the cake was left to cool.

The topping is pretty much dark chocolate, mixed with some butter and melted, then poured on the top. Mine covered the whole cake but didn’t look as smooth as Mary’s photo in the bible. This topping then needed to cool before the final drizzle of milk chocolate to finish it off.

I am pleased with the final result and can’t wait to cut into it to see how well the marbled sponge came out. Oh, and my certificate is in the photo – to prove that I did it and I can now add the following letters after my name – S.A.C. Dip……. very posh so……


signing off for week twelve’s efforts

Kim, S.A.C. Dip.

Week Eleven – Gingerbread Traybake

My hubby actually asked last week if Mary Berry’s Bible had any gingerbread recipes in it as he fancied some gingerbread……well when I looked, there are several gingerbread recipes so I read each one carefully as my thumb is still out of action and I needed a recipe that I could manage with one hand.

So, most of this recipe involved weighing most of the ingredients into a large saucepan, heating gently, to melt them all together, adding the flour and spices and finally beating in four eggs and some milk. The last part was bit tricky but I managed it without needing hubby’s help and only dropped one egg on the floor and the dogs thought their luck had changed!

This recipe calls for quite a lot of each ingredient and I found at the end of the mix that the tray I used, (the size that Mary Berry recommends in her recipe) there was too much to fit in this so I dug out a smaller round tin and lined that and ended up with a tray bake AND a round bake too………

The gingerbread seemed easy enough to make, loads of treacle in it though so it’s going to be very sweet. It baked well and was ready at the recommended time. I took both tins out and let them stand for a while before turning them out onto the cooling rack.


Once they were both totally cool, I made the topping, Mary recommends using icing sugar, a small amount of water and some finely chopped crystallised ginger. This is when my hubby made me laugh, he asked what the topping was made of and when I told him about the crystallised ginger, he said “BLEUGHHHHHH!!” I was highly amused that he asked me to make a GINGERBREAD cake but didn’t want TINY amounts of GINGER on the topping……..MEN!!!!!

Week Ten – Orange Wholemeal Victoria Loaf

Week ten, so what to choose to bake this week?  Well, I know one of my previous posts told the tale of the scalded hand……well this week has been influenced by the fact that I have strained the collateral ligaments in my thumb.  It doesn’t sound much but I couldn’t even take the plastic screw lid off the milk without excruciating pain so I took myself to get it looked at and it needed to be strapped and I have to take regular ibuprofen and try not to use it.

SO with this in mind, I sat with a cup of tea and Mary Berry’s Bible and looked through to see what I could make where my mixer could do all the work and this is what I came up with. The only bit I needed help with was grating an orange for the rind and that’s where my angel of a hubby came to the rescue – what a star!

So, I (carefully) weighed everything out, stuck it under the mixer and hey presto – one mix with no fuss. I put it into the tin, Mary does say it doesn’t look like it will fill the tin and she was right!


Timer on , 40 minutes later, this is what came out. I must say, it rose beautifully, was a great golden colour and the aroma wafting upwards was lovely.


It needed a topping when it was cool, of softened butter, icing sugar and marmalade. I think even Paddington Bear would approve of this recipe!


I am going to start looking now at other recipes i can use the mixer to do all the work as I get the feeling my hand will need to heal for a while yet……..sigh.

Week six – Mary Berry’s “My Mother’s Bread and Butter Pudding”

Week six here already, I seem to have settled into this challenge lark and am gaining confidence in my cooking abilities too.

I now look forward to sitting with Mary Berry’s bible to choose the recipe I fancy tackling this week.


I had quite a lot of a tiger loaf left over this week that was not fresh enough for sandwiches but I didn’t want to waste it so the bread and butter pudding fitted the bill!

The last time I tasted this pudding was when my own mother made it so it also brought back childhood memories too.

The recipe was very easy to follow, and in no time at all the pudding had been put together, I took a little time to layer the bread and as it was a tiger loaf, the pieces of bread were not a uniform square that was easy to cut into sections. Once made, Mary recommended leaving it for an hour to stand before putting it in the oven for 40 minutes.

I had the time, so sat with a nice cup of tea and reminised with my mum on her memories of making bread and butter pudding. then the pudding went in , timer on and waited.

The finished result looked good to me and Mary says in her book that although it tastes good hot, that it is just as nice cold…..well, we dug into it while it was hot and I enjoyed it very much, I am actually beginning to enjoy my own cooking, something I don’t usually do.

The rest of it? Well hubby had some later in the day and his parents took some away today. The only thing I would do differently? My mum recommended serving it hot with clotted cream ice cream……..naughty but nice….and mum always knows best!

Week One – The Coffee Victoria Sandwich Cake

Ok, here we go, week one and the challenge is on.

I made sure I got all the ingredients in and sat and read through the recipe. Mary Berry’s instructions are clear  and concise but with no fancy terms, she inspires confidence that i can do it…..

After a confidence bolstering cup of tea, I ventured into the kitchen and got out all the equipment I needed and all the ingredients.

Putting this cake mix together didn’t take long and to be honest, it felt like I was back at school in my home economics class. At the moment it didn’t feel so much of a challenge but a revision on what I already knew but I ploughed on regardless.

The mix done, I carefully divided it into the prepared tins,  put them in the pre-warmed oven, set the timer and it was time for that ever-so-english tradition of another cup of tea again.

“PING” went the timer and I approached the oven with trepidation.  How would they look?  Was it too soon?…..or too late to take them out? Had I been a bit too blasé in setting the timer and not checking every so often?

Phew- I wiped by brow with relief, they looked risen, brown and didn’t immediately subside when I looked at them, I removed them and set them aside to cool and then removed them faily easily from the tins onto the cooling rack.

I then set to making the coffee buttercream – I love making buttercream icing but the initial mixing always creates clouds of icing sugar which seem to settle on every surface nearby!

The final step, putting it all together, would it resemble in any way the picture on Mary Berry’s book? Well, not so pretty or precise but not bad for a first effort…..

Well,, I will leave that up to you, but week one’s challenge is under my belt, i will now spend the week browsing the challenge bible and deciding what week two will bring……

Kim