Week Ninety Five – Mary Berry’s Crown Loaf and Griddle Scones

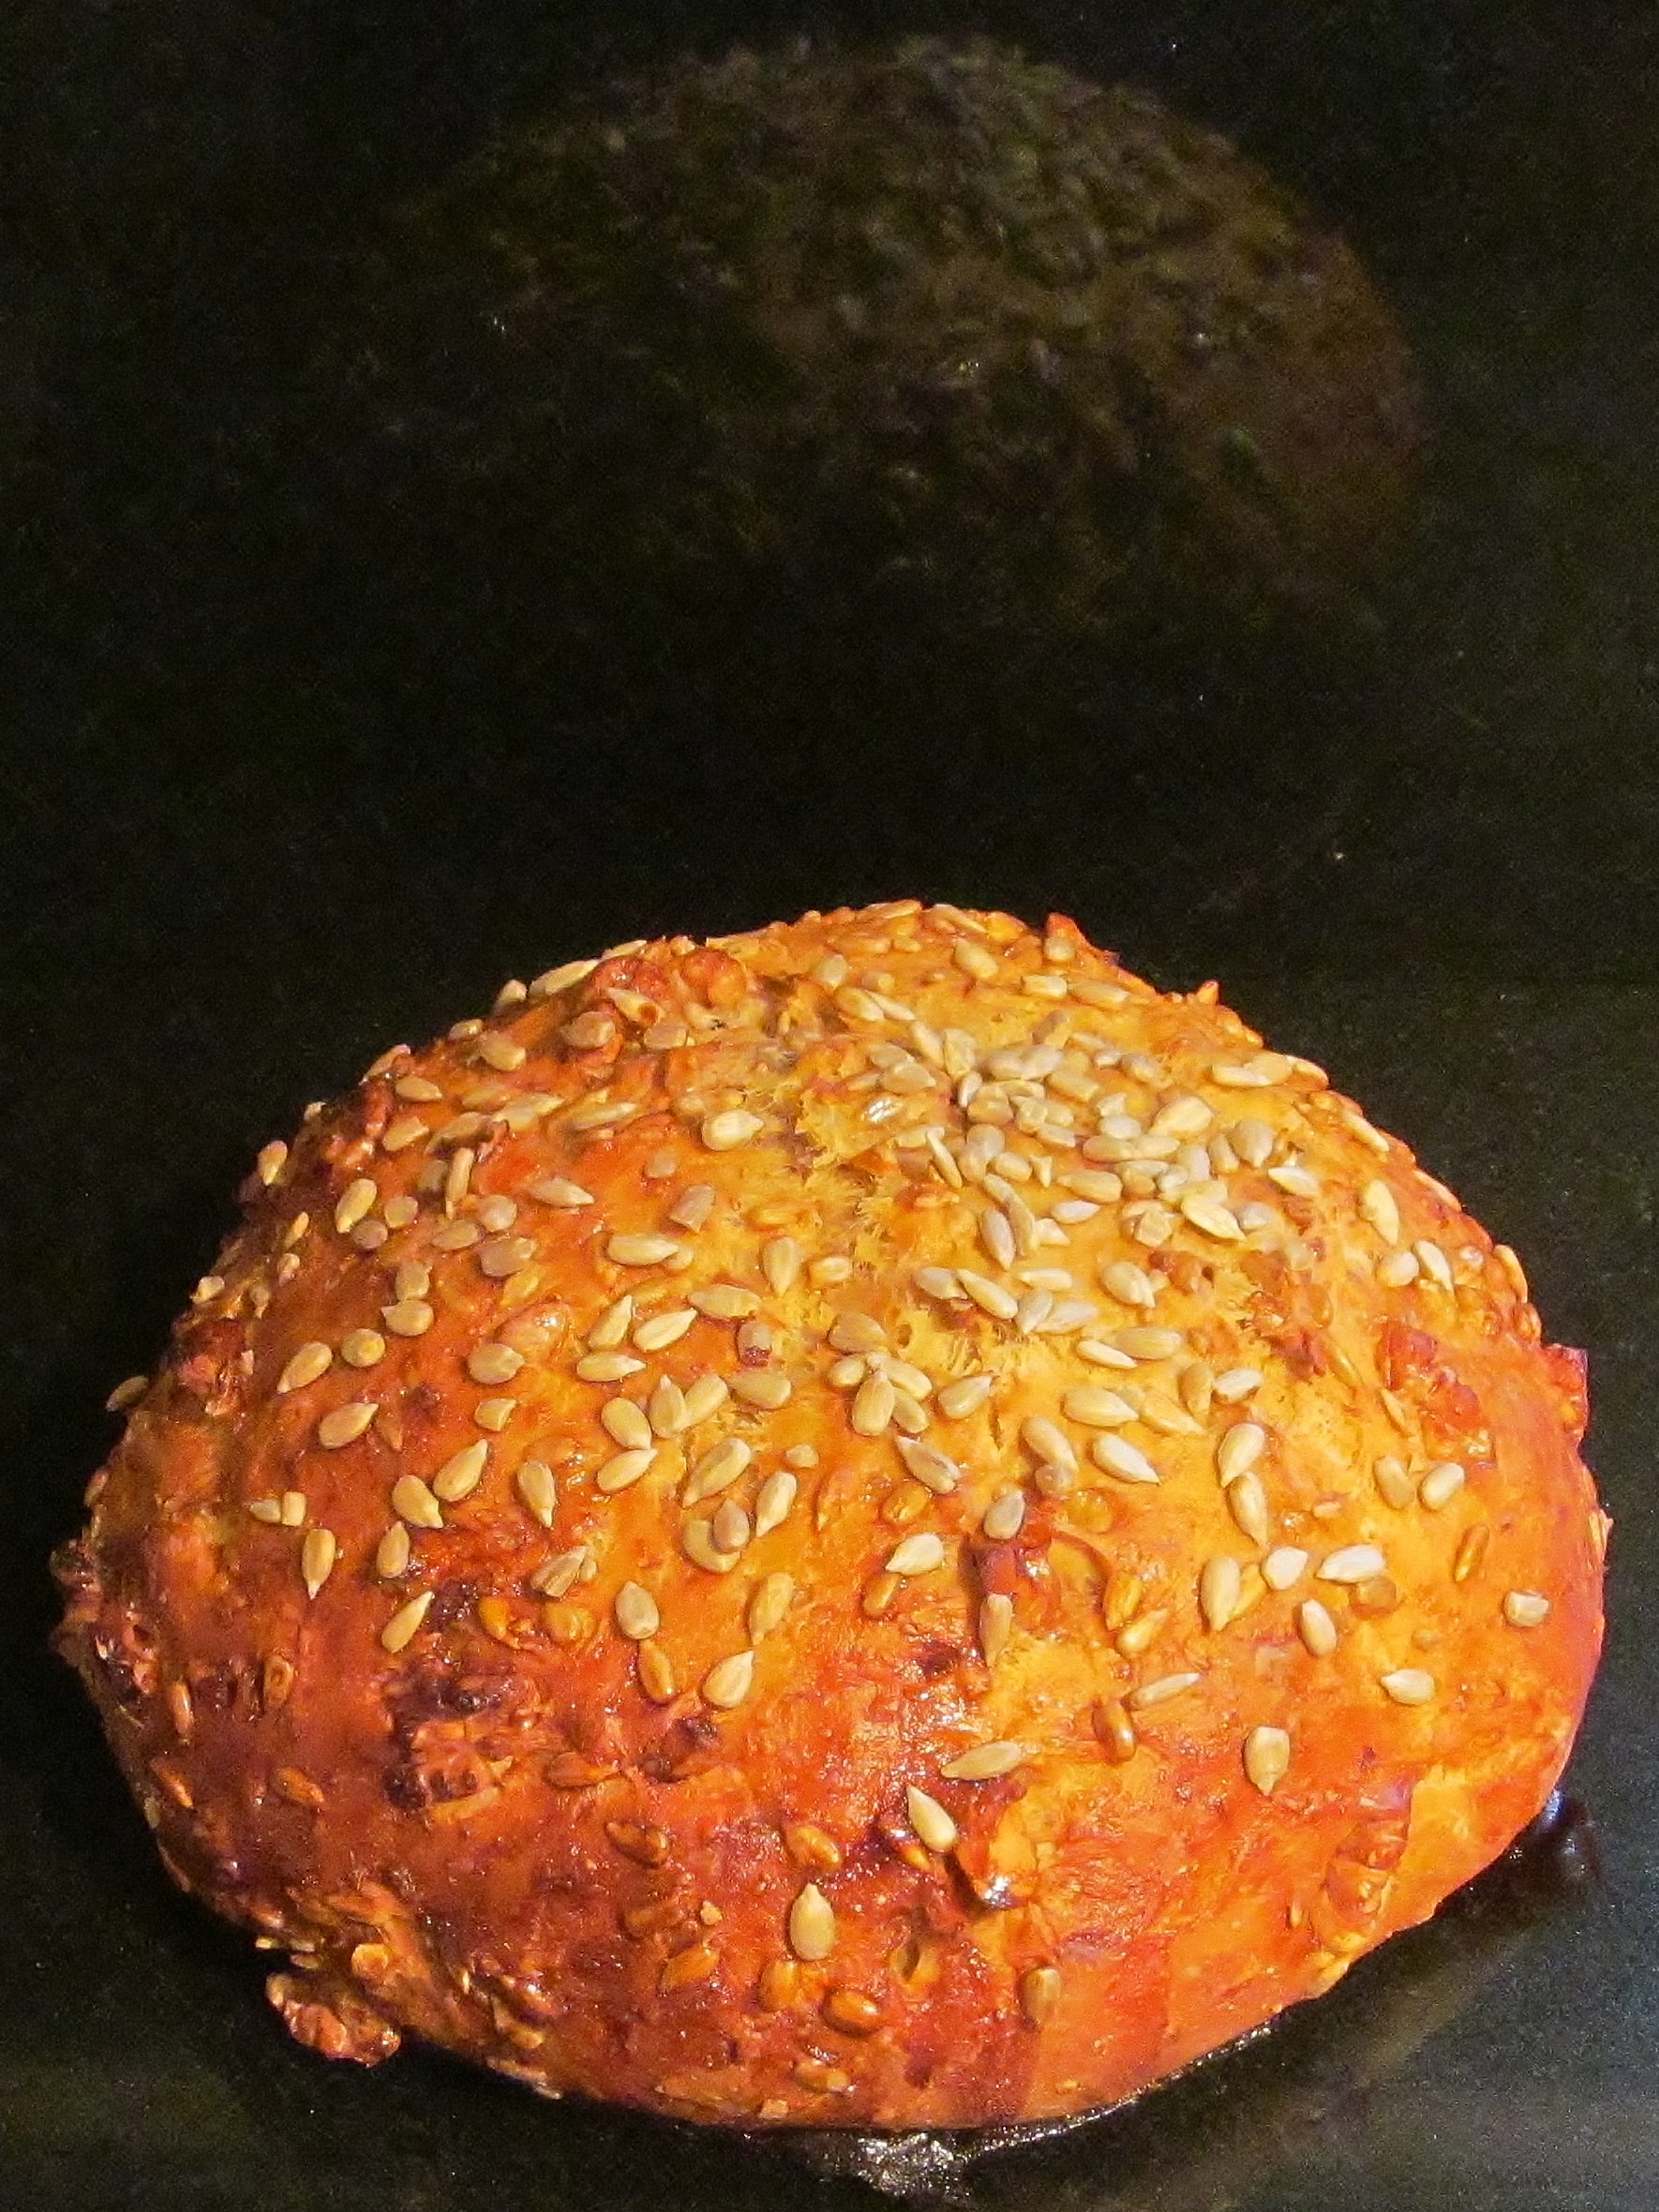
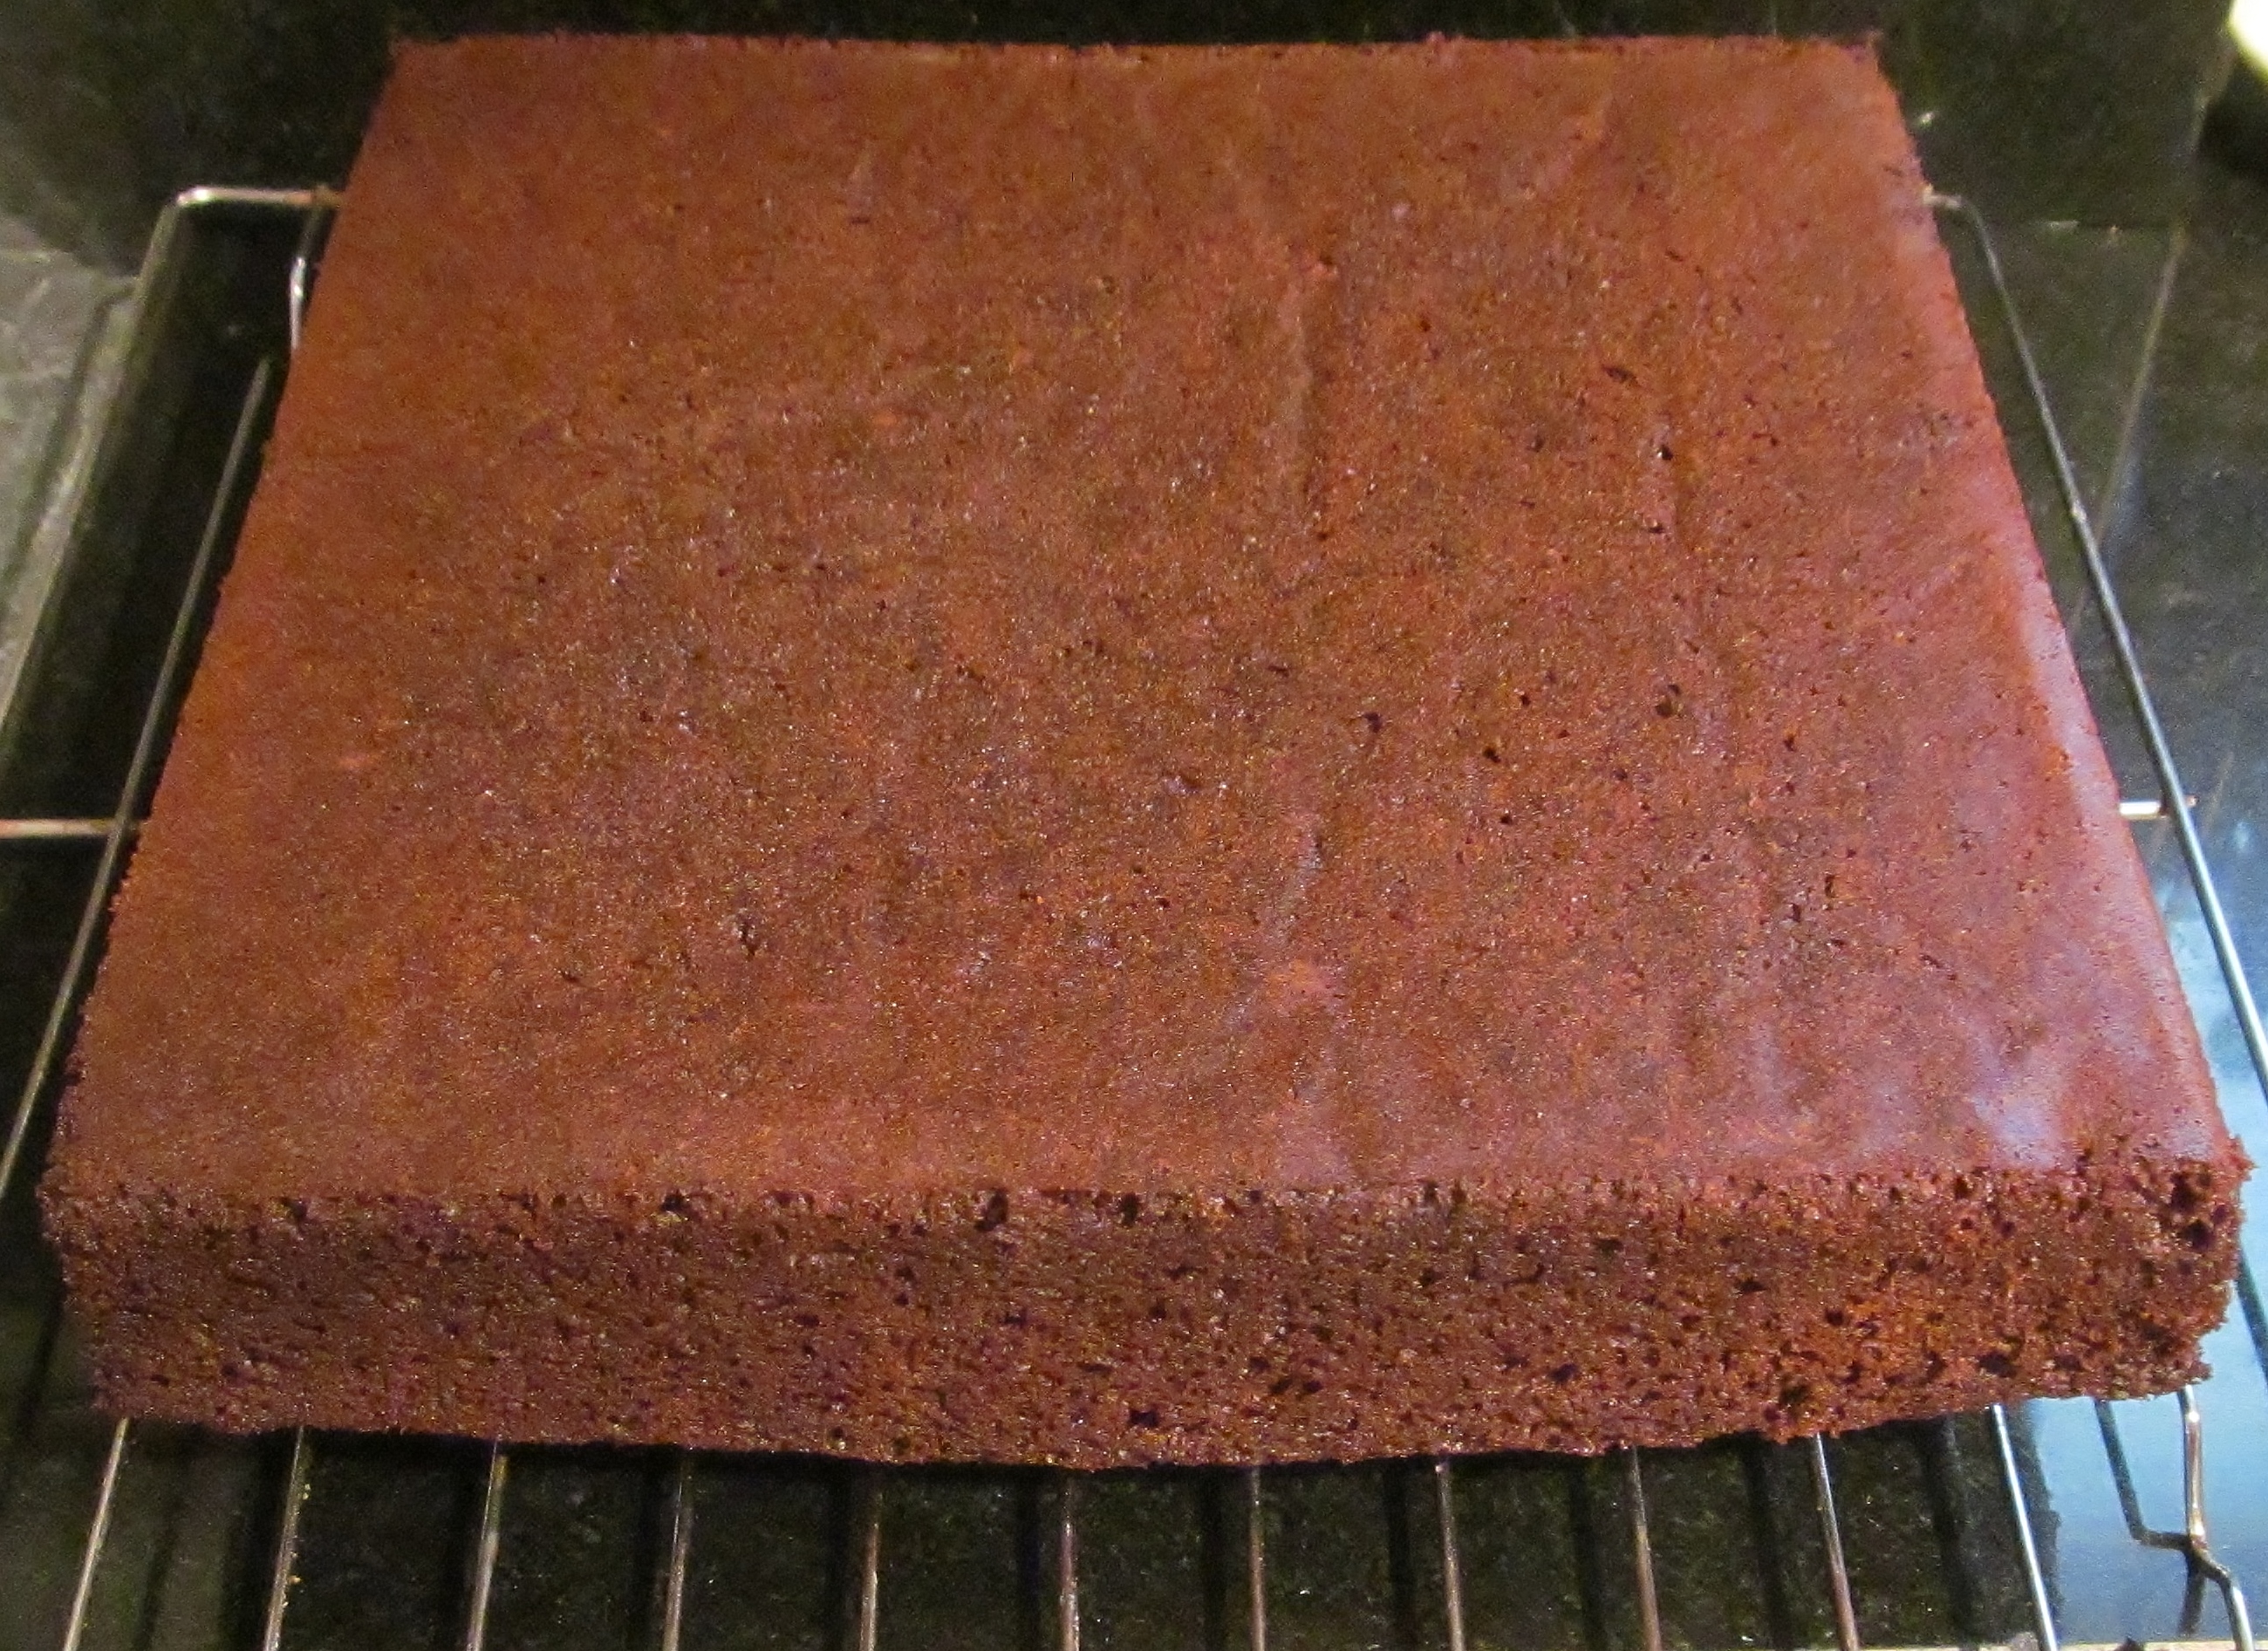
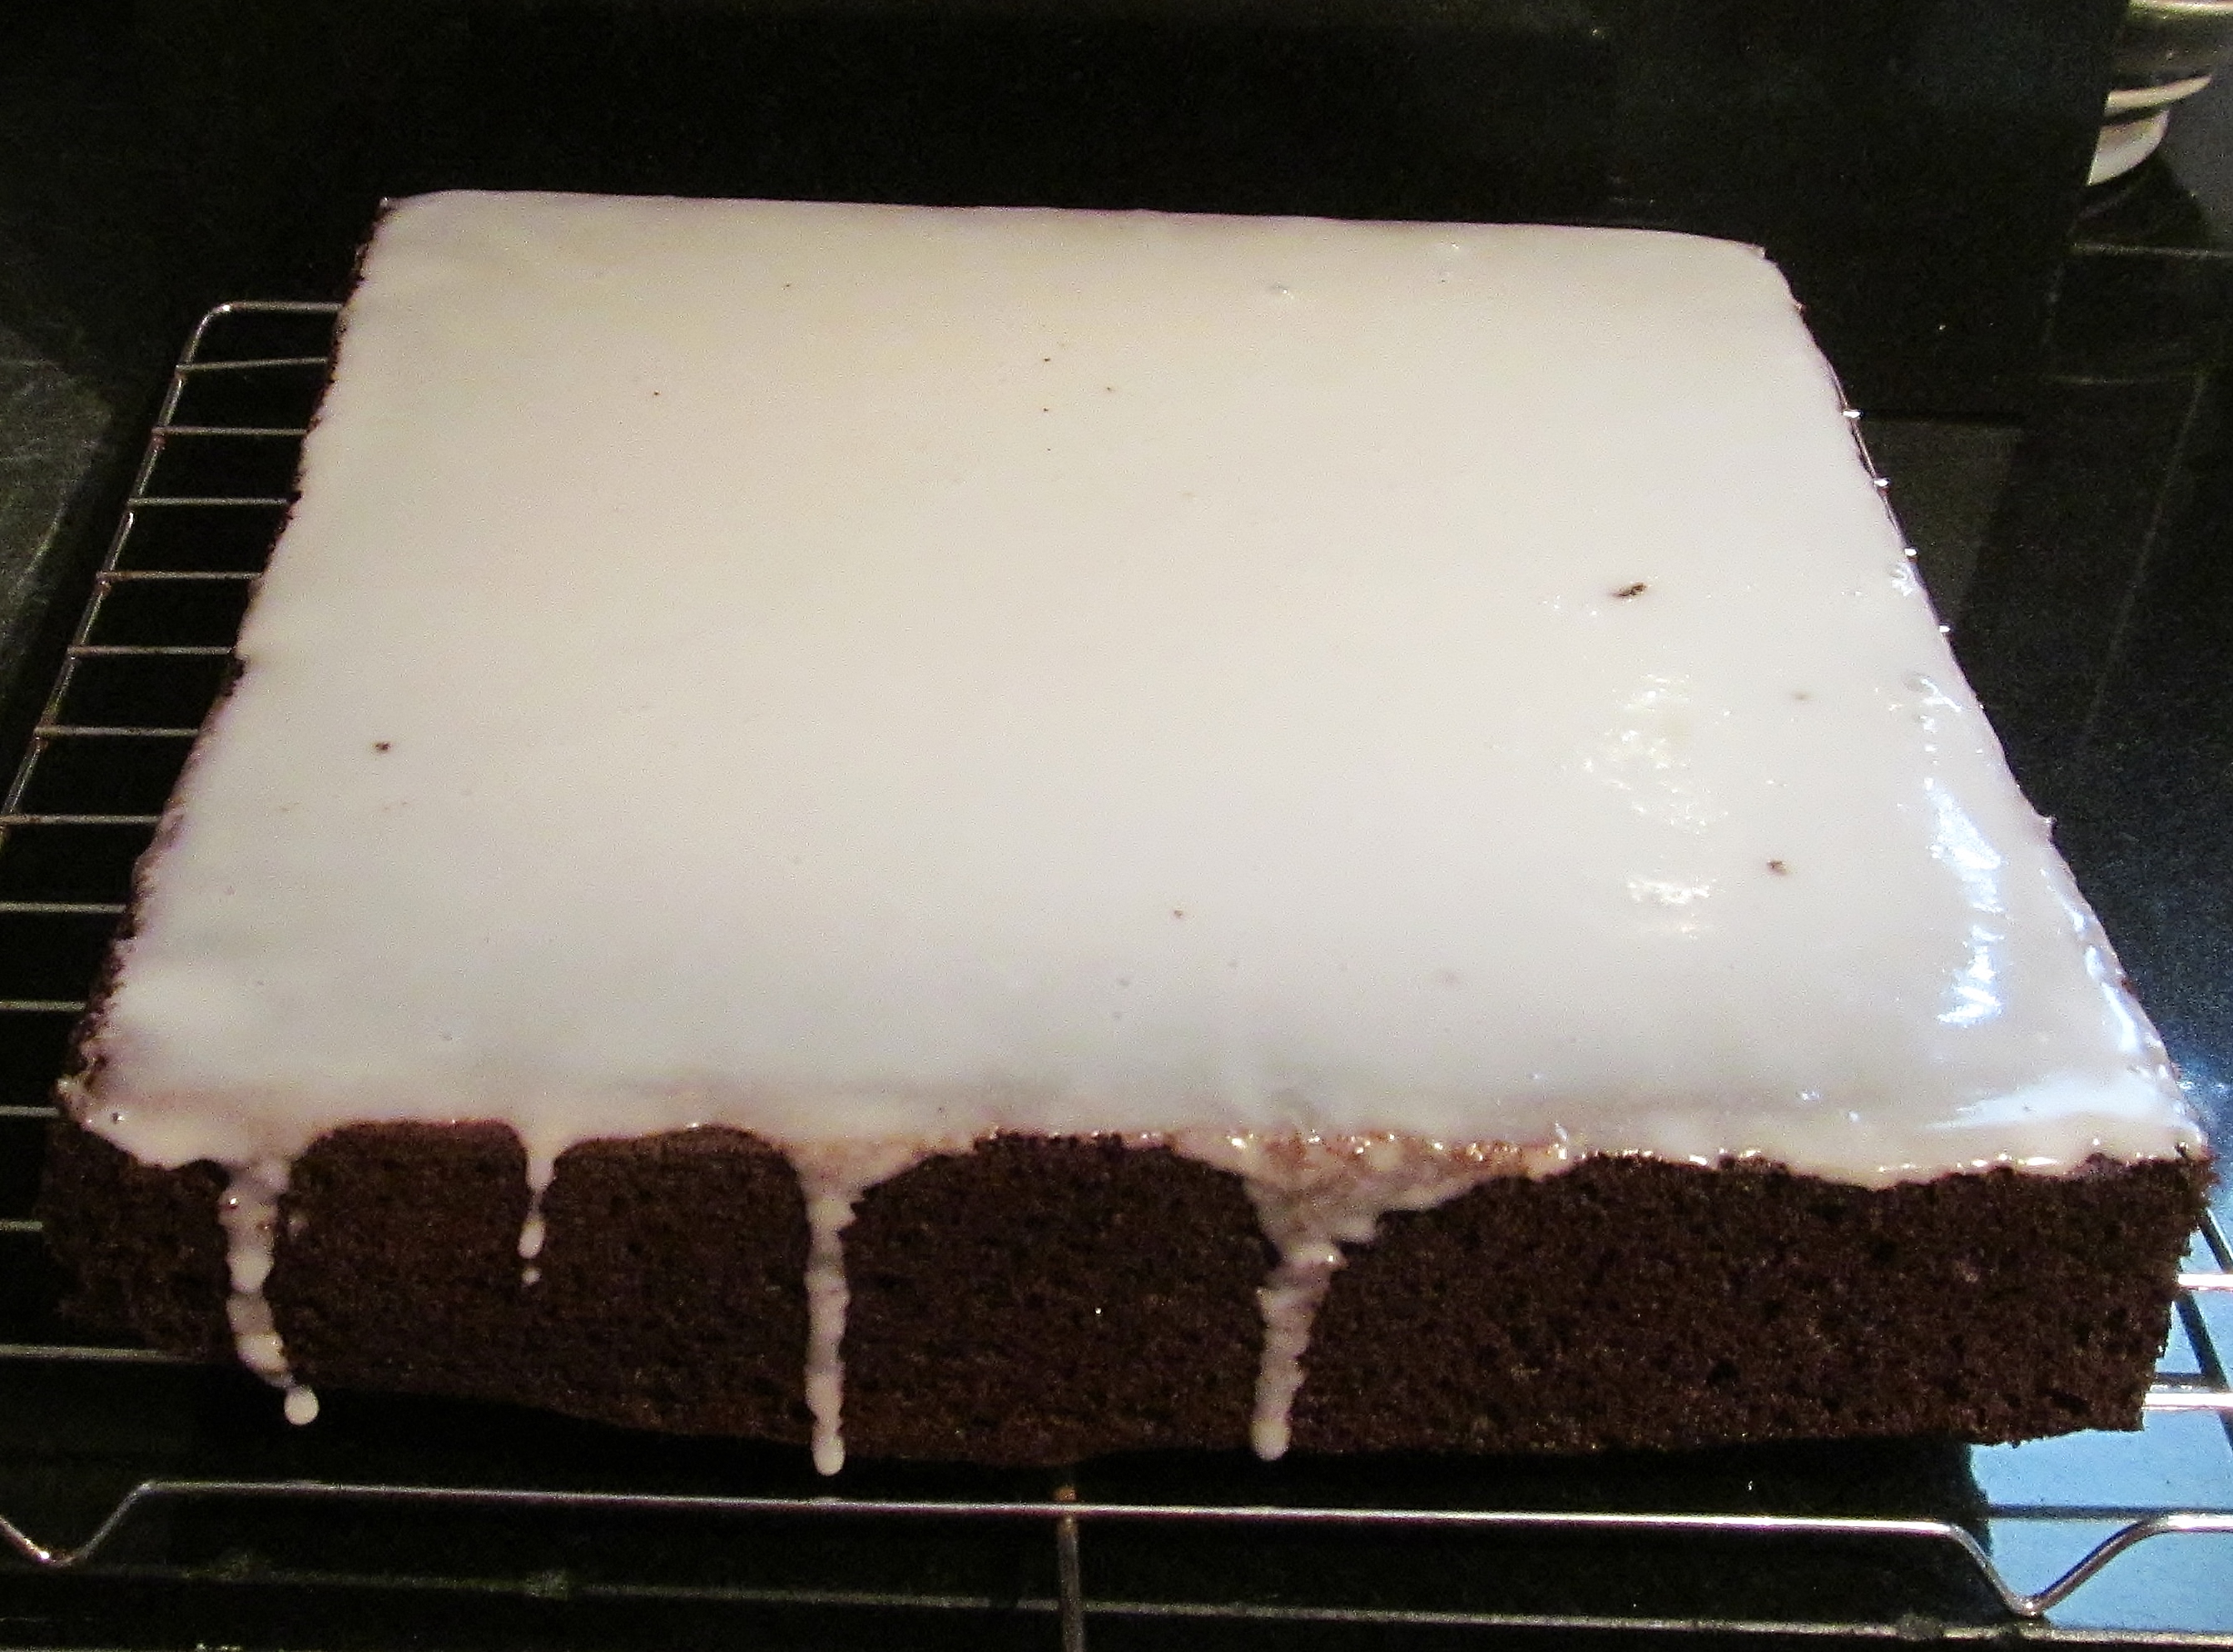
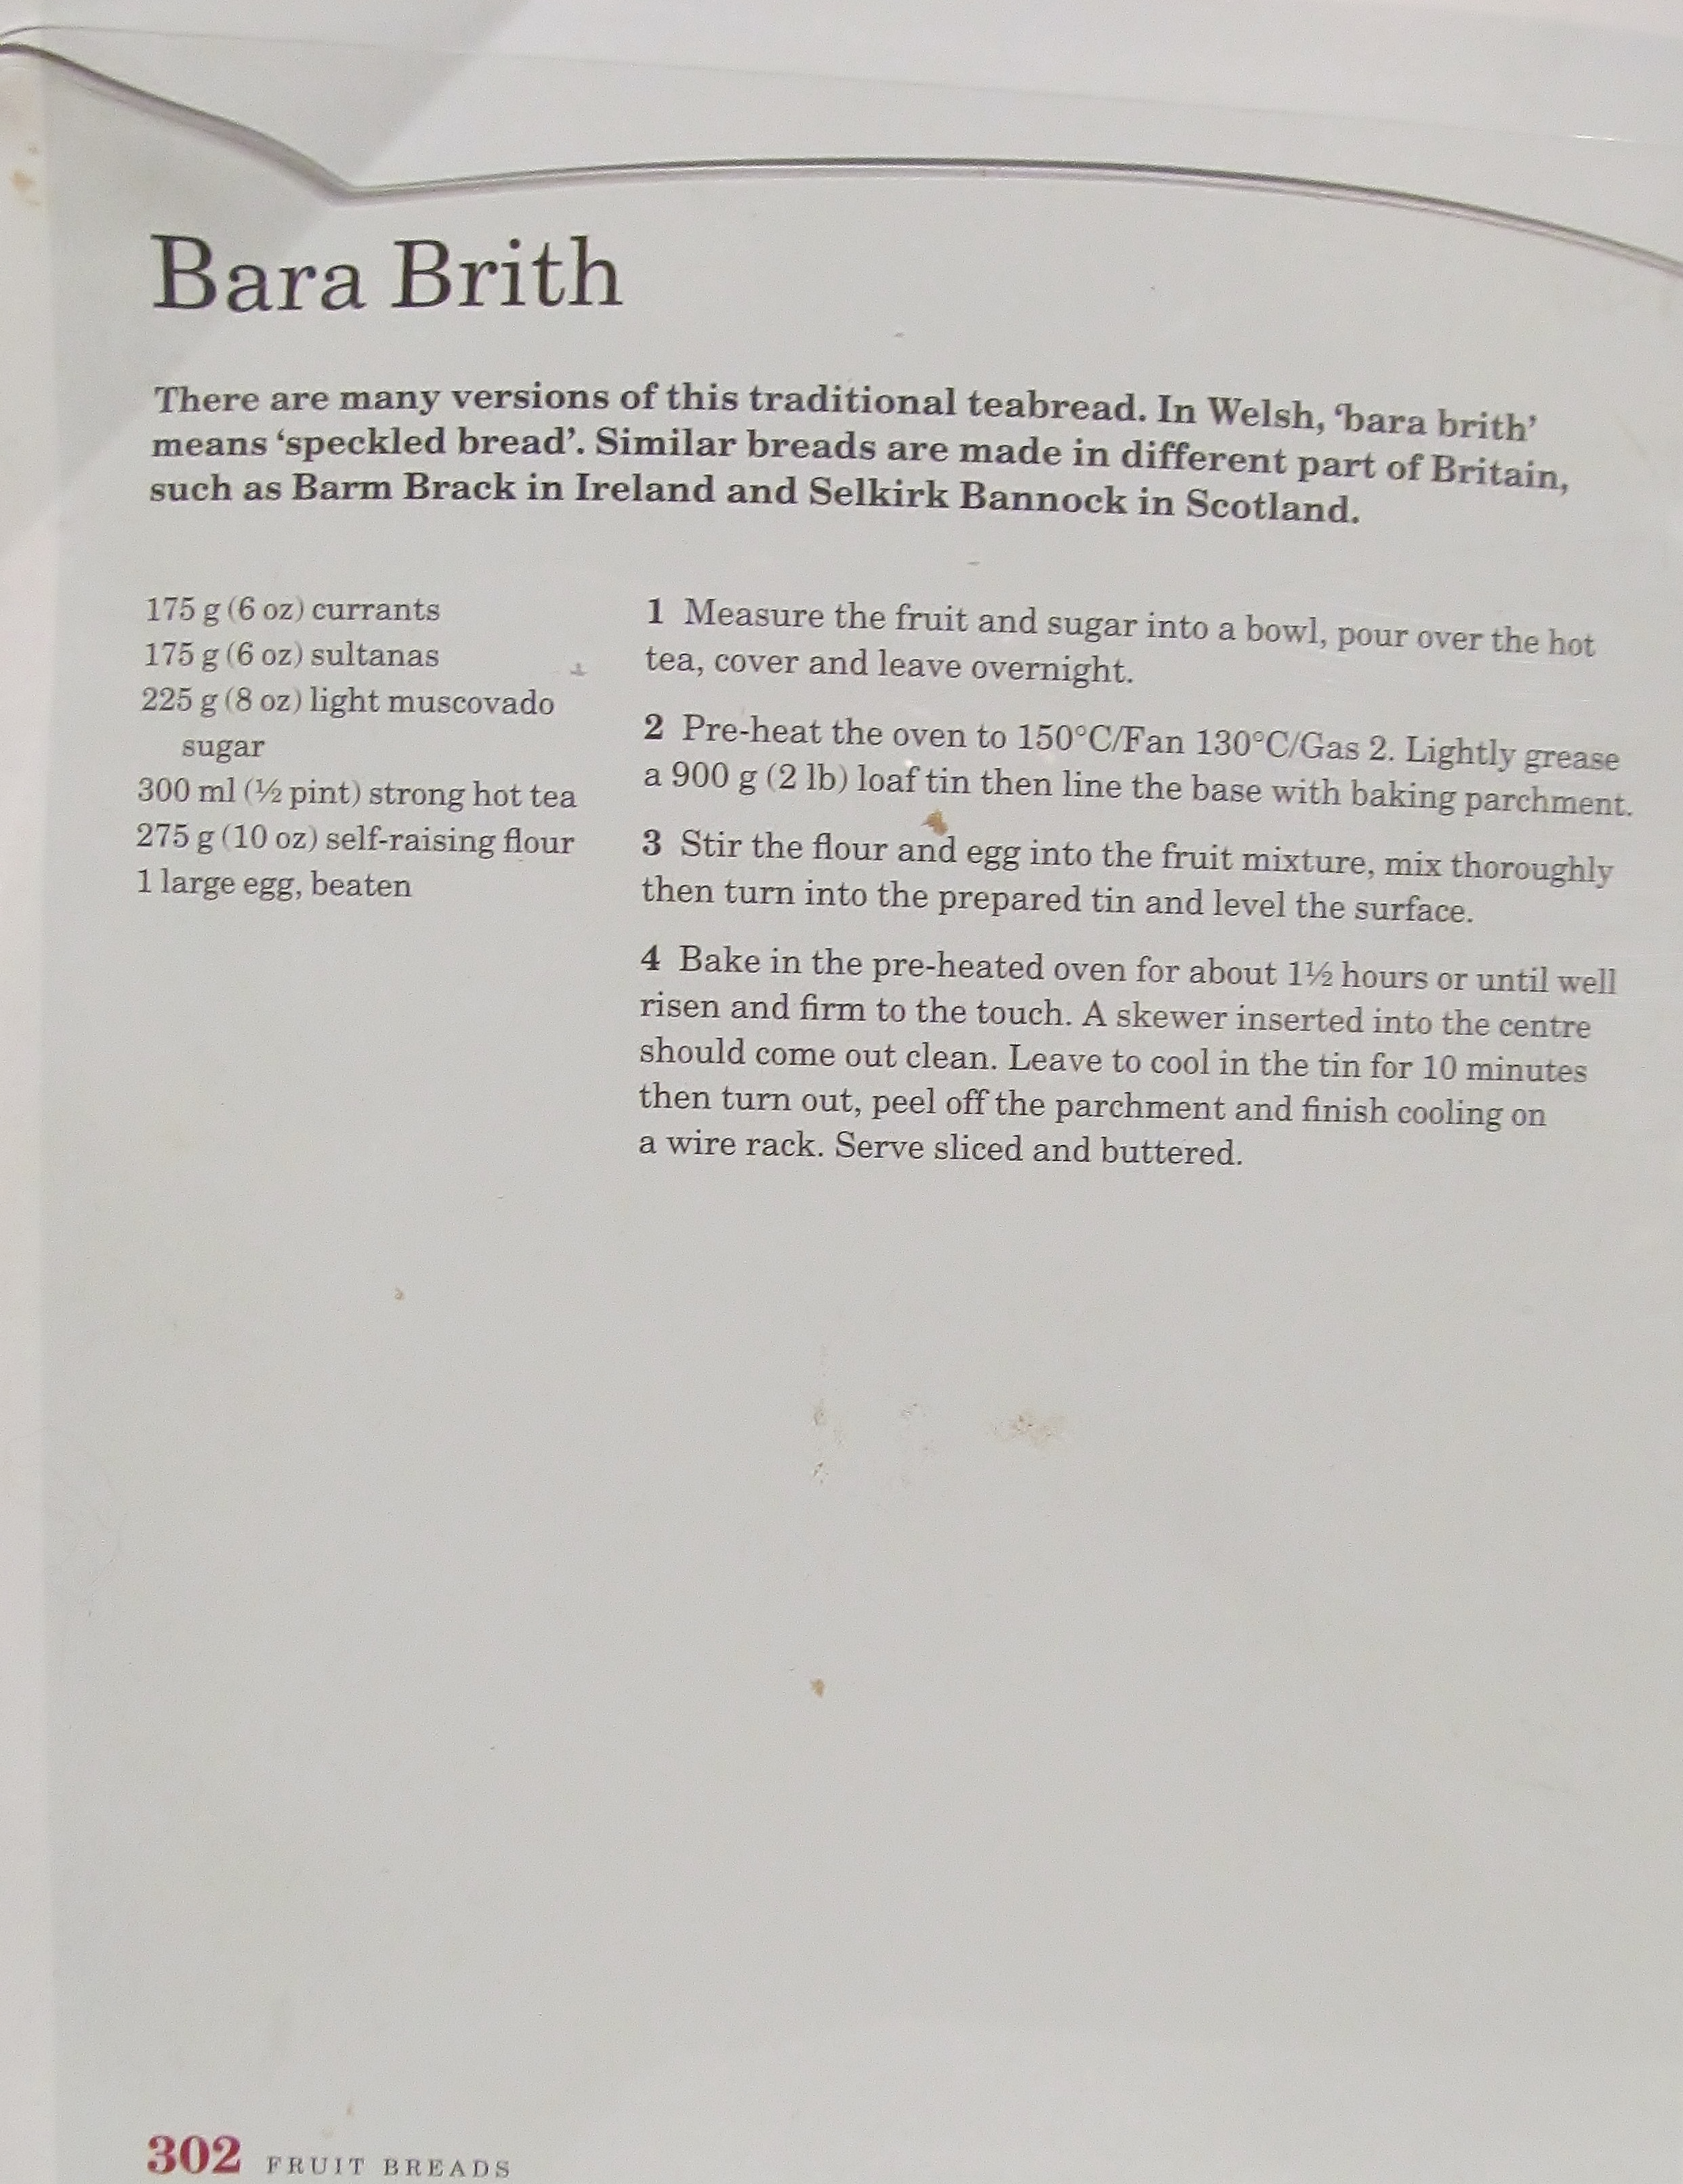
Week ninety five here already and after the excitement of last week, I browsed through Mary Berry’s Baking Bible looking for some more savoury recipes after the richness of last week’s recipes and I was wiped out by a migraine which set all my usual housework jobs back by a day. I settle on Mary’s crown loaf and griddle scones.

Mary Berry's Crown Loaf

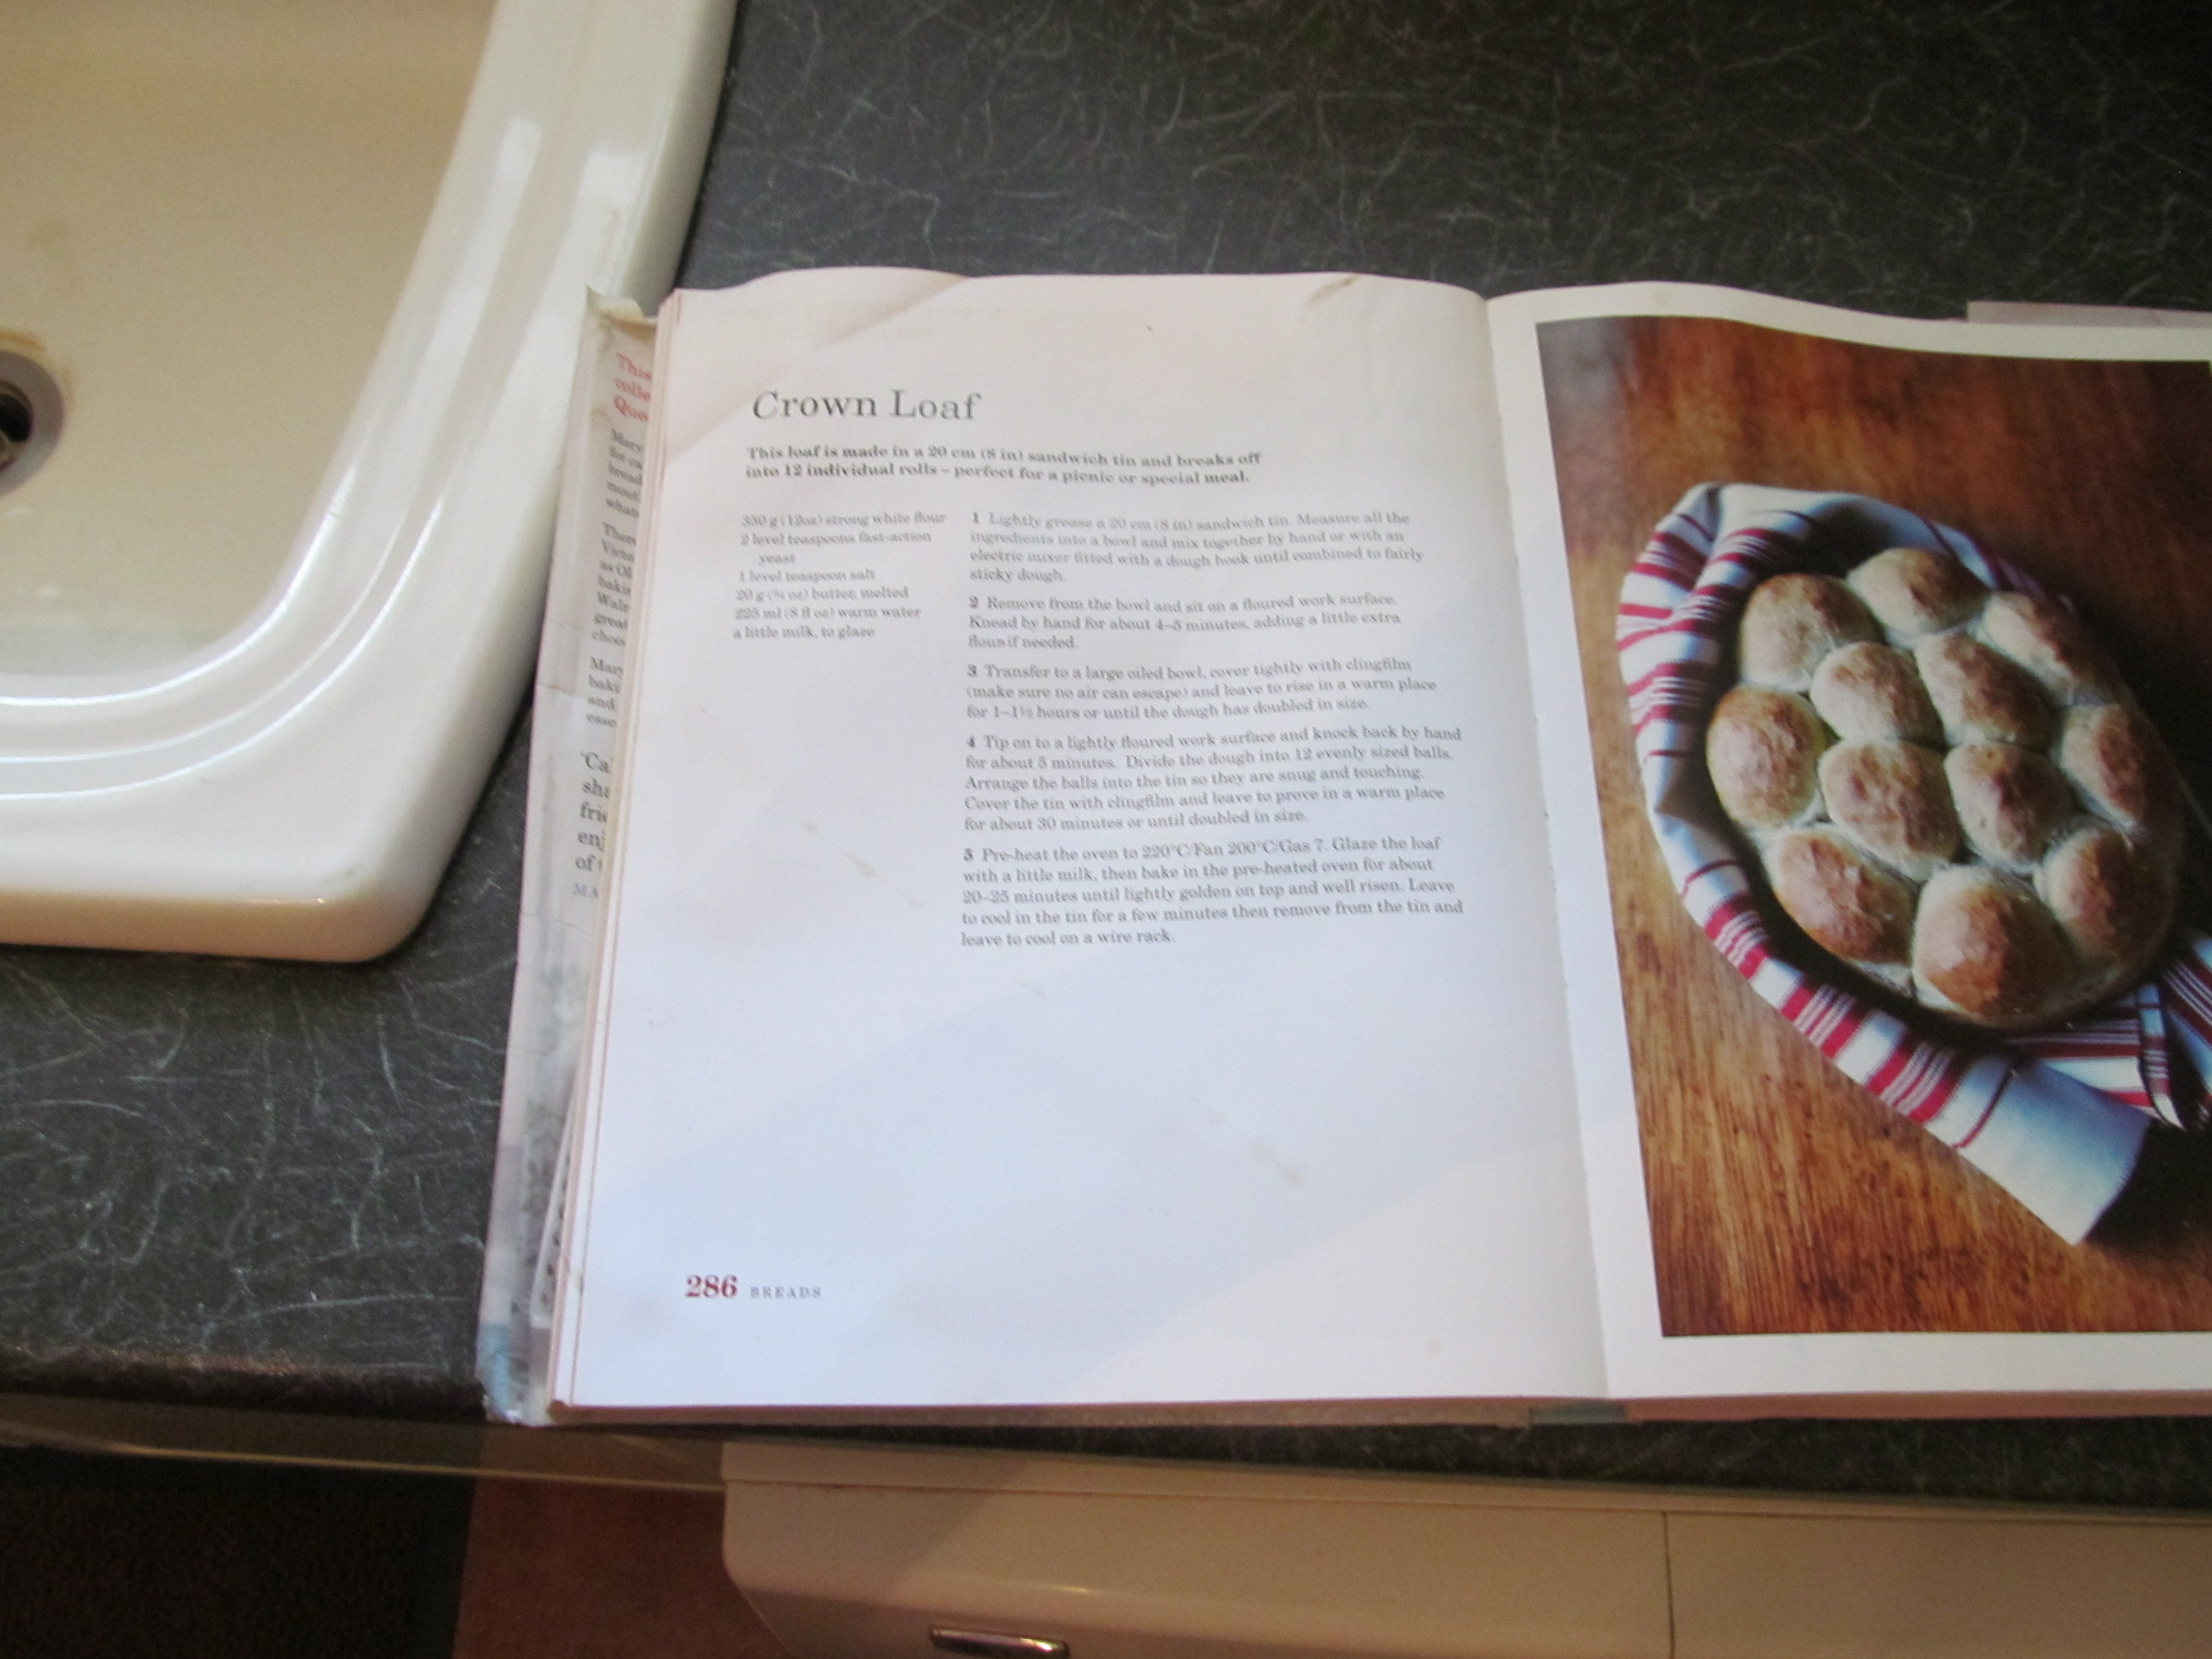
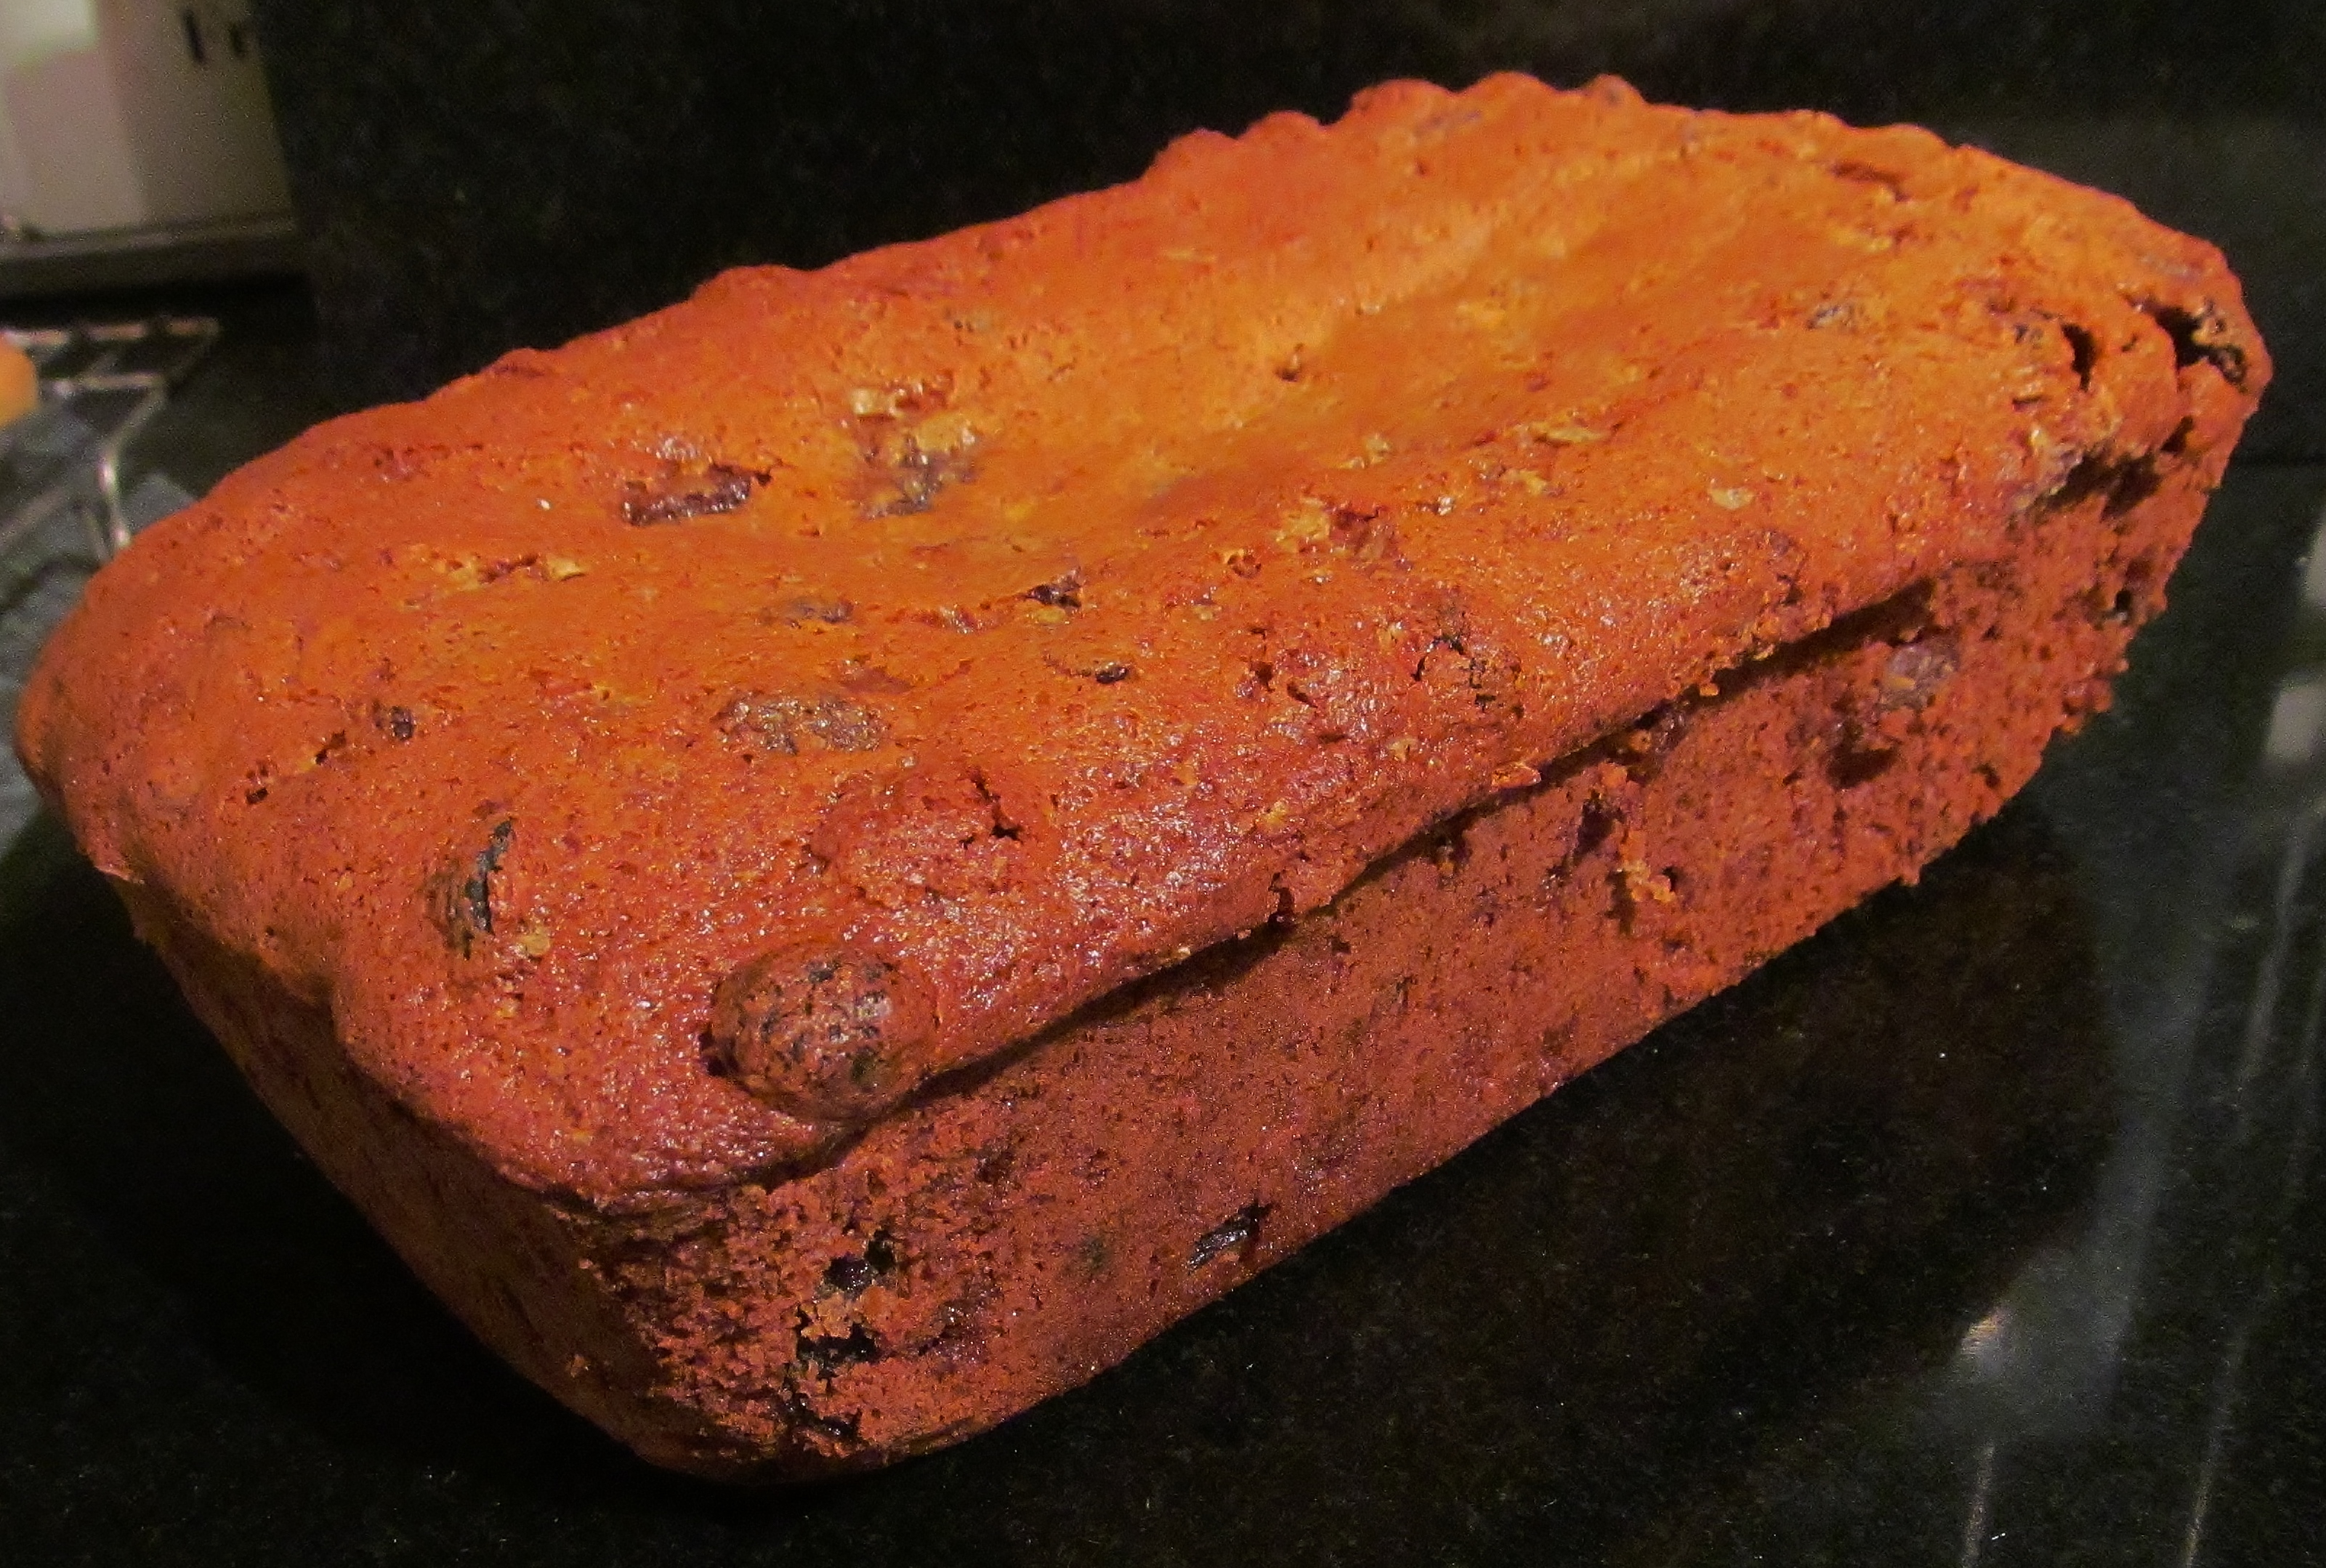
I began the dough this morning , mixing all the ingredients together for the crown loaf and then spending five minutes kneading it before setting it into an oiled bowl to prove for 1 1/2 hours. After this time, the dough was nicely risen and I had to then knock it back and knead again, divide into 12 balls and set these inside a springfold tin and cover with clingfilm and leave to prove for another half an hour.

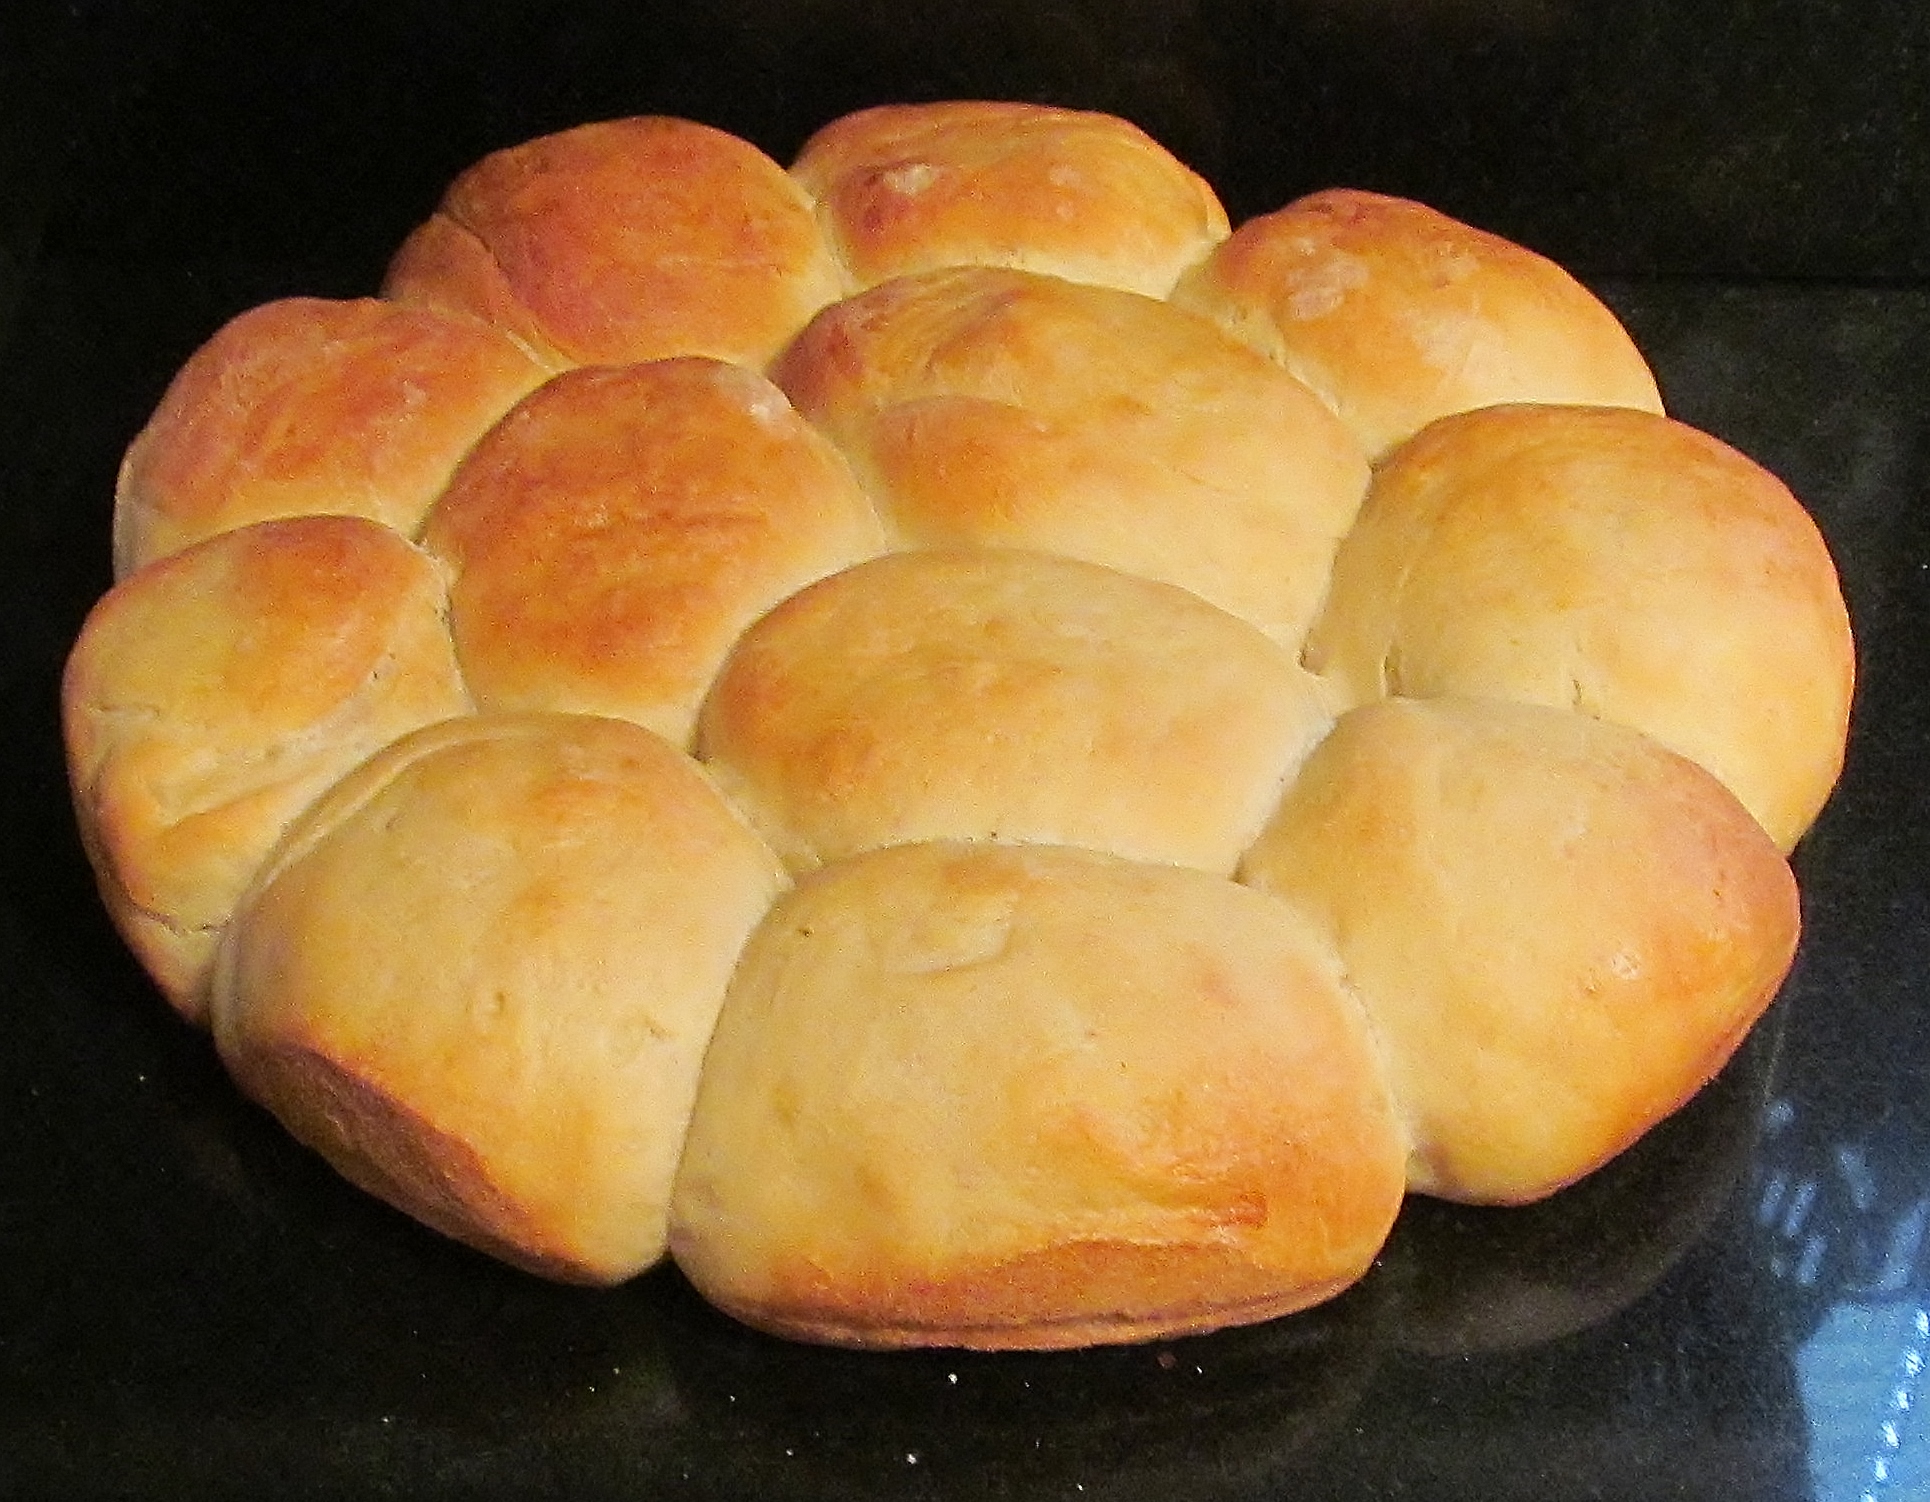
Finally , once the last prove is done, bake in a hot over for 25 minutes and then turn out onto a cooling rack. The crown loaf looked lovely and the smell of freshly baked bread is a winner in our house.

Kim's Crown Loaf

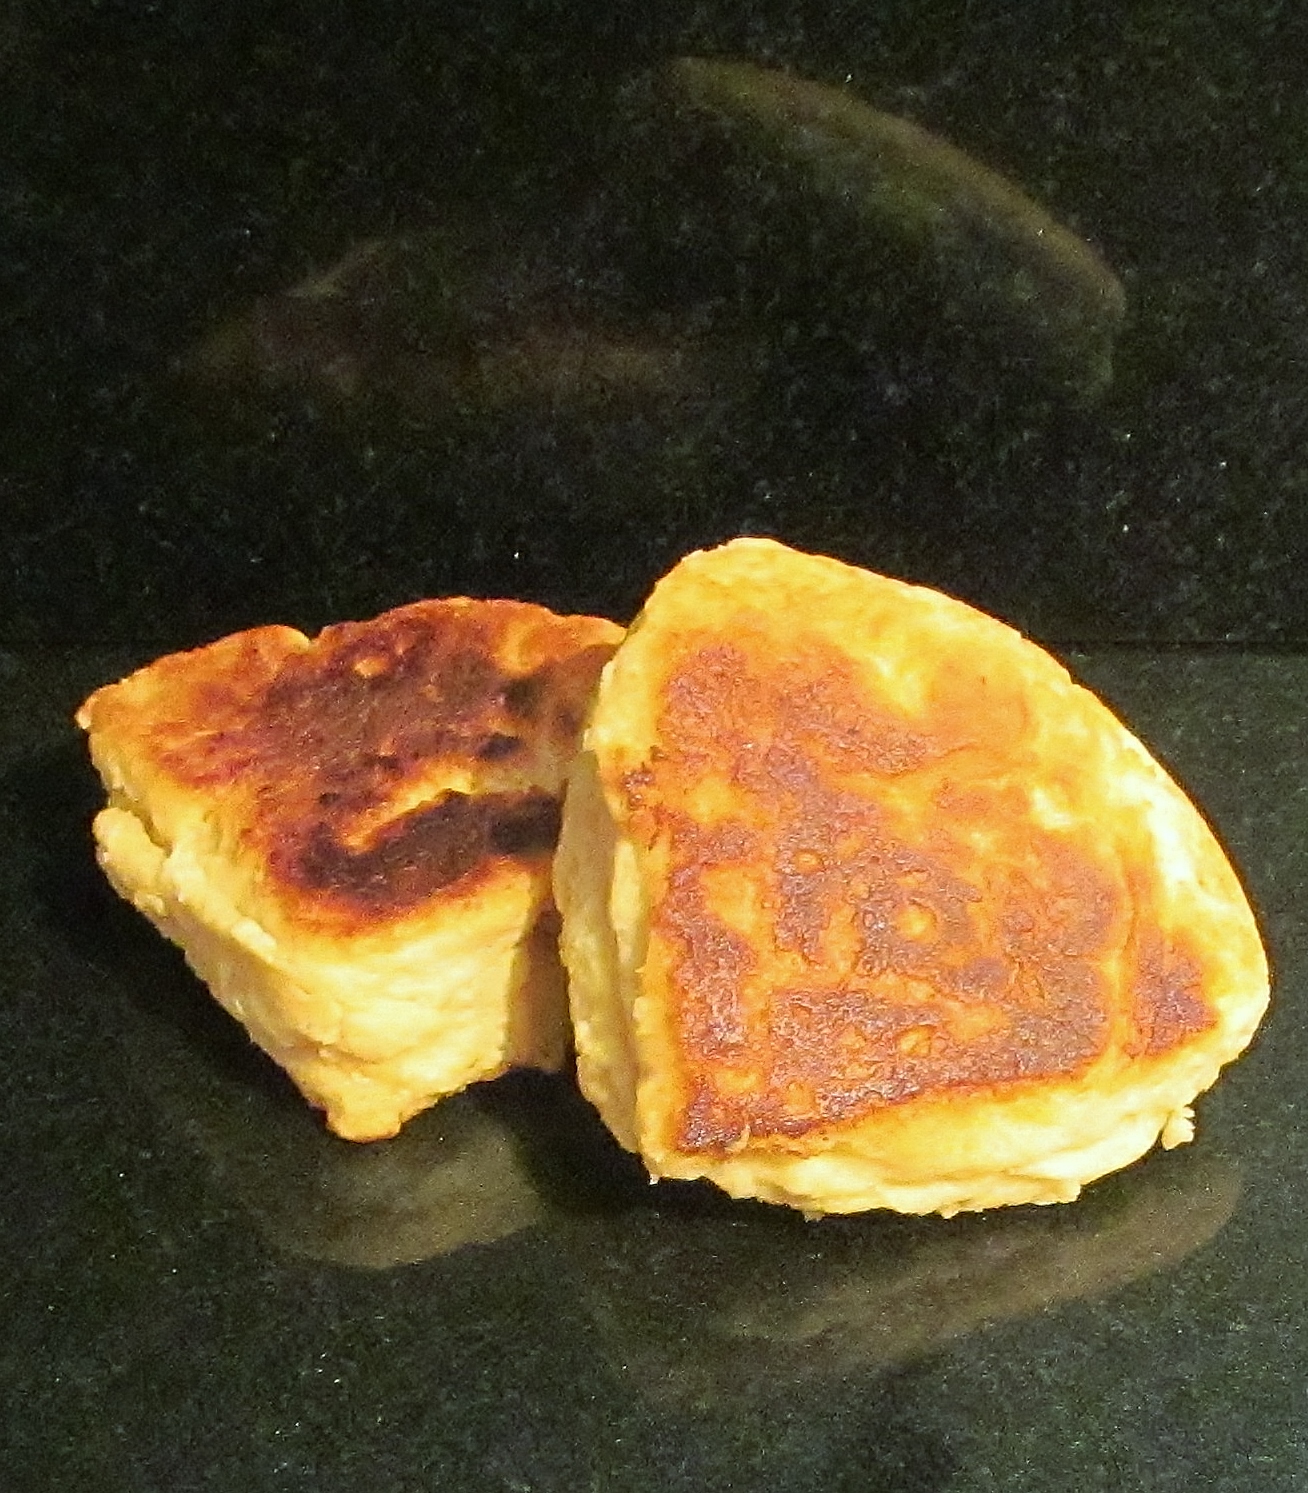
The second recipe was Mary’s griddle scones, these are thicker than drop scones and I followed Mary’s recipe carefully to make the dough, I then rolled it into a circle and cut into segments. I heated a heavy based pan and cooked the segments for about five minutes each side and left them to cool on a rack.

IMG_0314

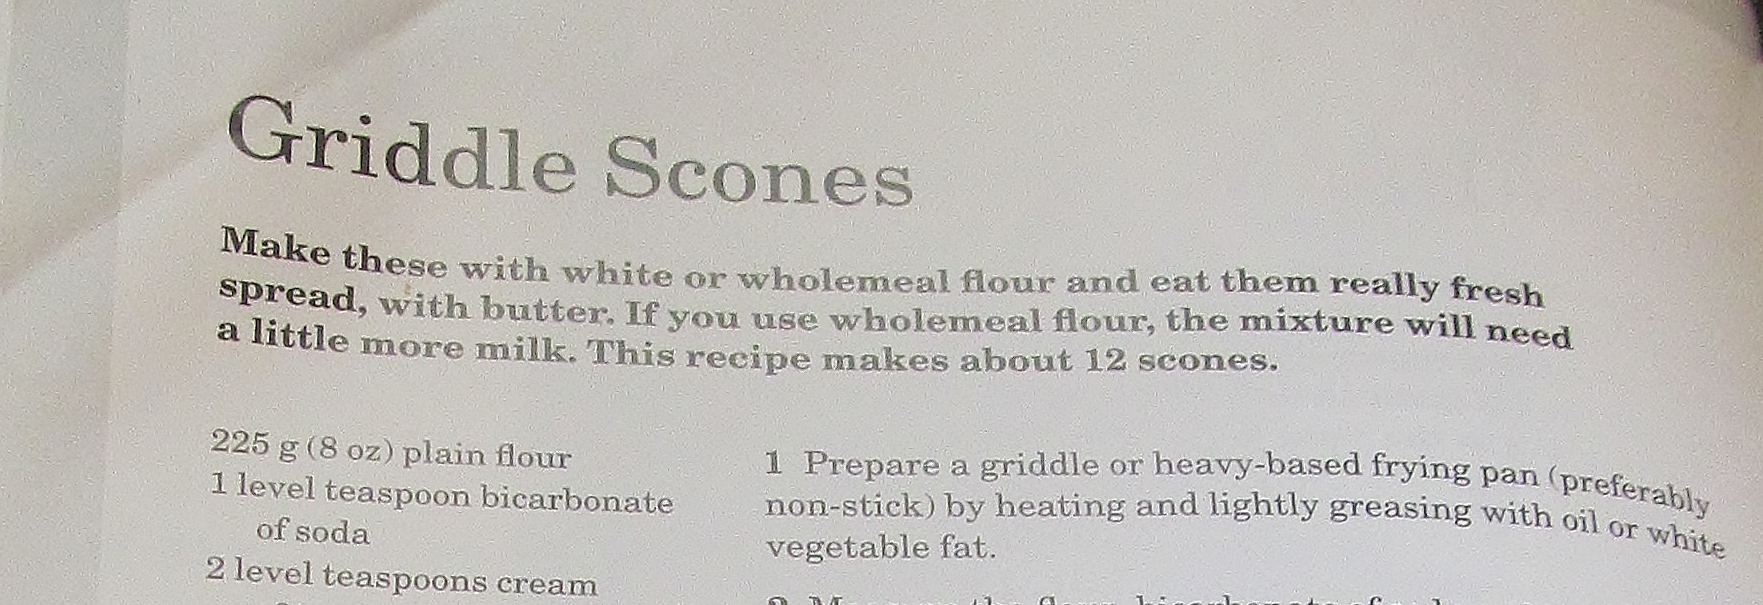
Mary suggests eating them fresh with butter but we ate some of the crown loaf first for lunch and look forward to these for supper. Sorry chief tasters, no sharing with you guys this week- but I am guessing that you are still wading through your dobaz torte from Thursday.

Kim's Griddle Scones

The Great British Bake Off is coming up to quarter finals now and the three contestants I initially named are still in it so far- lets see how they do this week and if Mary has any more recipes I have yet to do?

Countdown now reaches 78.

Week Ninety Three- Mary Berry’s Treacle Spice Traybake & Frangipane Tartlets

Week 93 and it’s taken a while to find the time to put this blog on even though it was done last weekend! I delved as usual into Mary Berry’s Baking Bible and found these two recipes. It has occurred to me that quite a few of the recipes left for Mary are complicated or rich cakes so i will have to endeavour to find some occasions to bake them! They are not your every day bakes. I started this week with the treacle spice tray bake. I took my new mixer for a “test drive” – and it didn’t dissapoint- it mixed this all in one recipe like a dream. ( Thank you again x) I lined a tray bake tin, poured it in and into the oven it went.

Mary Berry's Treacle Spice Tray Bake

The final bake was a lovely glossy brown with the most heavenly aroma and it is keeping really well under my cake glass dome.

Kim's Treacle Spice Tray Bake

The second recipe was Mary’s frangipane tartlets. I followed Mary’s instructions about making the pastry carefully, lined the mini tartlet tins ad put them in the fridge to chill while I made the frangipane filling. I had decided to make four slightly larger tarts rather than the 12 tiny ones that Mary says her recipe will make. Once the frangipane filling was made, I filled the tart cases and put them in the oven to bake one I had sprinkled flaked almonds on the top.

Mary Berry's Frangipane Tartlets

The tartlets, once cooked needed a final touch with a glaze of apricot jam, warmed through and a sprinkle of ground almonds.

Kim's Frangipane Tartlet

The Great British Bake Off is heating up now, and my initial three names that I blogged about are still in it so far. I must say that one of the bakes this week has again inspired me to attempt a bake I had been putting off in Mary’s book. More of that soon, this week’s bakes will be done over several days. one this weekend as we still have some treacle tray bake left and one roughly midweek-watch this space.

Week Ninety One – Mary Berry’s Honey Glazed Walnut Bread & Glazed Lemon Tart

Week ninety one and I obviously had a bit of a “glazed” feel to this weeks bakes! I dipped into Mary Berry’s Baking Bible and was inspired to try another bread recipe after watching the efforts on The Great British Bake Off for bread week.  The honey glazed walnut bread sounded scrummy and Mary assures you in the recipe that it also makes fantastic toast (If it lasts that long- take note please chief tasters!!) I added all the ingredients into a bowl, added the dough hooks to my mixer and set it off. Mary says allow five minutes mixing/kneading for a machine or 10 minutes by hand. This is where it was all going so well….until plumes of smoke were coming off my machine! The dough was too much and the motor had burnt out so the machine went to the electrical scrap heap in the sky and I finished the kneading by hand. I left the dough to prove and set about getting the other recipe bits together.

Mary Berry's Honey Glazed Walnut Bread

The proving time was done and I put the bread into the oven to bake, the recipe makes 2 good sized loaves. 25 minutes later, they were done and had that hollow sound when tapped on the bottom!

Kim's Honey Glazed Walnut Loaf

The second recipe was the glazed lemon tart. Firstly Mary asks you to make the pate sucree pastry- its a sweet shortcrust pastry. Then line a flan tin with it and chill while making the topping. Add the other ingredients together and beat well. ( with no mixer, I developed muscles I didn’t know I had!) Pour the mix into the pastry case and bake until brown and set.

Mary Berry's Glazed Lemon Tart Recipe

While this is cooling- and Mary says you can eat it like this if you like, thinly slice a lemon, remove any pips, boils some water and sugar, add the lemon slices to this, boil again and leave in a bowl to cool for 2 hours. Then drain the lemons, arrange them on the tart, and glaze with some apricot jam that has been warmed through.

Kim's Glazed Lemon Tart

This looks and smells lovely and we will be eating some after dinner later!

There have been some strange goings on in my garden lately. It has all become a little overgrown with the bamboo I had planted some years ago, pretty much taking over the garden and with the recent rain, you could barely see up my garden through it all. I looked from my kitchen up the garden recently and found that the local wildlife had diversified somewhat from the native species! I know who to thank for this and will ensure that your garden enjoys a similar experience!
image

I was also sad to say goodbye to my trusty mixer- it was the best of both worlds, I could detach the mixer and use it as a hand mixer or attach it to the stand and use with the bowl  which could rotate if I needed it to.


Breville Stand mixerI threw it in the chief taster’s trailer to go to the tip ( yes- it went in dirty- it’s going to the tip!) and waved it goodbye.

RIP


Eek – I think my fairy god mother is looking after me…..I was telling the sorrowful tale of my mixer and with BIG thanks to one of my chief taster’s. I have a new mixer on the way- YAY!! xxx


Week Seventy Seven – Mary Berry’s Iced Gingerbread with Stem Ginger & Fork Biscuits

Week seventy seven and what a week it has been! I had returned to work on half days and was thoroughly exhausted and hubby had a rather unpleasant encounter with a hot kettle! Plenty of wet towels, an ambulance ride and a six hour wait in A&E and we eventually got home. Not the ideal evening I had planned curled up on the sofa with painkillers and my trusty hot water bottle but needs must. I am now a dab hand with Jelonet and  latex-free bandages…more skills to add to my repertoire!

Evil Kettle

I picked up Mary Berry’s Baking Bible with a heavy heart this week given the recent events and the fact that I seem to be eternally tired while I continue to recover from my op. I scoured through Mary’s recipes trying to summon up some enthusiasm and having given up on that, settled on gingerbread and fork biscuits. The gingerbread recipe was quite simple and was one of her ( I am eternally grateful) throw everything pretty much in a bowl and mix. The only variance to this was adding the bicarb and milk to the mix and beating it in. I then poured the mix into my prepared tin and into the oven it went. I had to set the timer for an hour and then after an hour, turn the oven down and bake for a further half an hour.

Mary Berry's Iced Gingerbread with Stem Ginger

I think my oven is getting old and temperamental as from the time the gingerbread went in to the time it came out, the oven door was not opened once yet the cake sank in the middle….and no, I didn’t open the door, even the tiniest bit to check it! I looked through the window with the light on. So I turn the cake out and ice it upside down so all the icing doesn’t pool in the middle of the cake! Oh and thanks to hubby, I didn’t add the chopped up stem ginger to the icing as he “wasn’t keen”!!!!

Kim's Gingerbread Kim's Iced Gingerbread

The second recipe had to wait until the gingerbread had cooked as it required a hotter oven. It was Mary’s fork biscuit recipe which looked quick and simple and I used her suggestion at the bottom of making them citrusy by adding some grated orange peel. The recipe was again quite simple, mix the four ingredients together, and form a dough. Divide the dough into approximately 16 walnut size balls and use a fork to flatten the biscuits. Bake for about 15 minutes.

Mary Berry's Fork Biscuits

The resulting biscuits didn’t spread out as much as Mary suggests they do but they were light and quite tasty. I am keen on the Mary philosophy that they don’t all need to be the same size either to taste okay!  I might consider doing these again.

Kim's Fork Biscuits

I am missing all my favourite programmes at the moment- no more Great British Bake Off, no more Mary Berry Cooks and no more Dr Who at the moment. Having been off for a few weeks recovering though, I have watched an awful lot of TV lately and when I list what I have watched and enjoyed recently, you will get an insight into my TV tastes…lol….so here we go…..Haven, The Mentalist, The new Ironside, Hawaii Five O, The Following, Revolution, About a Boy, Grimm……see no soap operas in sight …..

Endometrial Ablation – a personal view

This week I underwent a gynaecological procedure called an endometrial ablation.

Without going into too much detail, it was because I had been having really heavy periods to the point that it was difficult to function and no medication made any difference to the pain or flow.

My gynaecologist advised that this procedure should help with this ( and with the endometriosis that causes the problems) and it was pretty much this or a hysterectomy. At the age of 44, and with only 1 ovary, I thought I should try it.

The procedure itself was straight forward and uncomplicated and you can read more about the procedure here.

I had done a lot of research about this on the internet and most forums seemed to have entries by “super women” who say that they have had the procedure done and been back to work and back to normal the next day. I didn’t think this was realistic but there was little other information from more average women so I have decided to blog about it as I want people to realise that everyone reacts in different ways to general anaesthetic and surgery and healing takes time.

When I went for my pre-op assessment, the nurse told me to take it really easy for the first week, not to lift or move anything heavier than a coffee cup and no standing in one place for a long time. No cooking , vacuuming, shopping, walking the dogs etc.

My surgeon said the procedure of the diagnostic hysteroscopy and the endometrial ablation were routine and uncomplicated but still signed me off work for 2 weeks with advice for a phased return.

To date, I have felt okay after the general anaesthetic, the pain has been mainly from the gas used to inflate my womb to inspect it and the main symptom has been tiredness. I know if I have spent more time up and walking or standing than I should as I get really shaky and have to sit down immediately and have a biscuit and drink to recover.

I wanted to put this out there for those women contemplating the procedure. You won’t all be “super women” who can have the procedure and be right as rain the day after. It is a serious intervention and you need to allow your body the time to heal and ensure that you look after yourself. This will not happen in 2 days.

I have had some pain from the operation and wasn’t sent home with any pain relief but I am managing the pain at home with hot water bottles and over the counter paracetamol and codeine and ibuprofen. The pain is no where near as bad as those bad period pain days and I am hoping that those days will no longer be in my future as this procedure should make any future periods light and manageable.

Good luck if you are looking to have this procedure done. It’s early days for me at the moment but so far so good in my recovery. Just remember that we all recover at different rates and listen to your body. Don’t try and do too much too soon.

10/05/2014 just a quick update. I am about five weeks post-op and now back to work full time. I cannot stress enough of the need to listen to your body. I still get tired more quickly than usual and last week I felt awful. My abdomen was tender and I felt off colour and had dreadful night sweats. I managed to get a GP appointment quickly. I had an infection despite do I g everything that I was told to for best recovery. A week of 2 lots of antibiotics and painkillers and I can honestly say I am actually feeling more like my old self.

TEAM CANADA WINS GOLD!

Yep it’s true… Canada are the Ice Hockey Kings and Queens, but have to admit $140 CAD for an Ice Hockey shirt does seem a bit much. However, if your not too fussy or patriotic, I’m sure you could get a USA one going cheap!!!

Andrew's blog....

Team Canada Men and Women’s Ice Hockey teams clinch Gold in both finals at the 2014 Sochi Winter Olypics!

The Women’s team beat out the USA 3-2 (OT) and the Men beat Sweden 3-0. Well done!

(Still wont fork out the CA$140 for a Team Canada hockey shirt though :P)

indexsafe_image.php

View original post

Week Seventy – Mary Berry’s Irish Soda Bread & Bath Buns

Week Seventy and I am ahead of myself this week. As it was half term, I managed to get a few days holiday at the end of the week and decided to devote Friday to baking and was super excited about it too! I sat with my usual cup of coffee and browsed Mary Berry’s Baking Bible and settled on her Irish soda bread recipe and the bath buns.

Mary Berry's Bath Buns

I began with the bath buns recipe as it involves yeast and therefore rising time. I made the dough as per Mary’s instructions and left the dough in an oiled bowl covered in cling film.  My kitchen wasn’t overly warm but I hoped for the best.

After an hour, the dough had barely risen at all. I wasn’t sure if it was because my kitchen was too cool or the yeast pack past it’s best. I pondered for a while and turned the oven on low. I left the bowl on the oven door with the remnants of the oven heat coming out for another half hour. It didn’t really change. I kneaded it again and divided it into buns and put cling film over them and left them on the oven door which was still slightly warm. At this point I was rummaging through my cupboard. I found a newer pack of yeast and decided to make a second batch. I made the dough again and left it to rise. This time, it did rise but still didn’t double in size. I then divided the dough into buns and covered them with cling film and they did rise slightly again. I decided to bake both batches to see how they came out.

Kim's Bath Buns

The bun on the left is the second batch and the lighter smaller bun on the right is the first batch. Actually they both tasted okay but the second batch was better. I think I will ensure that I have really fresh yeast next time and ensure that the kitchen is warmer but I enjoyed making them and will probably make them again.

The irish soda bread in comparison was an easier bake. The dough was easy to make and no yeast or rising time to contend with. Mary tells you to shape the dough into a round and bake for about half an hour in the oven and then turn it upside down for about 10 minutes to ensure the bottom is baked- no soggy bottoms here!

Mary Berry's Irish Soda Bread

The result was a round rough looking loaf of bread. The weight of it compared to a normal loaf is astounding- really heavy. You could use this recipe to make bricks I think!

Kim's Irish Soda Bread

Anyhow, as my other dad isn’t supposed to eat anything with yeast in it, he got the whole loaf to eat. I did leave him some bath buns too!

Link

Week Sixty Five and what a week this has been! My chief taster has not been well and had to spend some time in hospital and although this cake was made, not all of it got eaten in the rush of all that happened last week!

I chose the lemon yoghurt cake from Mary Berry’s Baking Bible as I thought it sounded quite interesting and was a bit of a change. You need 2 mixing bowls for this as you beat the sugar, butter and egg yolks together, add the lemon and yogurt and beat until smooth. Then fold in the flour. In the other bowl, whisk the egg whites until they form soft peaks and fold into the main cake mix. Pour into the tin and ……bake!

Mary Berry's Lemon Yoghurt Cake

The cake took about an hour and a quarter to bake and then once cool, Mary asks you to mix some icing sugar with some lemon juice and spread over the top. This cake is best kept in a tin in the fridge. I found it quite a dense cake and you didn’t want too much.

Kim's Lemon Yoghurt Cake

I thoroughly enjoyed watching the Sport Relief Bake Off episodes and mostly managed to predict who the winning celebrity would be each time! I made my donation, there is still time for you to make yours- go on, you know you want to!

Week Sixty – Mary Berry’s Bara Brith & Iced Animal Biscuits

Another landmark week, I can’t believe I have been blogging and more importantly baking regularly for SIXTY weeks! This week’s selection was a tribute to the welsh part of my family with a Bara Brith. I had to soak the dried fruit and sugar in half a pint of strong tea overnight. I must admit that I didn’t think the amount of liquid would be absorbed but Mary Berry‘s instructions were spot on. Once the fruit mix was done, I added the flour and an egg and mix it all together.

Mary Berry's Bara Brith

I lined my loaf tin and poured the mixture in and levelled it. Into the oven it went and the timer set. Soon enough the pinger sounded and I tested the loaf with my trusty skewer, not quite ready so it had a few minutes more. Then out of the oven and cooling in the tin for a few minutes before removing from the tin and placing on a cooling rack. A Bara Brith loaf in memory of my Auntie Shirley and Uncle Bill.

Kim's Bara Brith

Mary’s Baking Bible has a children’s recipe section which I have done quite a few of already. I chose her iced animal biscuits this time around, they sounded like fun for a big kid like me.

Mary Berry's Iced Animal Biscuits

I mixed the dough together as per Mary’s instructions and looked in my box of cutters to see what I had in the way of animal cutters. What did I find- a present from last Christmas from my mum – a Gromit cutter, what better for a dog lover than making some dog inspired iced animal biscuits!

Gromit Cutter

I rolled out the dough and cut out as many Gromit heads as I could. I wondered what they would look like iced and decided to use some circle cutters on half the biscuits to mark out Gromit’s nose and eyes as an experiment. Into the oven the biscuits went in batches. They didn’t take long to bake or cool.

Kim's Gromit biscuits

I mixed up some various colours of icing and used an artist’s brush to paint the icing onto the biscuits. I still don’t know which ones I preferred.

Kim's Iced Animal Biscuits


I’m a Celebrity is now on and has been extremely entertaining from the first episode. I will reserve judgement until the next blog on who I think will or should be King or Queen of the Jungle! On a final note, the Fiftieth Celebration of Doctor Who is on this Saturday, I have reserved my sofa seat with the obligatory cushion to hide behind and won’t be answering the phone until I watched every last minute!

A BIG Thank You!!!

We set this blog site up back in September 2011 as a way to keep in touch with family and friends on a trip touring the Canadian Rockies.  It also enabled us to keep a diary of our entire trip.

Well the blog has moved on a little since then, especially when Kim decided to start baking using the Mary Berry Baking Bible.  I suggested to Kim that she blog about her baking experiences and share the ups and downs with others and that is precisely what she’s done and because of Kim’s baking challenge, I can say that our blog has reached a milestone:

We have broken the 20,000 visitor mark today!!!

So Kim and I would like to say a BIG thank you to everyone that now follows our blog and to all those that have visited.  We hope that you have enjoyed reading the postings and hopefully,  you may even have found some of them useful….

What’s next?  Well for the time being, Kim will be continuing with her baking challenge and I intend to start posting photography and wildlife entries now that the winter is drawing in.

We both look forward to your continued support in reading our postings over the next 12 months.

Thank you

Lewis & Kim Brown :0)

P.S.  You may even find that we will try and re-design and improve the layout of our site over the coming months, although as neither of us are web developers this could prove interesting.