Week Seventy Four – Mary Berry’s Sultana Streusel Buns & Banana & Chocolate Chip Bars

Week Seventy four found me up at silly o’clock on a Sunday morning , having walked the dogs and completed both bakes by 8.45am! I chose Mary Berry’s sultana streusel buns and the banana & chocolate chip bars from her Baking Bible.

Mary Berry's Sultana Streusel Buns

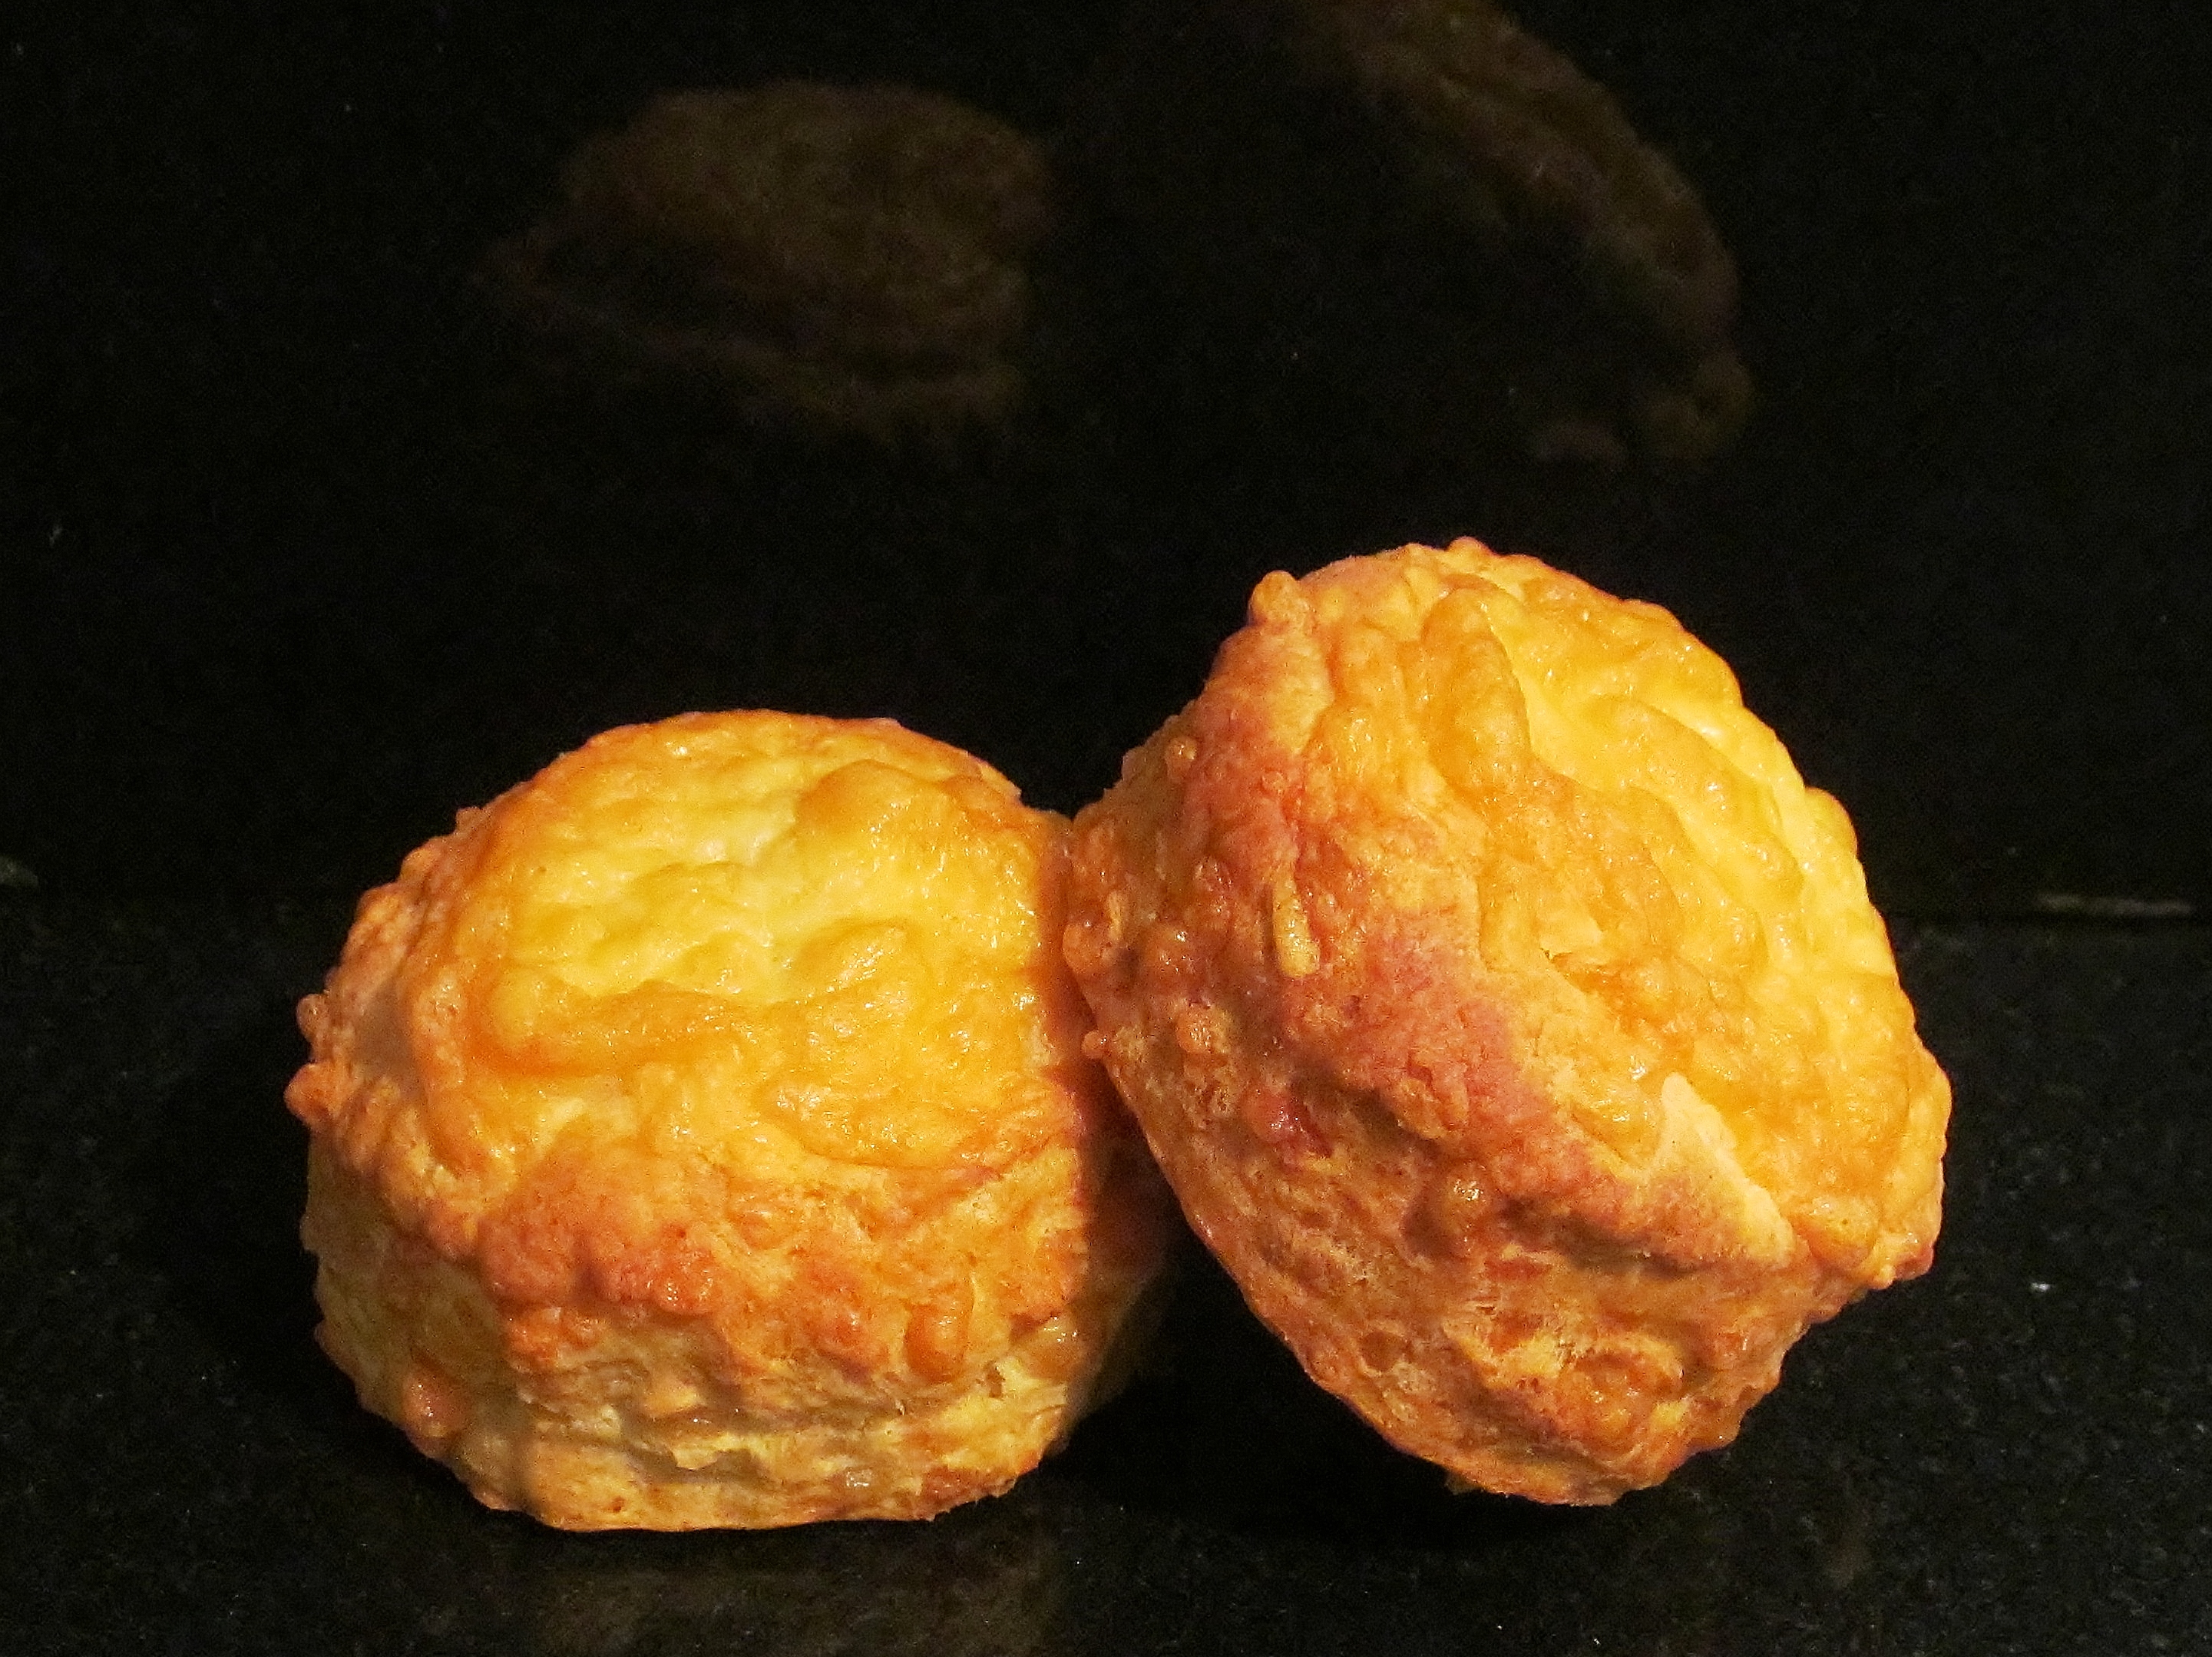
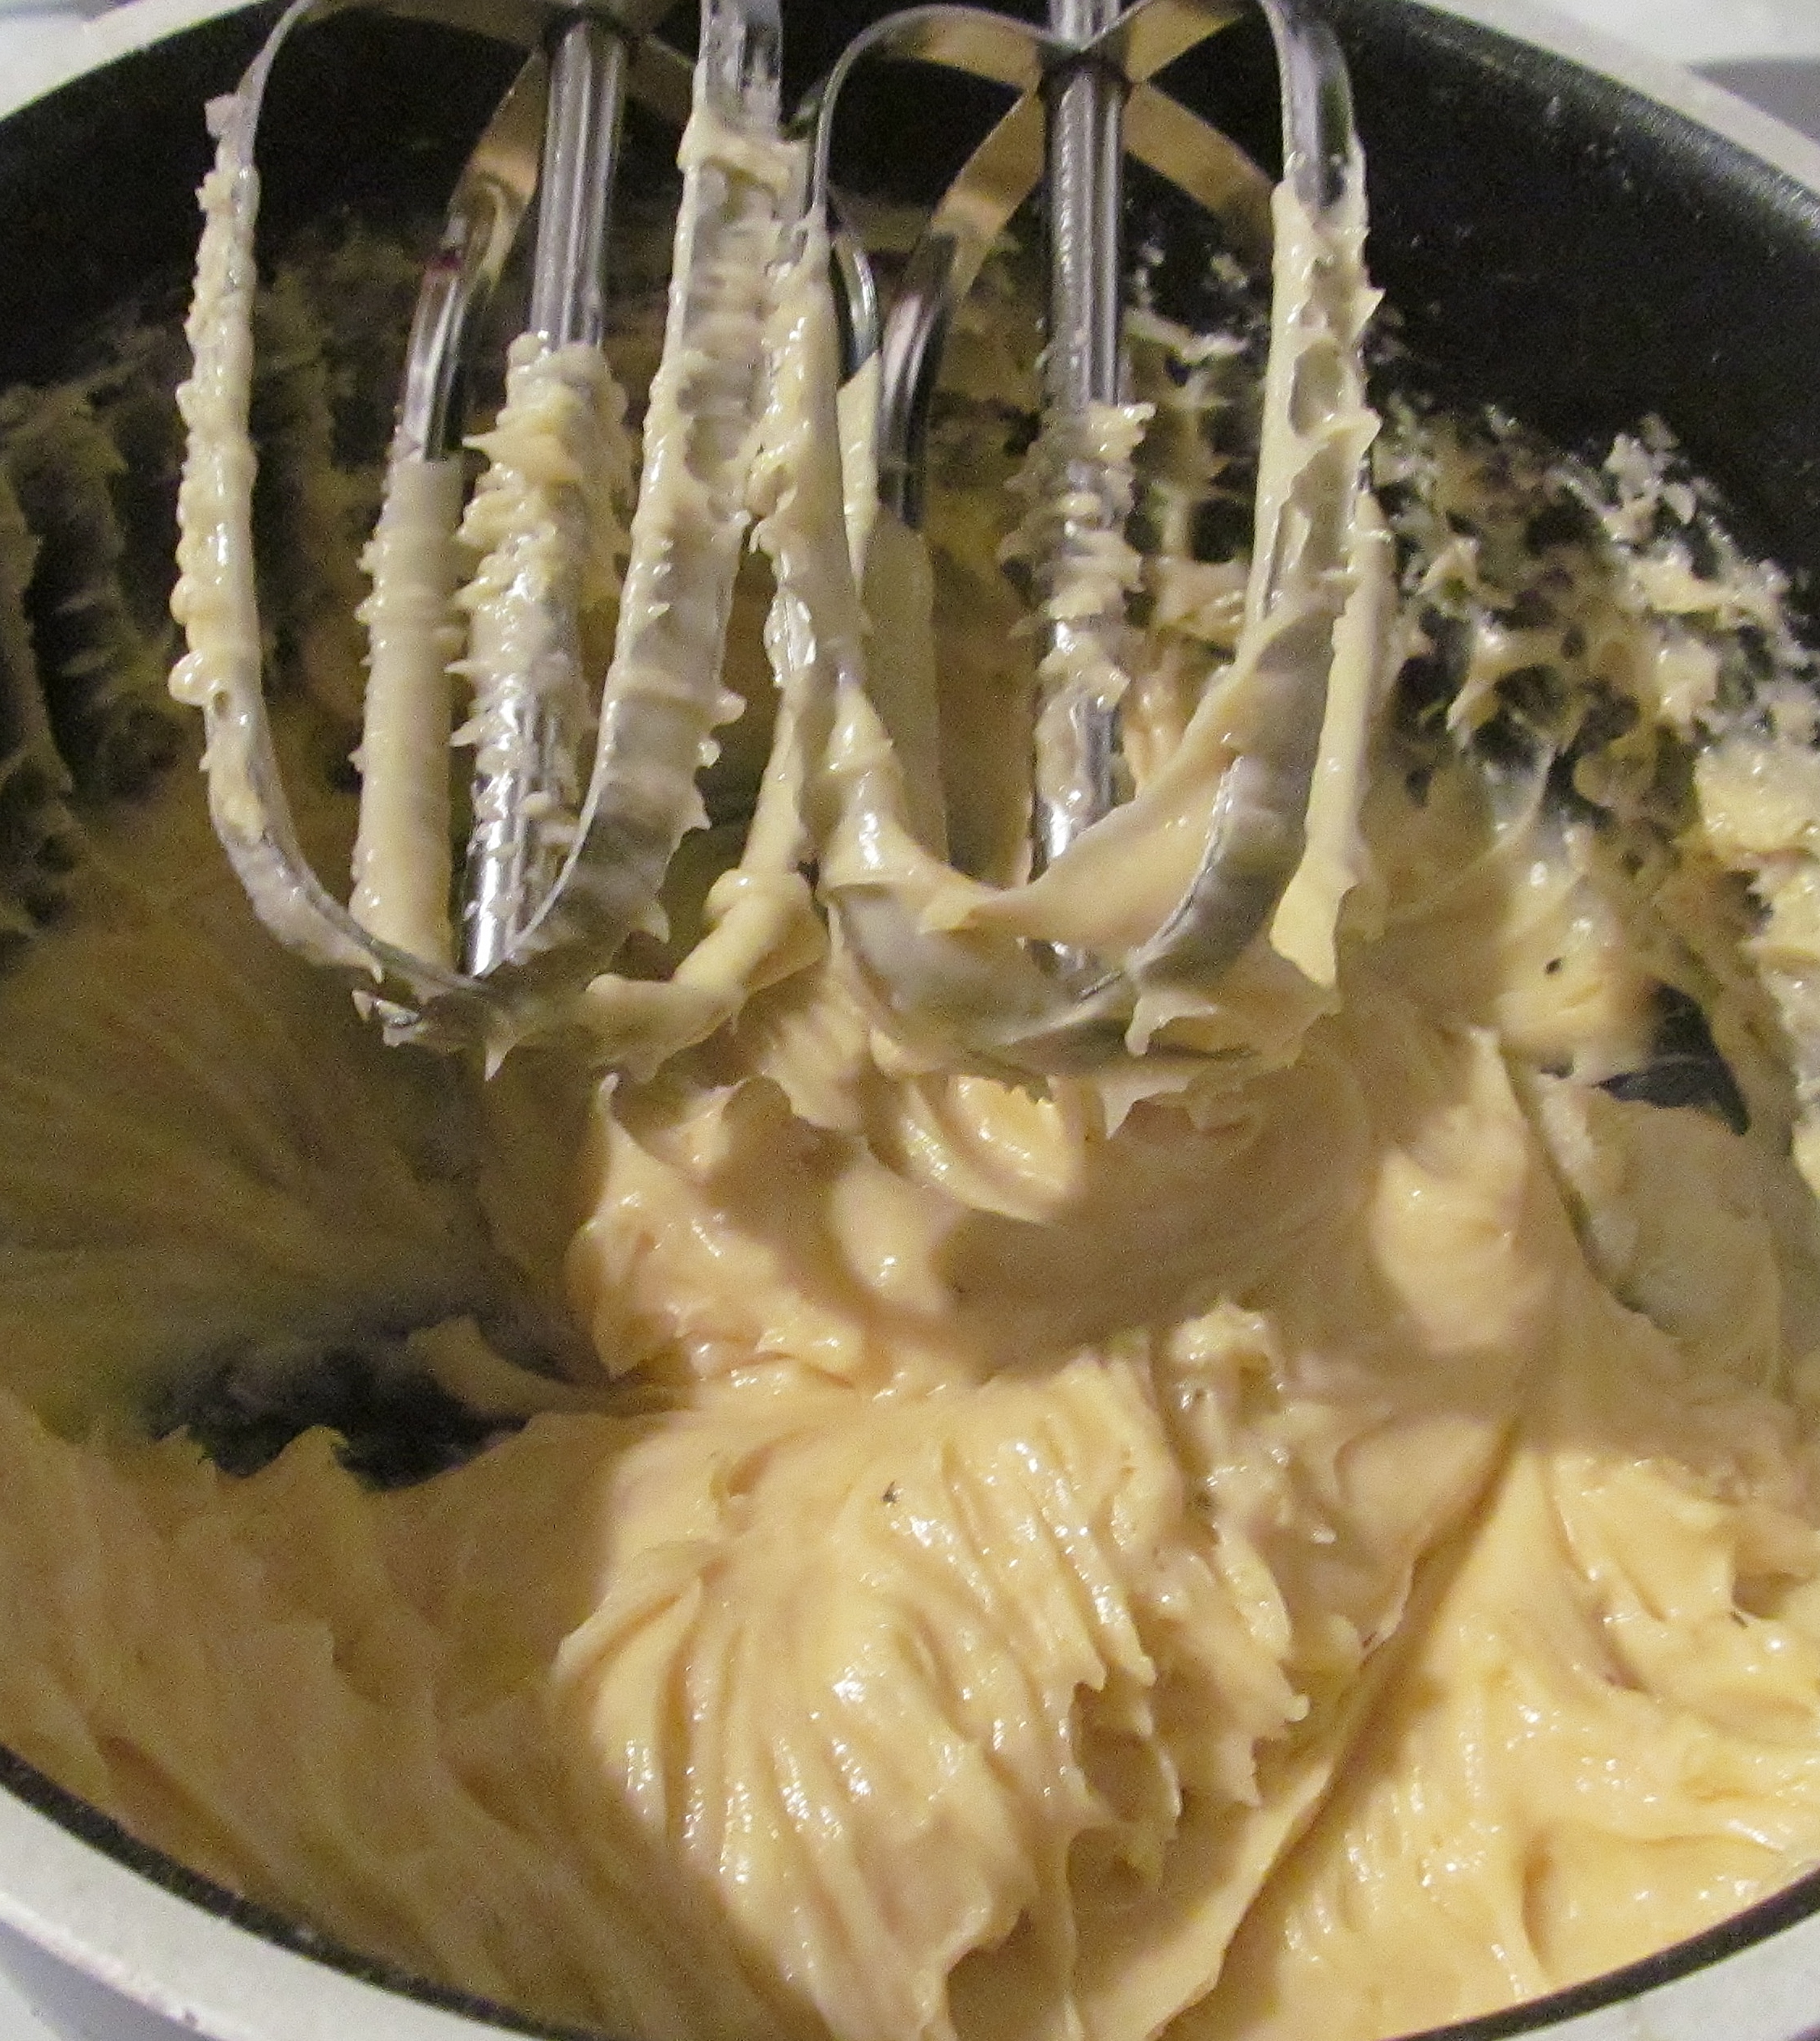
I made doubly sure that I read the recipe for the sultana streusel buns before I started, as I didn’t want any disasters this week. Mary asks you to put the flour and baking powder in a bowl and rub in the butter until it looks like breadcrumbs. I must admit this is my least favourite method as I never feel that it looks like it should! Mary then asks you to stir in the sugar and the sultanas. Then lightly beat the egg and milk together and mix all in one go to the bowl and beat to a smooth mix. Put spoons of the mixture in the cases.

This recipe has a topping that is made by flour, sugar and melted butter. Use a fork to mix it until it is crumbly and put a spoon of this on top of each bun. Then put it in the oven.

Kim's Sultanas Streusel Buns

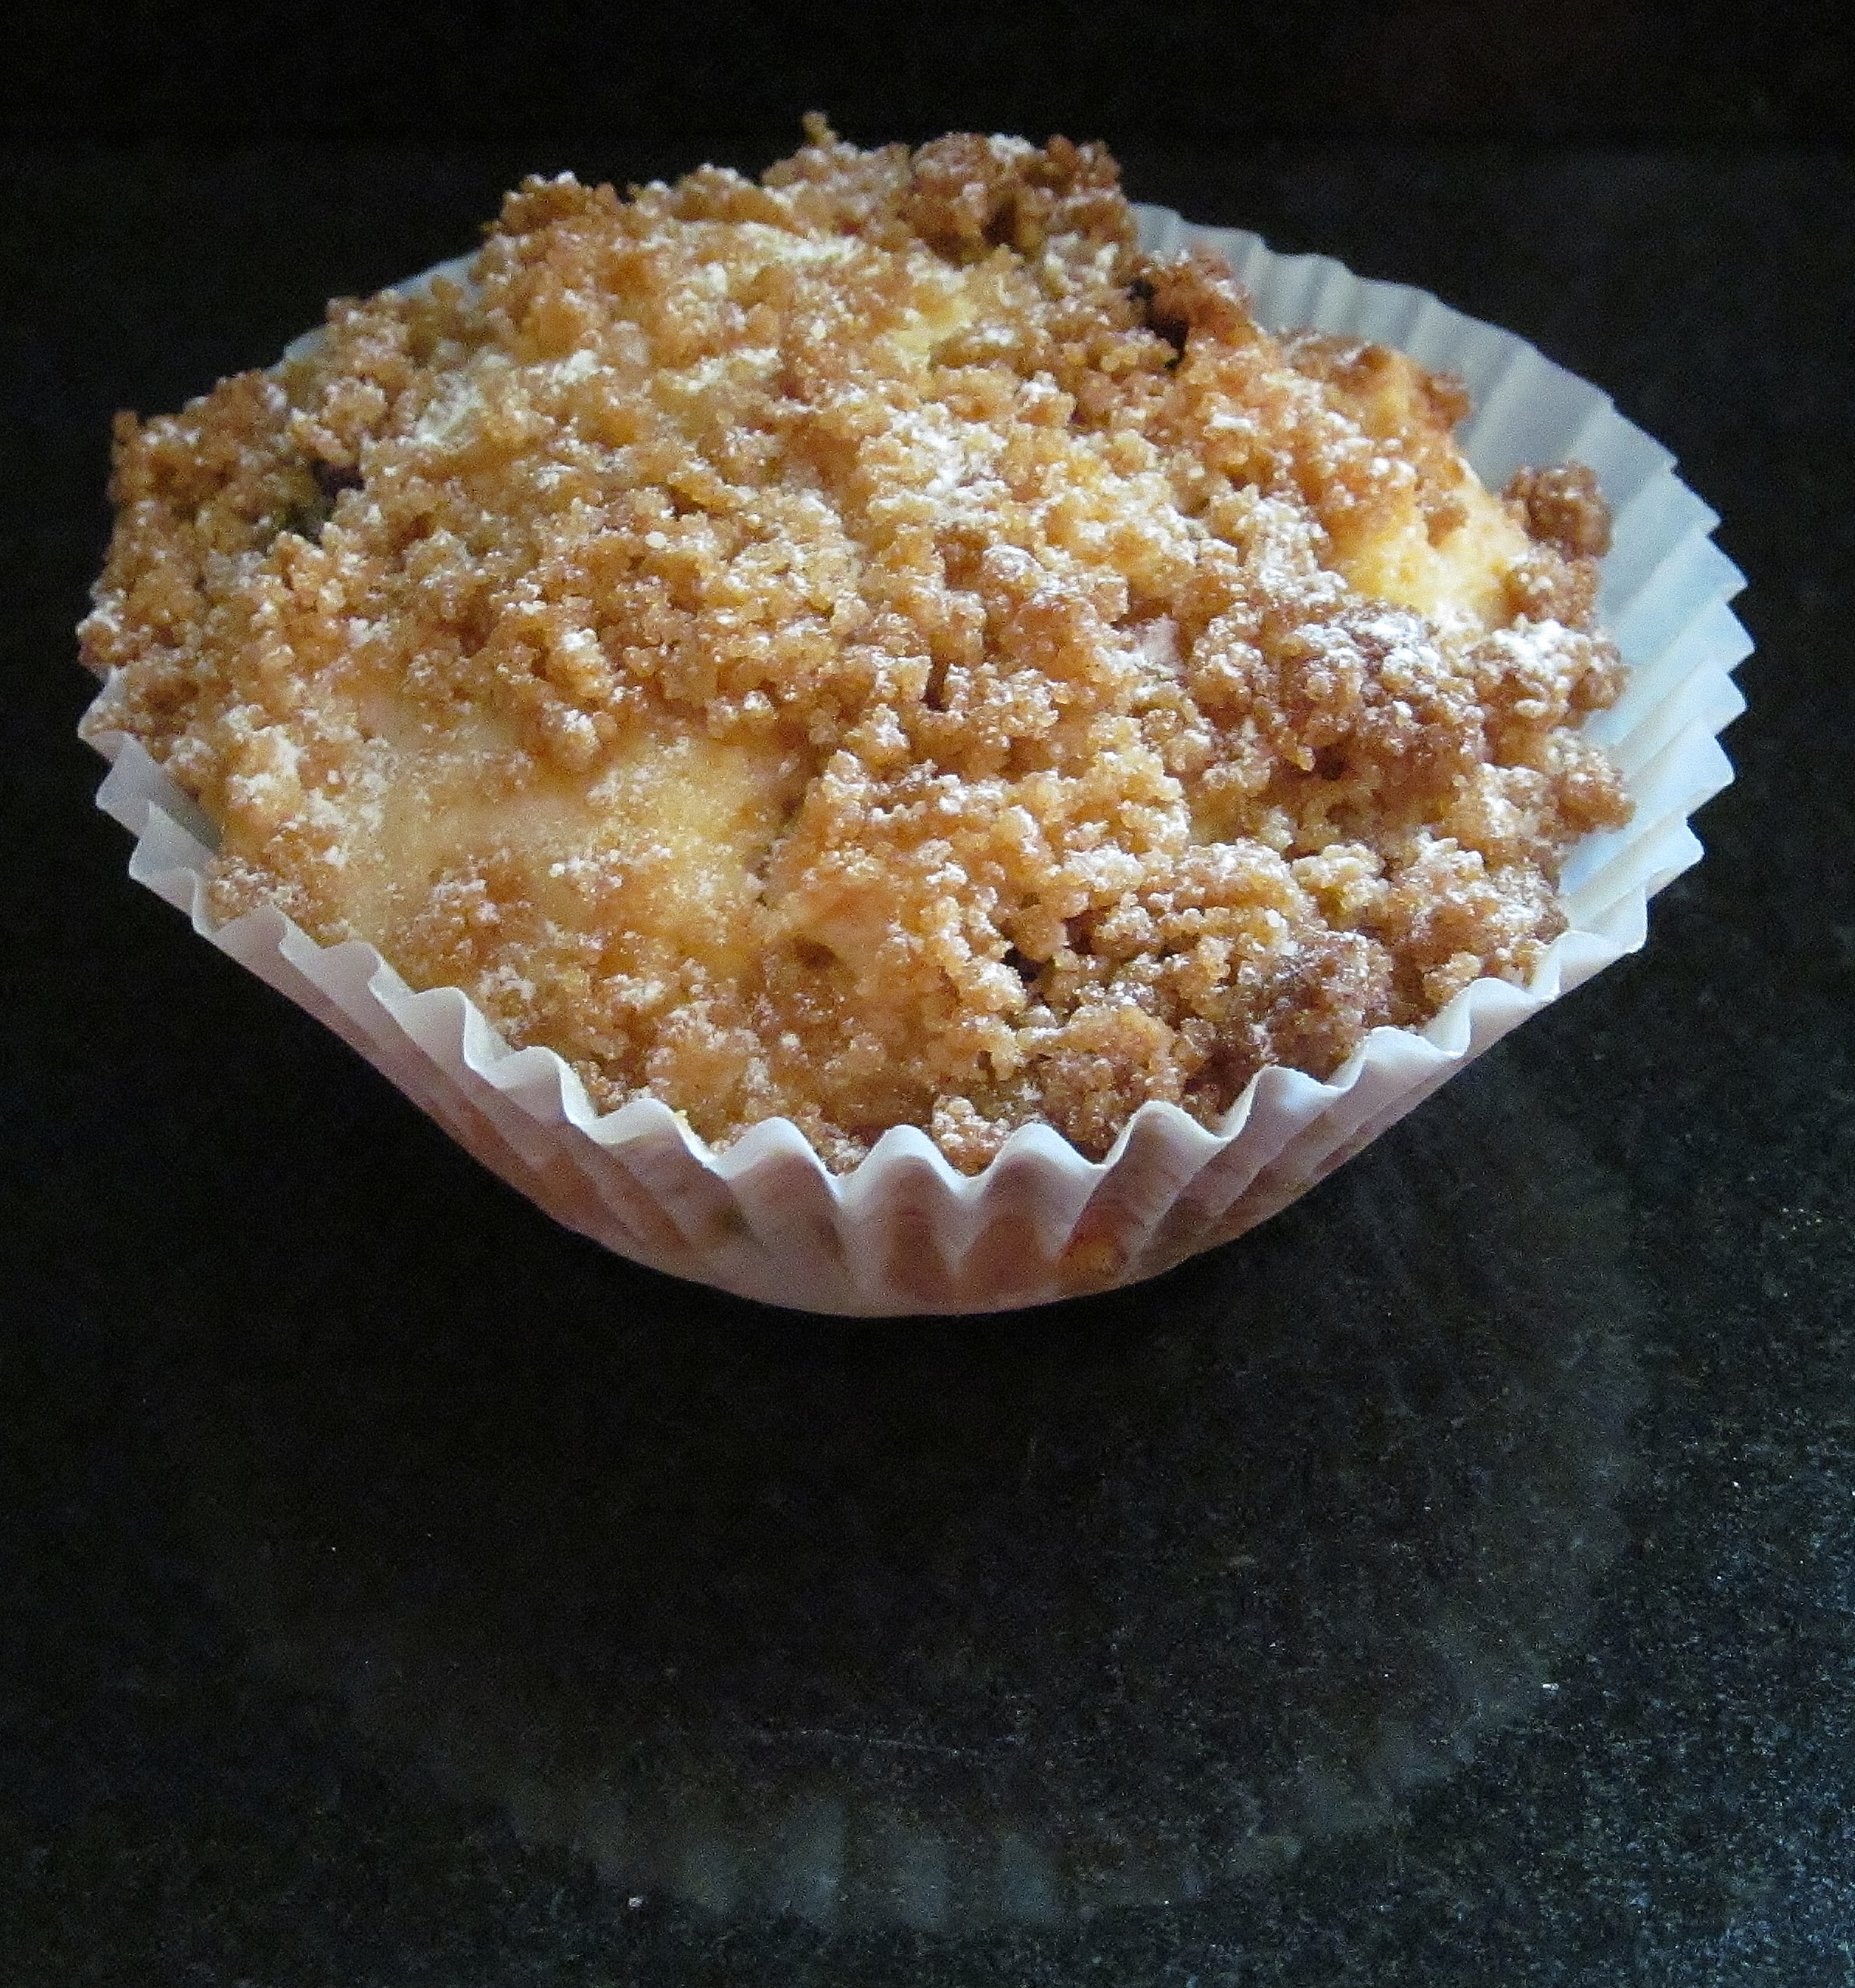
I have never made these before and they needed about 5-10 minutes longer to cook than Mary suggests but they looked quite unusual.

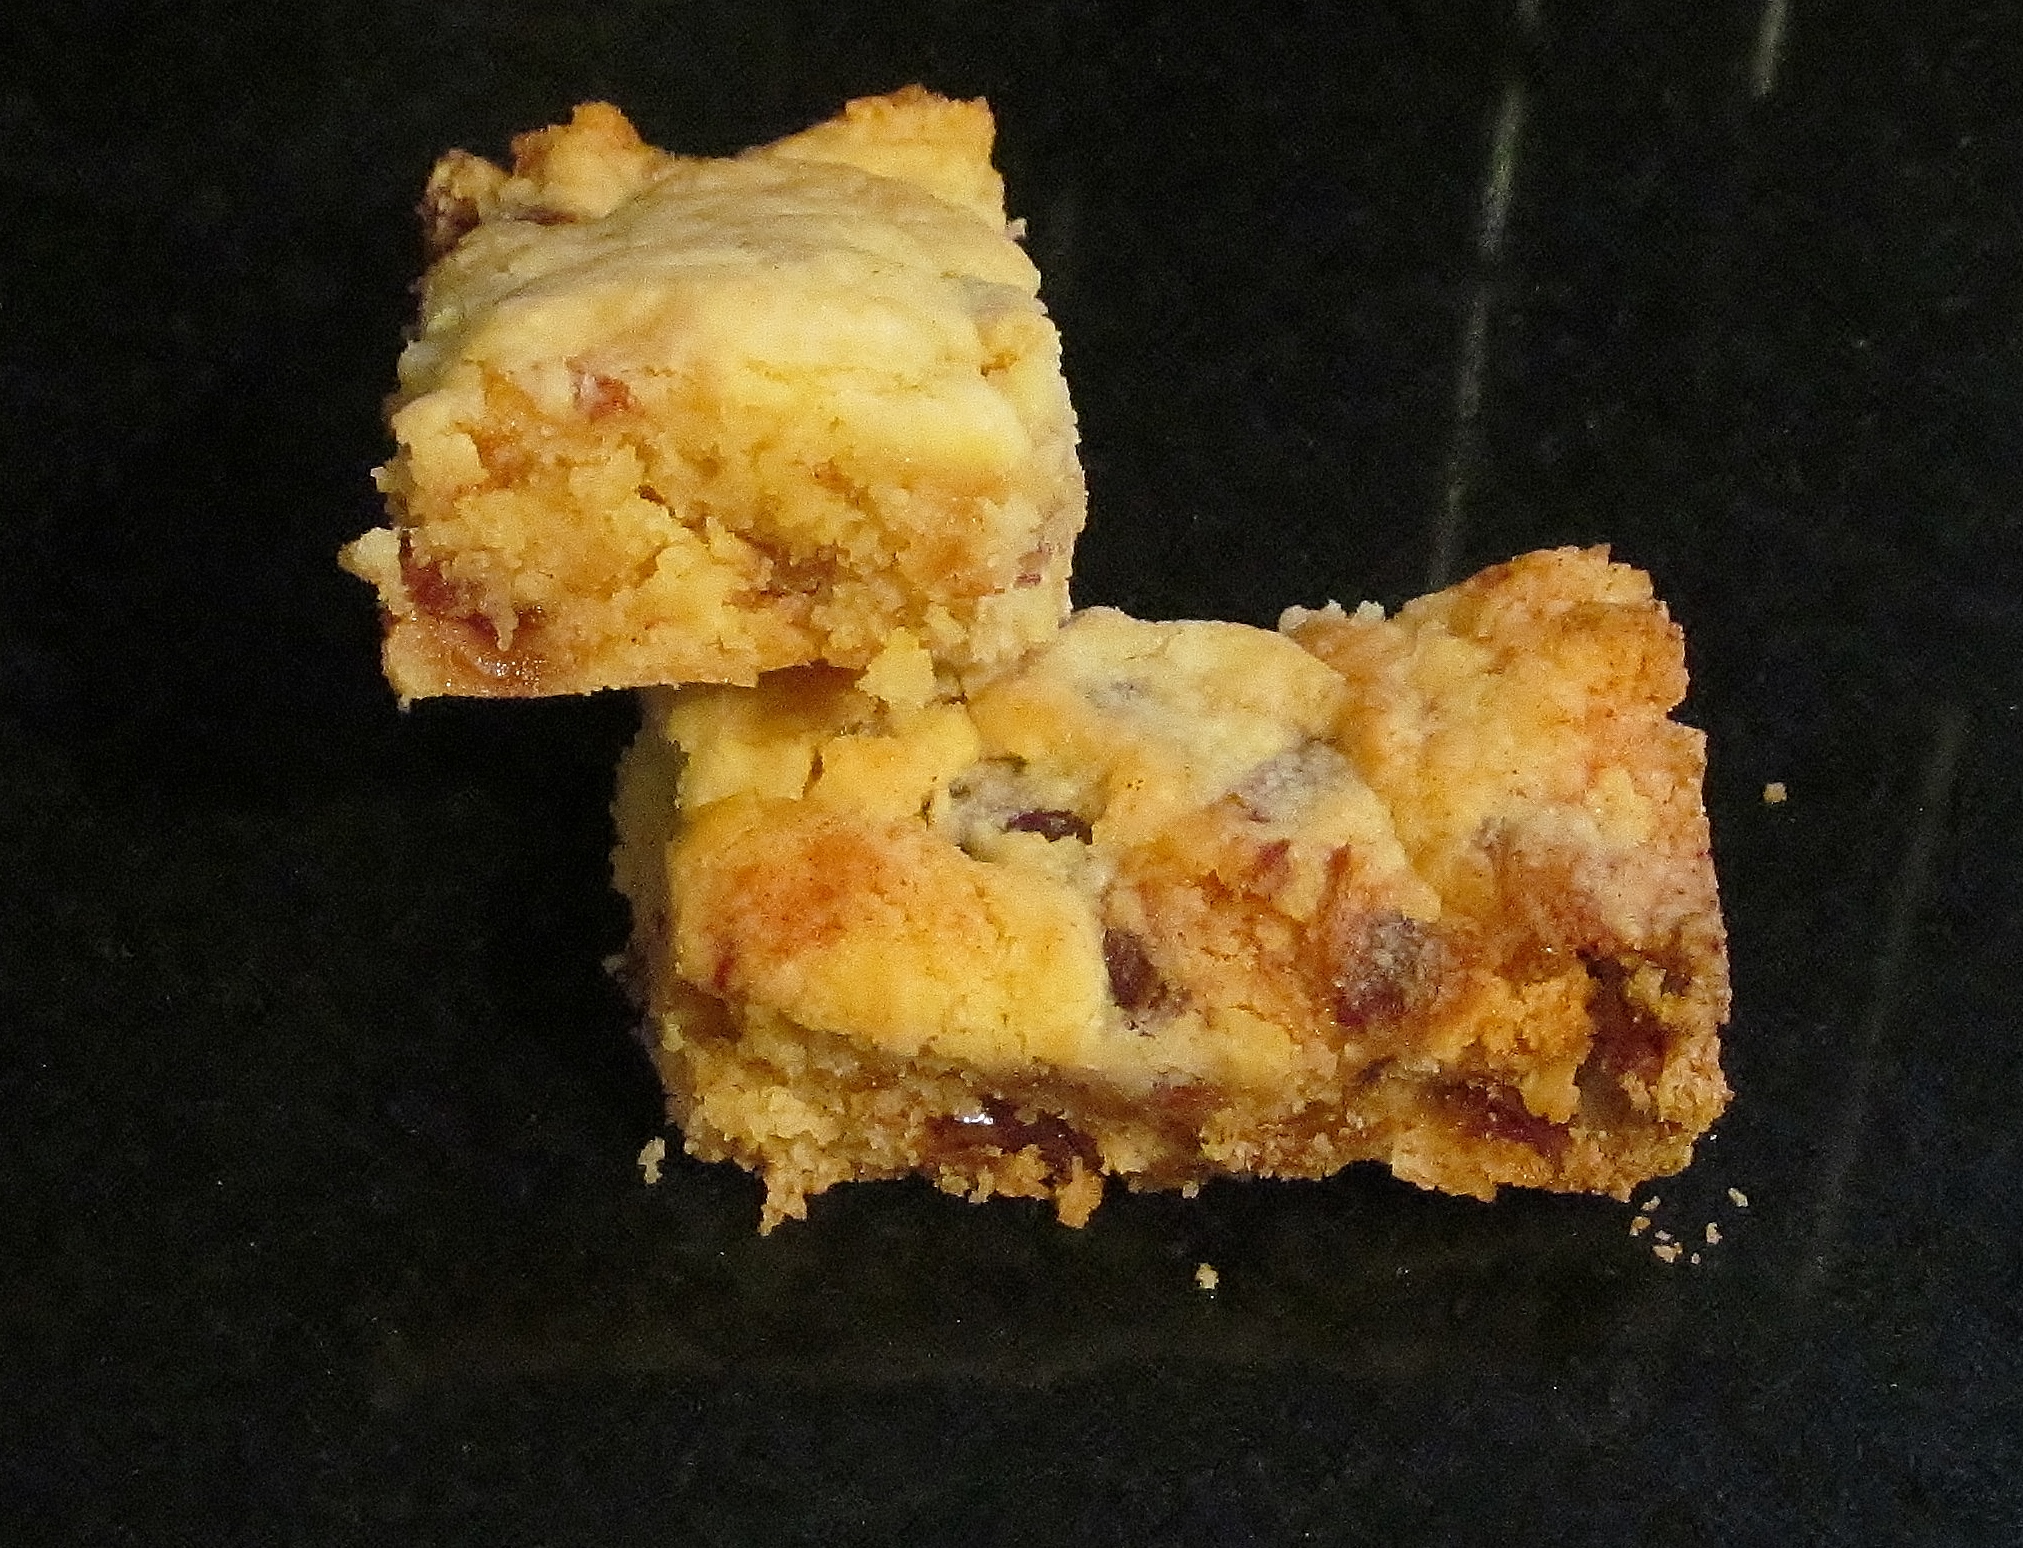
The second recipe was the banana and chocolate chip bars. As I have mentioned before, my hubby is allergic to banana and I have made other banana recipes when visiting my mum so that the family can eat them. Mary does suggest in this recipe that you can substitute apricots for the banana so that’s what I did.

Mary Berry's Banana & Chocolate Chip Bars

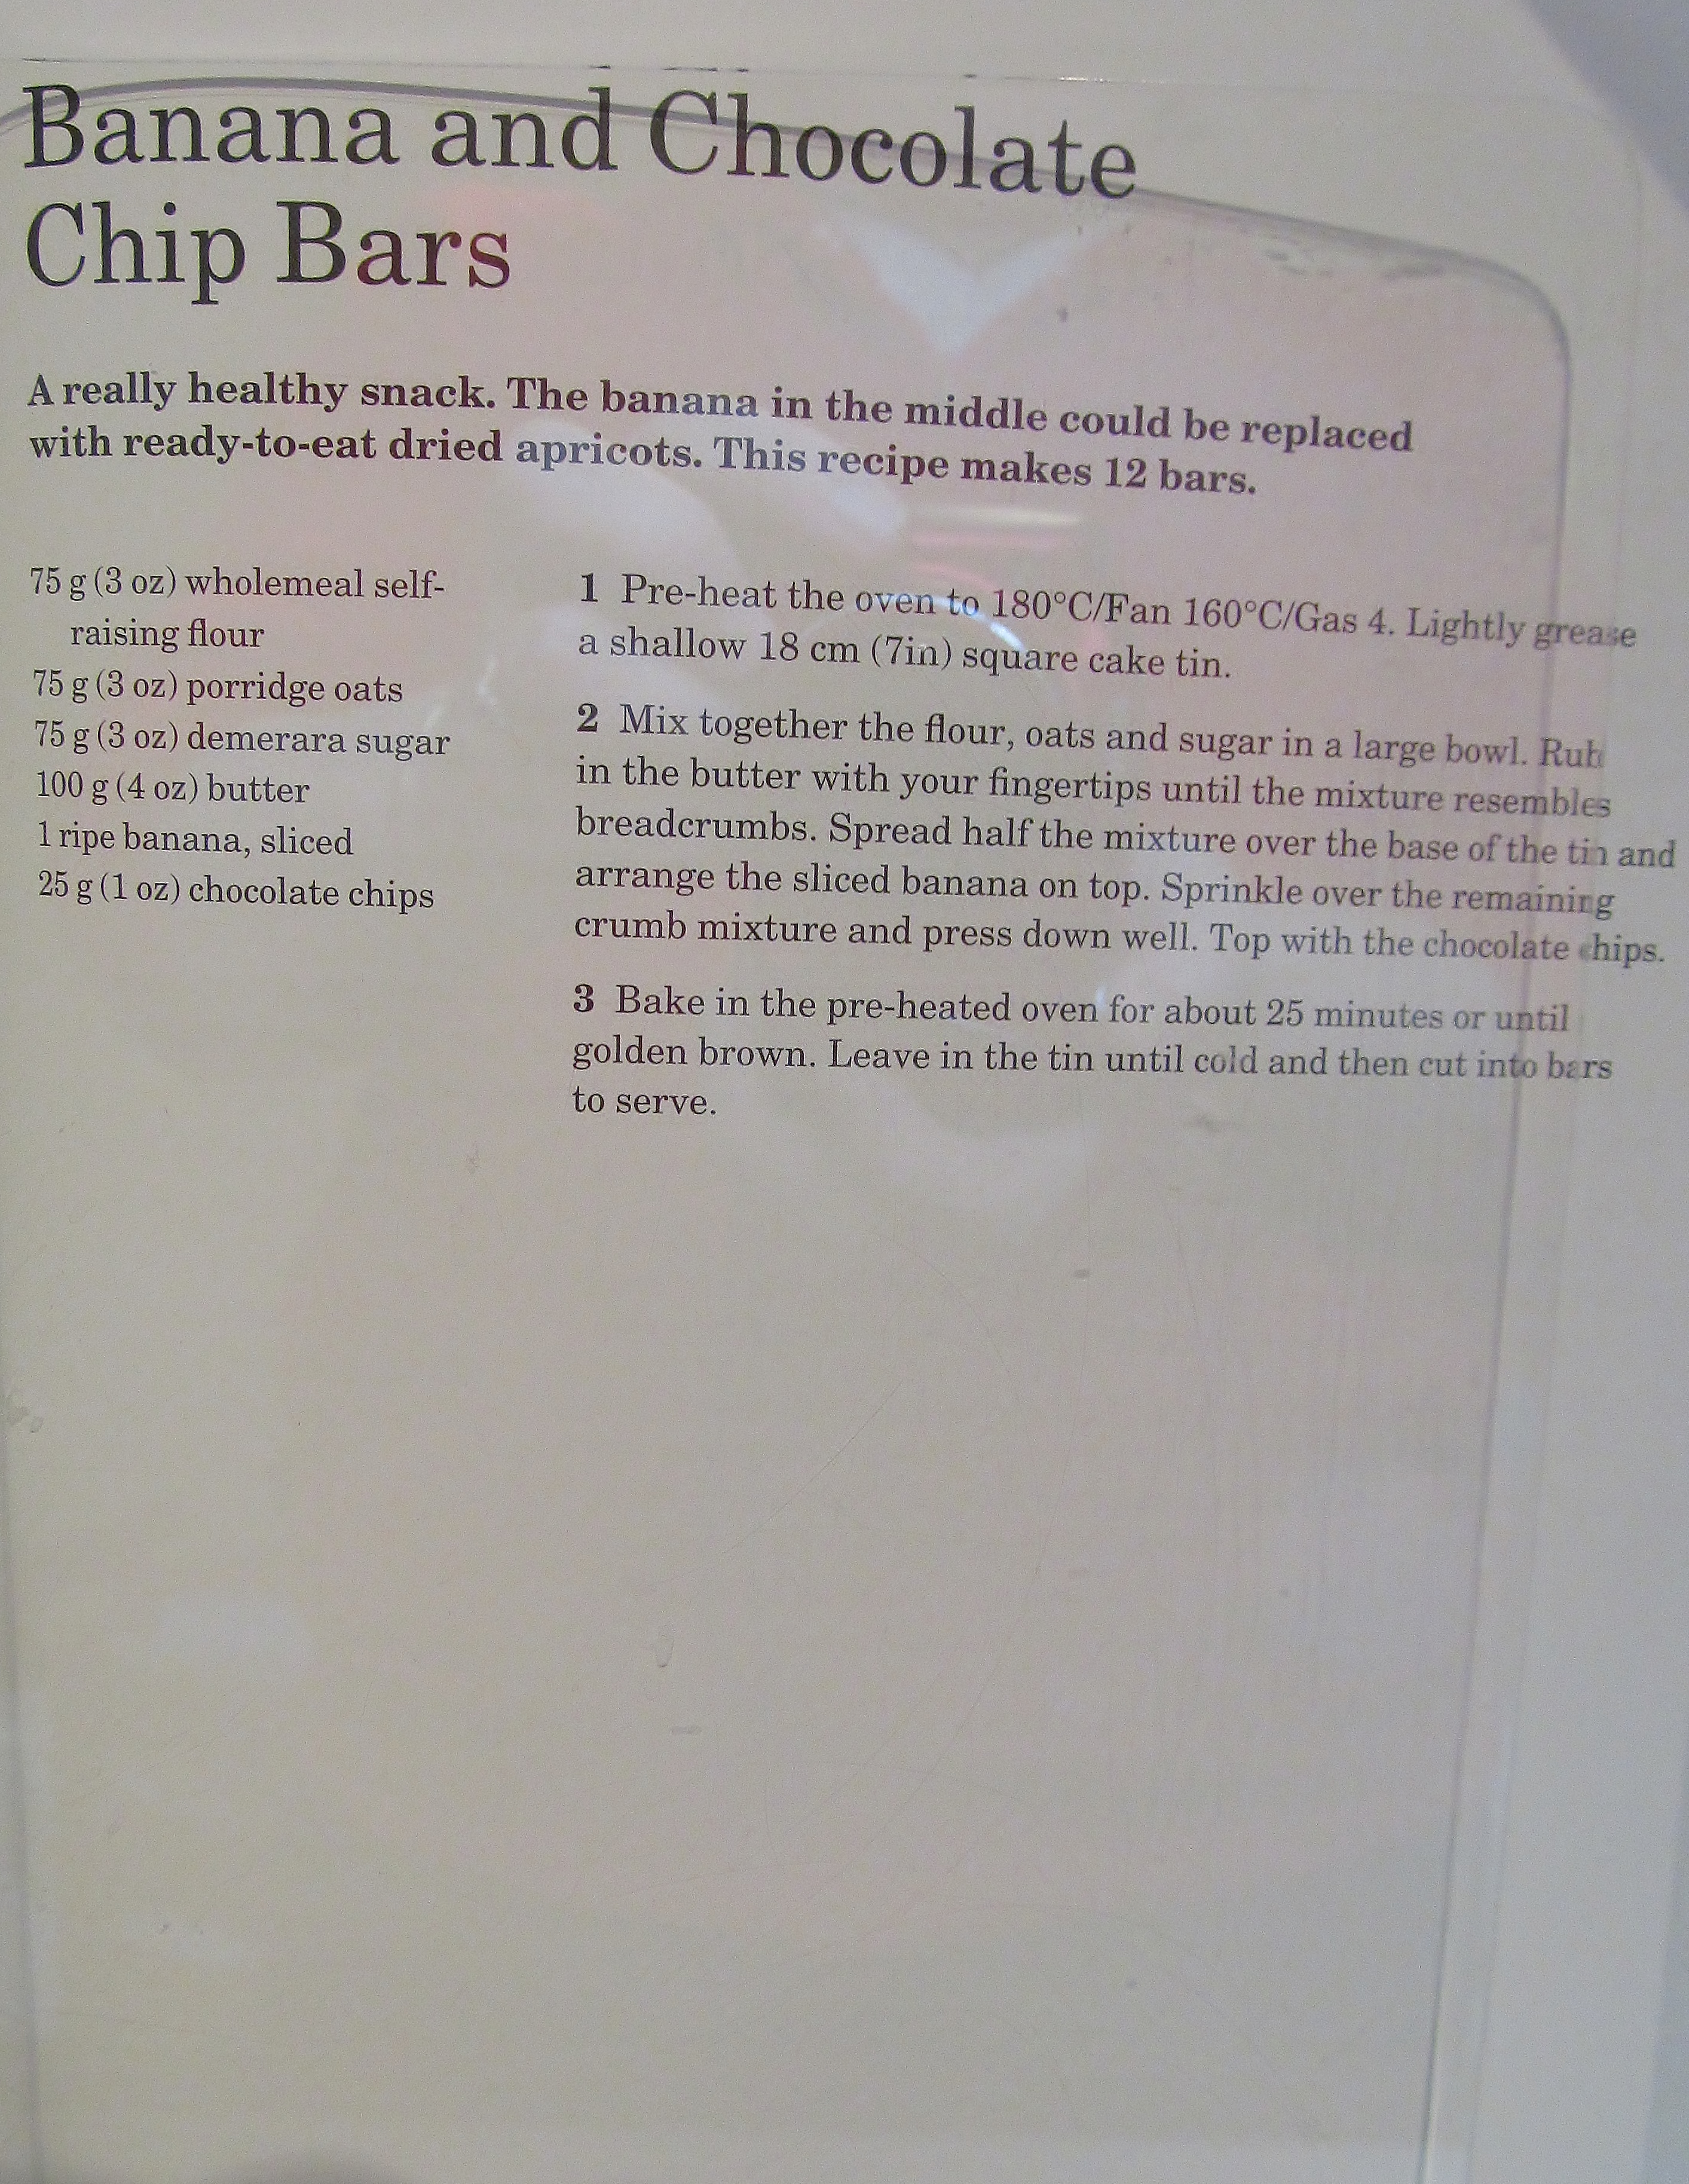
The recipe is quite simple. Mary asks you to put the flour, oats and sugar into a bowl and mix and then rub in the butter- ( did I mention that I don’t like this method?!) Put half the mix into a tin- Mary suggests a square tin but I put mine in a round one. Then add the apricots and then top with the rest of the mixture. Bake in the oven.

Kim's Apricot & Chocolate Chip Bars

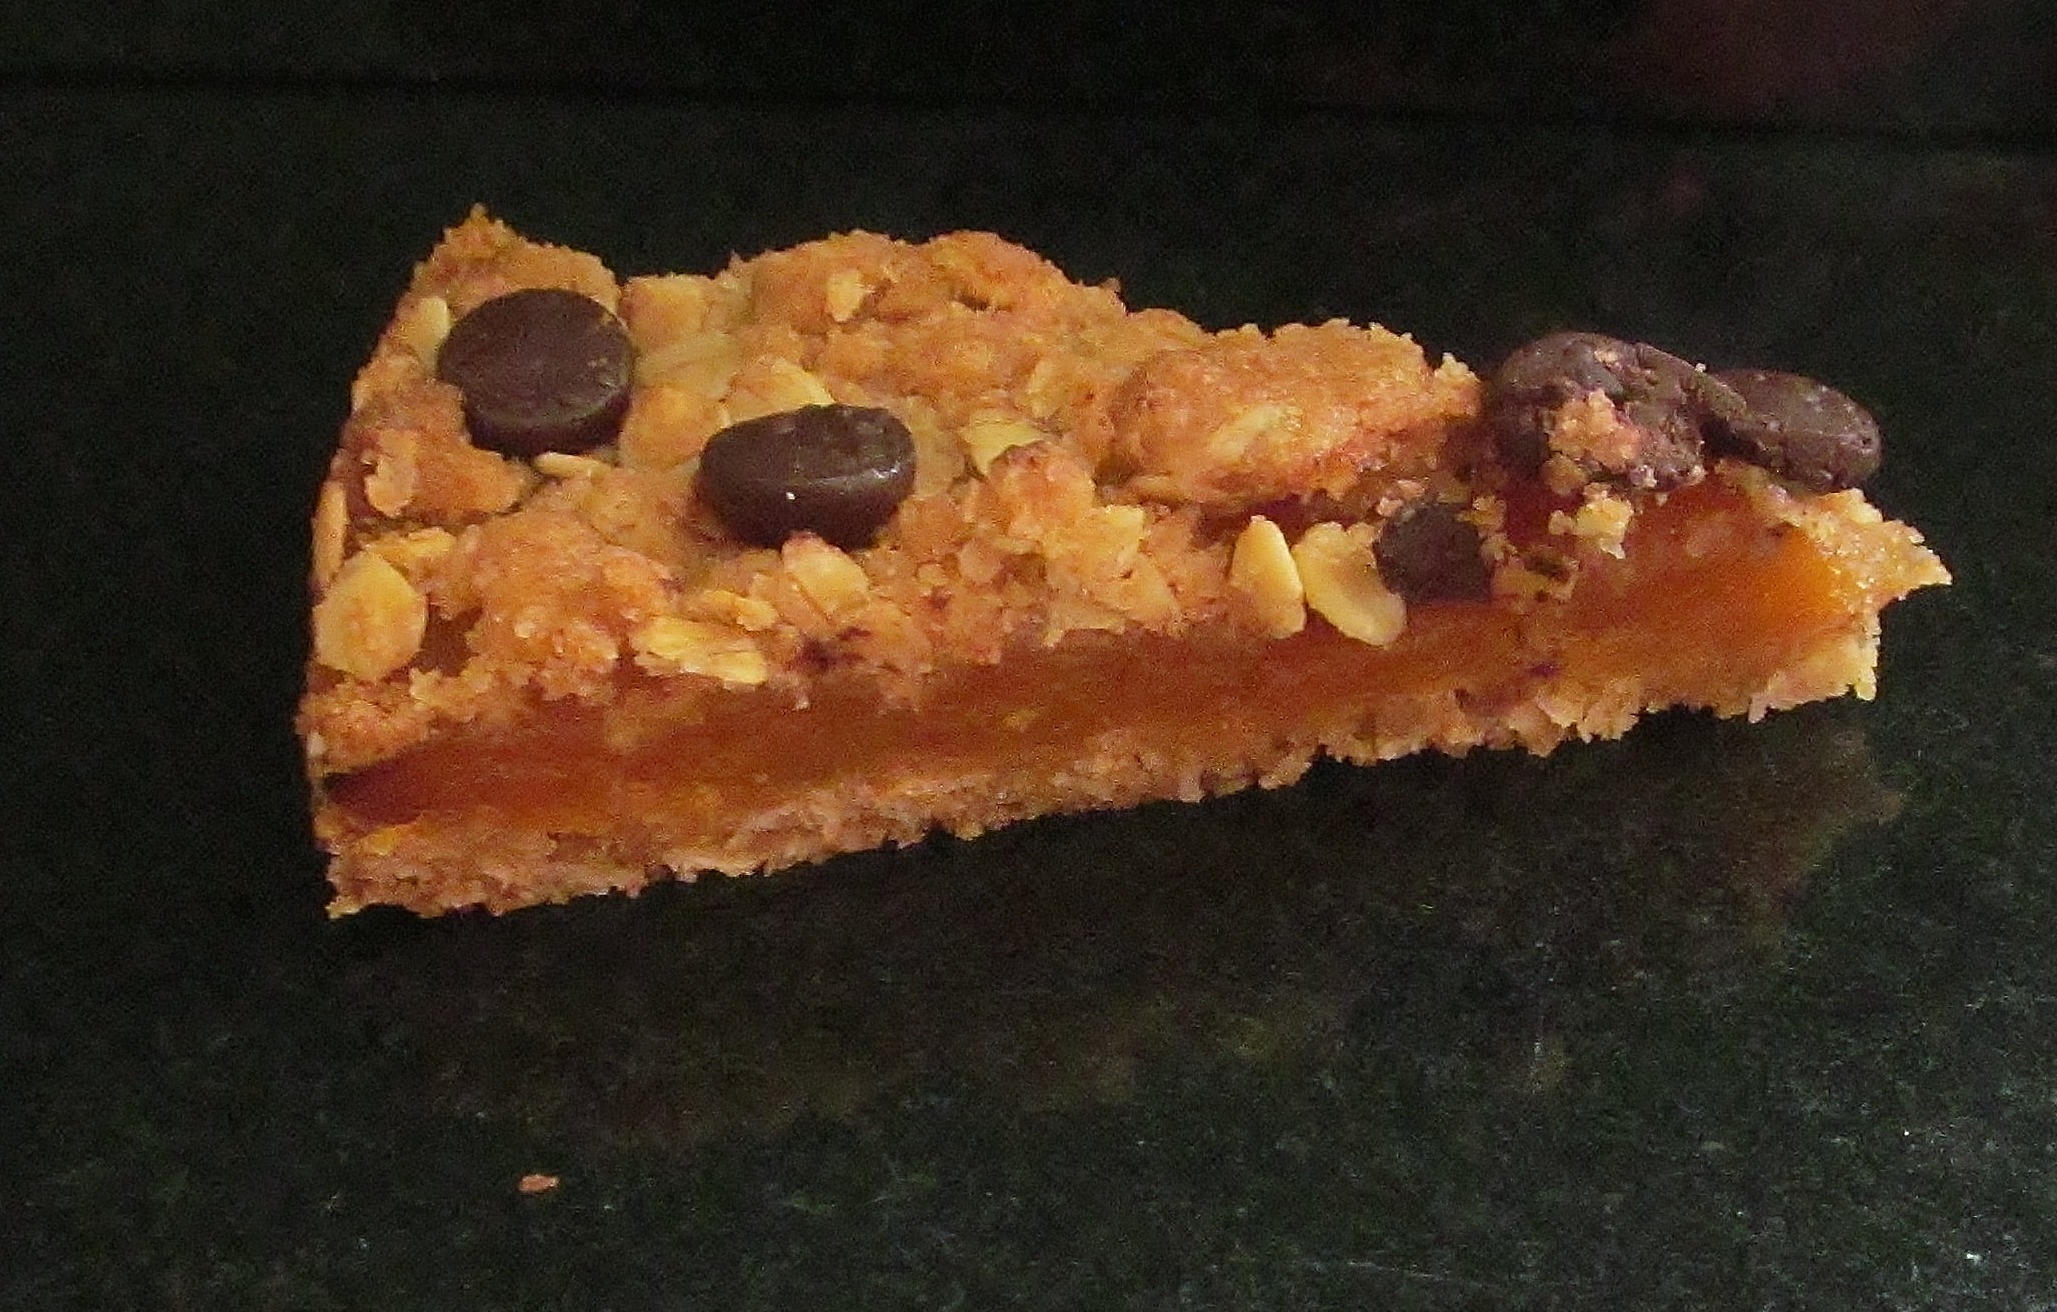
Allow the finished product to cool in the tin and then cut into bars. I am renaming my bake to “Mary Berry’s Apricot & Chocolate Chip Bars”

The countdown continues…..120 left to go…..

Week Sixty Three – Mary Berry’s Date & Cherry Butter Bars

After a few weeks of not baking for my challenge of baking every recipe in Mary Berry‘s Baking Bible, it felt a little strange to get her book out again and look for something easy to ease myself back into this. This recipe is one of her tray bakes and as I had cherries and dates left over from Christmas baking , it seemed like a good one to re start the challenge.

Mary Berry's Date & Cherry Butter Bars

Mary asks you to rub the butter into the flour to make breadcrumb like texture, then add the chopped cherries and dates, some caster sugar and an egg. Bring it all together into a dough like ball and press it into a tray bake tin. Place it in a pre warmed oven for about 10 minutes. After 10 minutes, mark it into bars with a sharp knife and return it to the oven for another 10 minutes or until the bars are a lovely golden colour. Score through the bars again and allow to cool in the tin.

Kim's Date & Cherry Butter Bars

Once cool, keep in an airtight tin.

A quick and easy to get me back in the Mary Berry challenge saddle!

Week Thirty Three – Mary Berry’s Cheese Scone Round

After the over indulence of chocolate and big cakes of the last few weeks, I searched Mary Berry‘s baking bible in search of something savoury and found this recipe that I had yet to cover.

Mary Berry's Cheese Scone Round recipe

The recipe seemed easy enough and Mary’s instructions as always are clear and concise. I assembled all the ingredients as instructed and ended up with a scone dough that Mary suggests shaping into a round and dividing into 6 sections. This is where I added my own twist and decided to cut them out as usual scone shapes which I think looks nicer and is easier to store. I managed to cut out 9 scone shapes , sprinkled the top of them with the leftover grated cheese and popped them in the oven.

The smell as they were cooking was mouthwatering! After the pinger went off, I had a look at them and they were a beautiful golden colour and pretty even so I was pleased with them.

Kim's cheese scones

I am afraid to say that one didn’t get to cool off totally, before it was sampled but I maintain that this is the cook’s perk!

Week Thirty One – Mary Berry’s Special Shortbread Biscuits

This week I wanted a quick easy bake, I will tell you why a little later…. so I decided to do Mary Berry‘s Special Shortbread Biscuits as I always have a weakness for shortbread.

Mary Berry's Special Shorbread Biscuits

I needed just three ingredients for this, plain flour, butter and light muscovado sugar. Mary “just” says put the flour and sugar in a bowl and rub in the butter and form into a dough….sounds easy huh? Well, I tried ….and I tried…..but it was so crumbly , and I managed to get it into a dough but then it fell apart when I tried to roll it out. Luckily, I thought I would take a peek at Rising To the Berry blog to see how Anneliese got on with this. I was thankful that she struggled with the crumbly mix too. I eventually put the mixing bowl in the microwave and put it on high for 10 seconds. I allowed the butter-which had been at room temperature already to soften a little further and keep the dough together. I managed to roll it out and cut out the biscuits. Even with the smallest cutter, I struggled to get the amount Mary says out of this. At the end of the recipe Mary recommends other varieties including cherry and walnut. They both sound delicious but when your hubby is one of the tasters and doesn’t like either of these, I had a little look in my cooking box and found pistashio nuts. I thought perhaps one or two biscuits topped with pistashios might be different but again hubby wasn’t so keen.

Into the oven they went and I set the timer. After the timer went ping, I checked them and to my surprise they were all a golden brown with a fairly even bake so I was pleased! I will even go so far as to say that the pistashio shortbread was lovely!

Kim's special shortbread biscuits

Next week is hubby’s birthday so I feel another Mary Berry “special” cake coming on.

Week Twenty Seven – Mary Berry’s Chocolate Eclairs & Profiteroles

Choux pastry was the order of the day this weekend and as both Mary Berry‘s eclairs and profiteroles are made form the same pastry method, I decided to make both…or I will never get to the end of this challenge!

Mary Berry's Chocolate EclairsMary Berry's Profiteroles


I read Mary’s baking bible carefully and got out a medium size saucepan, and weighed out the butter and measured the water and put the pan on a low heat. Once the butter had melted and the mix was beginning to boil, I added the flour and mixed it together until it formed a dough ball that came away from the sides of the pan.

Kim's choux pastry mix 1

Mary tells you to allow it to cool a little before adding the 2 large eggs and then mix it together to form “a smooth shiny paste” and I used my electric mixer for this.

Kim's choux pastry mix 2

Then the fun part, trying to put this lovely mix into a piping bag without making a mess- I failed dismally at this part…but what’s a little mess when you are cooking? Mary recommends using a 1cm piping nozzle, I didn’t have one of these, so used the largest plain nozzle I had, the eclairs kind of resembled caterpillars!! Anyhow, I piped some eclairs and some balls for the profiteroles and then into the oven they went, on a higher temperature for part of the bake and then a lower temperature for the rest of it.I took the goodies out of the oven and cut them to allow the steam out.

Kim's eclairs & profiteroles

Then while they were cooling I whipped the cream and made the chocolate icing topping. Although Mary uses dark chocolate for this, I don’t like dark chocolate very much so this is where I decided to put my own twist on it- with GALAXY chocolate! It looks much lighter than the traditional topping but it was very yummy!

Kim's profiteroles with galaxy toppingKim's eclair with galaxy topping

Week Ten – Orange Wholemeal Victoria Loaf

Week ten, so what to choose to bake this week?  Well, I know one of my previous posts told the tale of the scalded hand……well this week has been influenced by the fact that I have strained the collateral ligaments in my thumb.  It doesn’t sound much but I couldn’t even take the plastic screw lid off the milk without excruciating pain so I took myself to get it looked at and it needed to be strapped and I have to take regular ibuprofen and try not to use it.

SO with this in mind, I sat with a cup of tea and Mary Berry’s Bible and looked through to see what I could make where my mixer could do all the work and this is what I came up with. The only bit I needed help with was grating an orange for the rind and that’s where my angel of a hubby came to the rescue – what a star!

So, I (carefully) weighed everything out, stuck it under the mixer and hey presto – one mix with no fuss. I put it into the tin, Mary does say it doesn’t look like it will fill the tin and she was right!


Timer on , 40 minutes later, this is what came out. I must say, it rose beautifully, was a great golden colour and the aroma wafting upwards was lovely.


It needed a topping when it was cool, of softened butter, icing sugar and marmalade. I think even Paddington Bear would approve of this recipe!


I am going to start looking now at other recipes i can use the mixer to do all the work as I get the feeling my hand will need to heal for a while yet……..sigh.

Week five – lemon meringue pie

Week five came so quickly, where do the weeks go?

Ok, so I opened Mary Berry’s bible for my weekly inspiration and my mum was also coming up to visit …and the lemon meringue pie recipe just jumped out at me.

A quick trip around my local Morrisons to get some condensed milk and some unwaxed lemons and I was off.

A roast dinner with mum and hubby was planned so that all went in and then I got out my all new, all singing, all dancing Breville mixer on a stand (I don’t just buy things you know- my electric hand mixer only had one speed- despite what it said on it- and that speed was “painfully slow”!

I crushed the digestive biscuits, melted the butter and mixed my base, and pressed it into my flan tin (yes- that was new last week!) and put that in the fridge. Then I mixed together the lemon filling- Mary Berry says mix the tin of condensed milk, the “finely grated” rind and juice of 3 lemons and 3 egg yolks. The Breville made short work of that and that was poured on the base and set to chill.

Lastly, the 3 egg whites and caster sugar were whisked by the trusty Breville until it was forming nice soft peaks. The mix was spread on the lemon topping, swirled around and put into the pre- heated oven for 20 minutes.

This is the final effort and Ieven if I do say so myself, I think it  looked ok.

Once the roast dinner was consumed, I then dished the pie up for pudding..and it seemed to go down well with hubby and mum!

Hopefully one/both of them will leave a comment with a truthful opinion!

Until next week……. Kim x

Week Three..came around so quickly! Sultana Malt Loaf

Welcome to week three, it seems like only yesterday I was having such fun with swiss folds…opps swiss rolls, hot porridge and all!

I decided on a more savoury bake this week and malt loaf is one of my childhood favourites and it is still a comfort food for me.

I settled down with Mary Berry‘s bible and read the recipe carefully, I had most of the ingredients already , the only thing I had to get was malt extract and thought (silly me) that I could get it on my usual supermarket run….oh no, not that simple.

After a detour via Holland and Barrett, I had every thing I needed and set off.

The recipe was easy to follow and I had 2 tins already. I lined one with greaseproof and used a ready made loaf tin liner for the other, just to see which was better. I made the mix, poured it equally into the tins, set the timer and waited. An hour later and they were done. It looked like a malt loaf- so there might be hope for me yet- but not sending in my application for The Great British Bake-Off yet!

It smelt good when it was done and Mary recommended that you store it in an airtight container for two days to enhance the taste and that is today……so I eagerly got the butter knife out…..cut a slice…..buttered it…….ahhhh – the taste of childhood!