Week Thirty Two – Mary Berry’s Cappuccino Cake

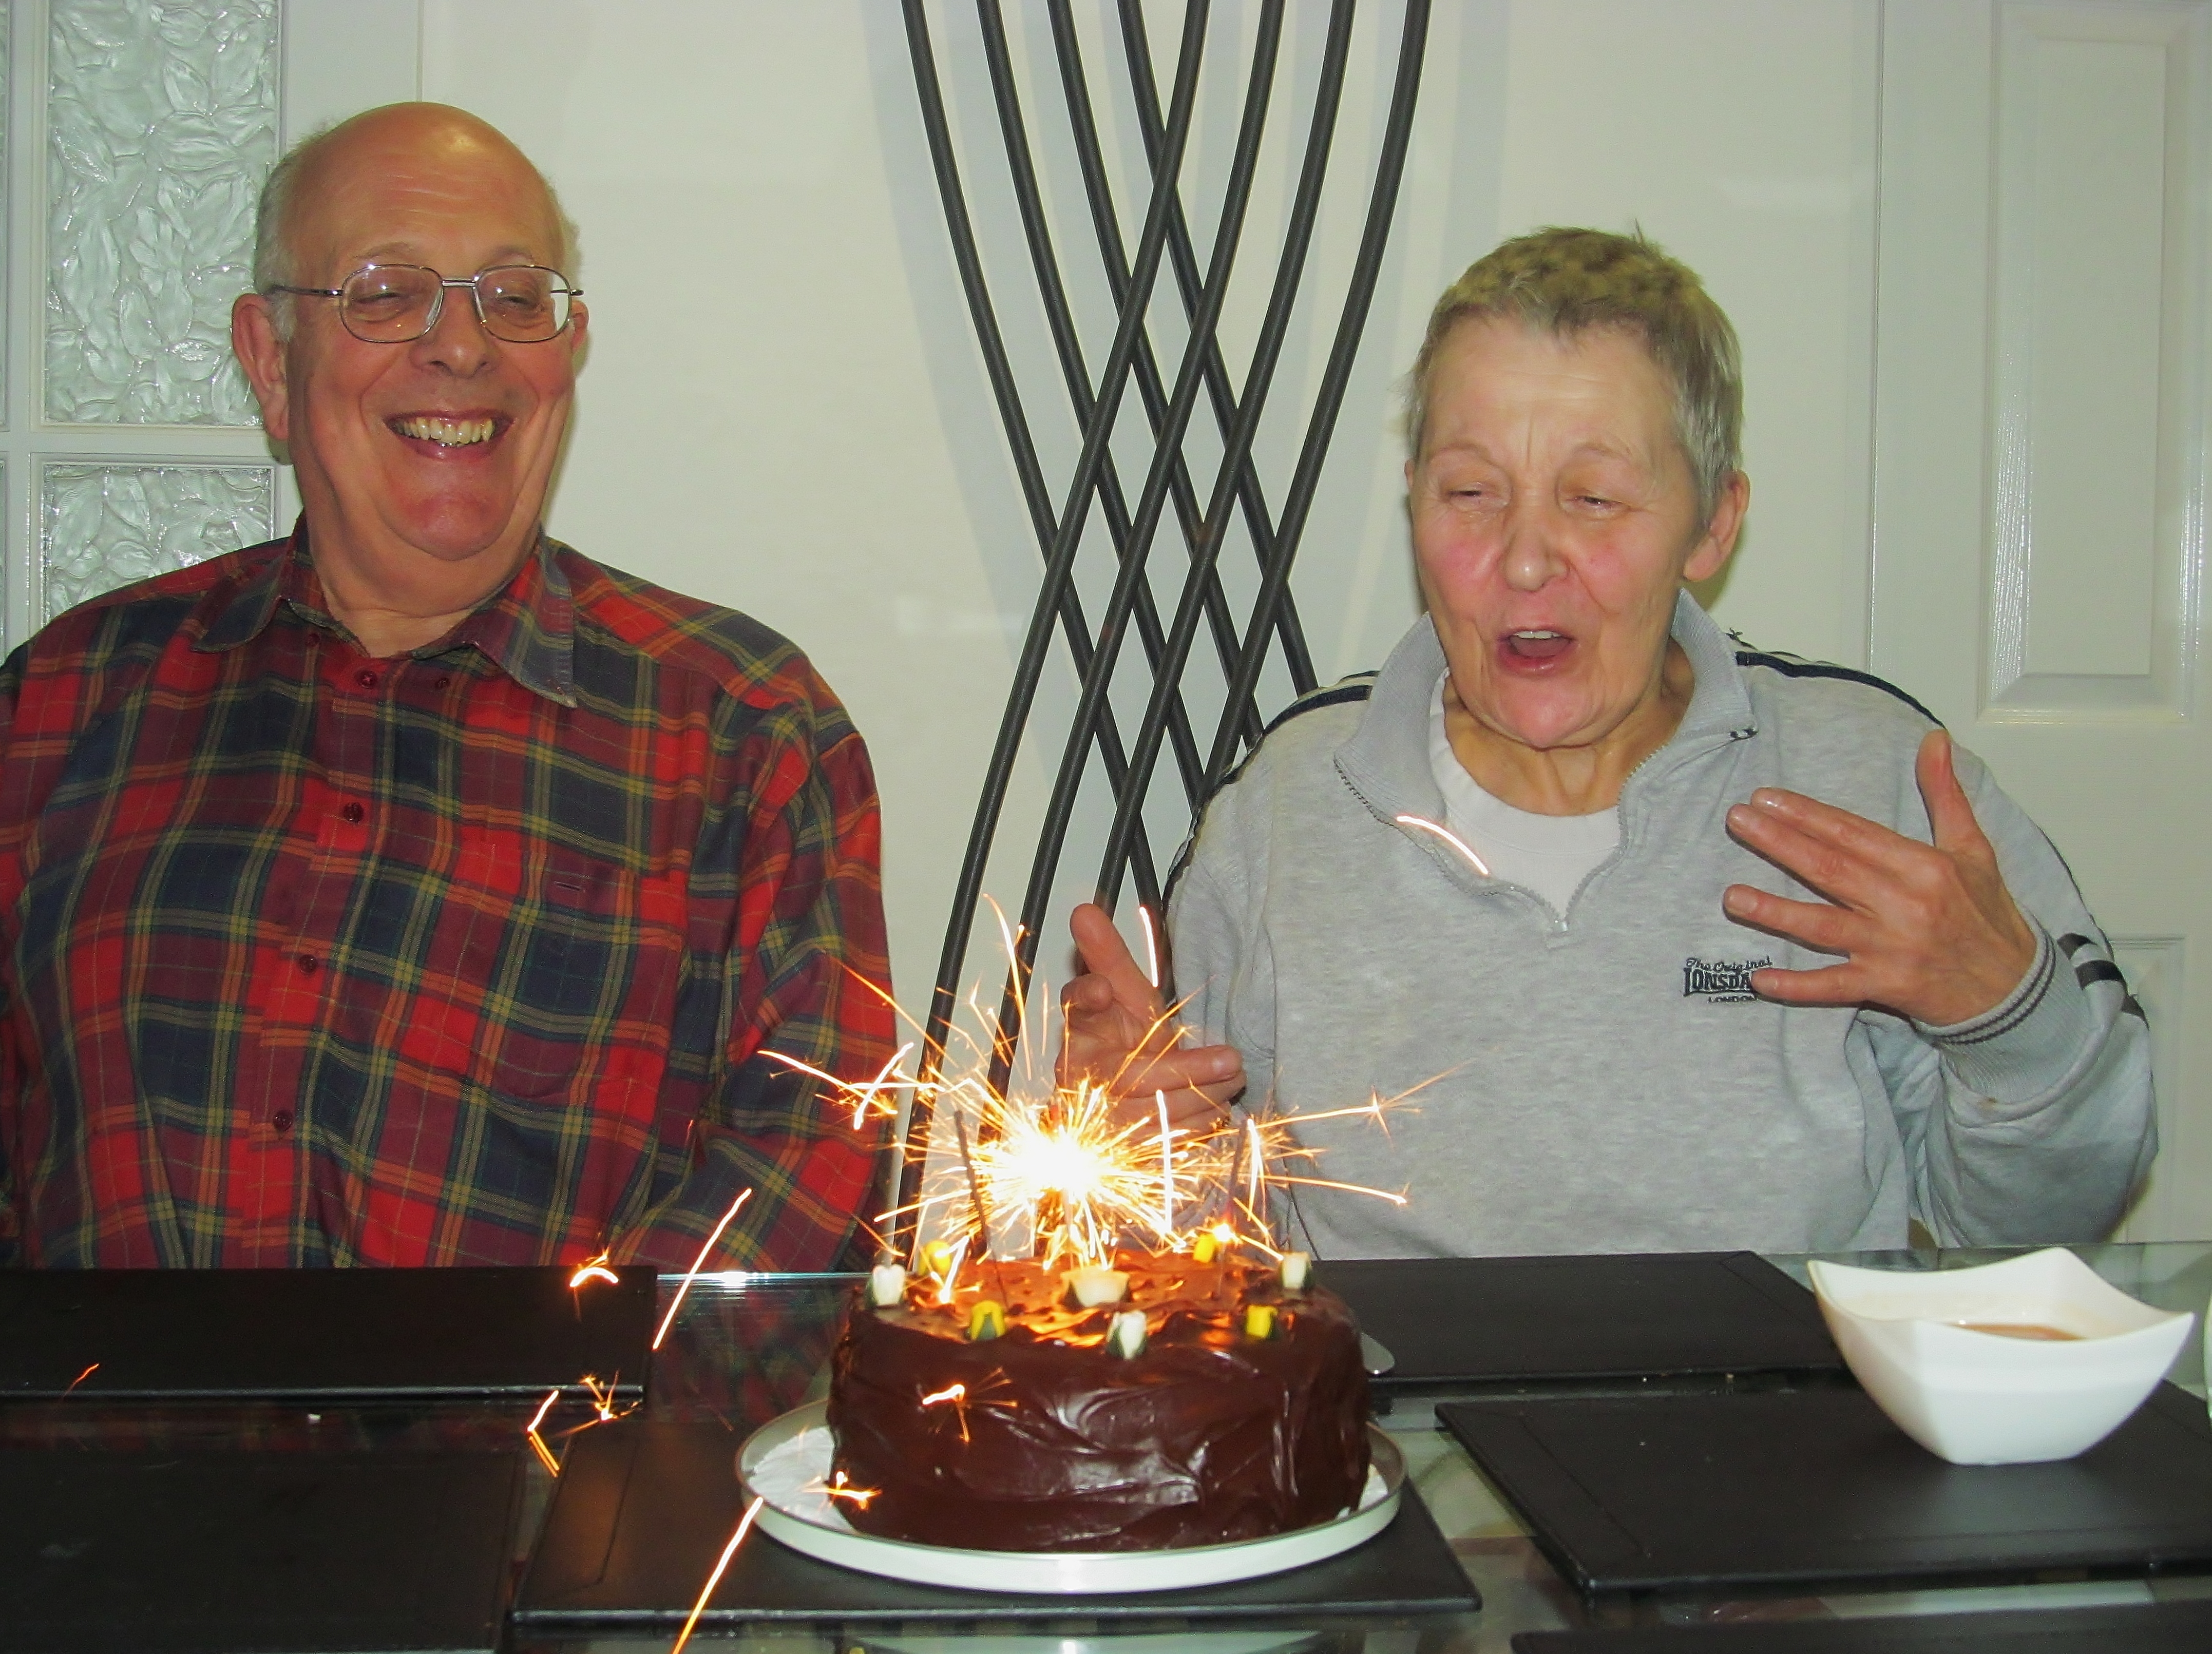
Week Thirty two and a special bake this week as it was my lovely hubby’s birthday.

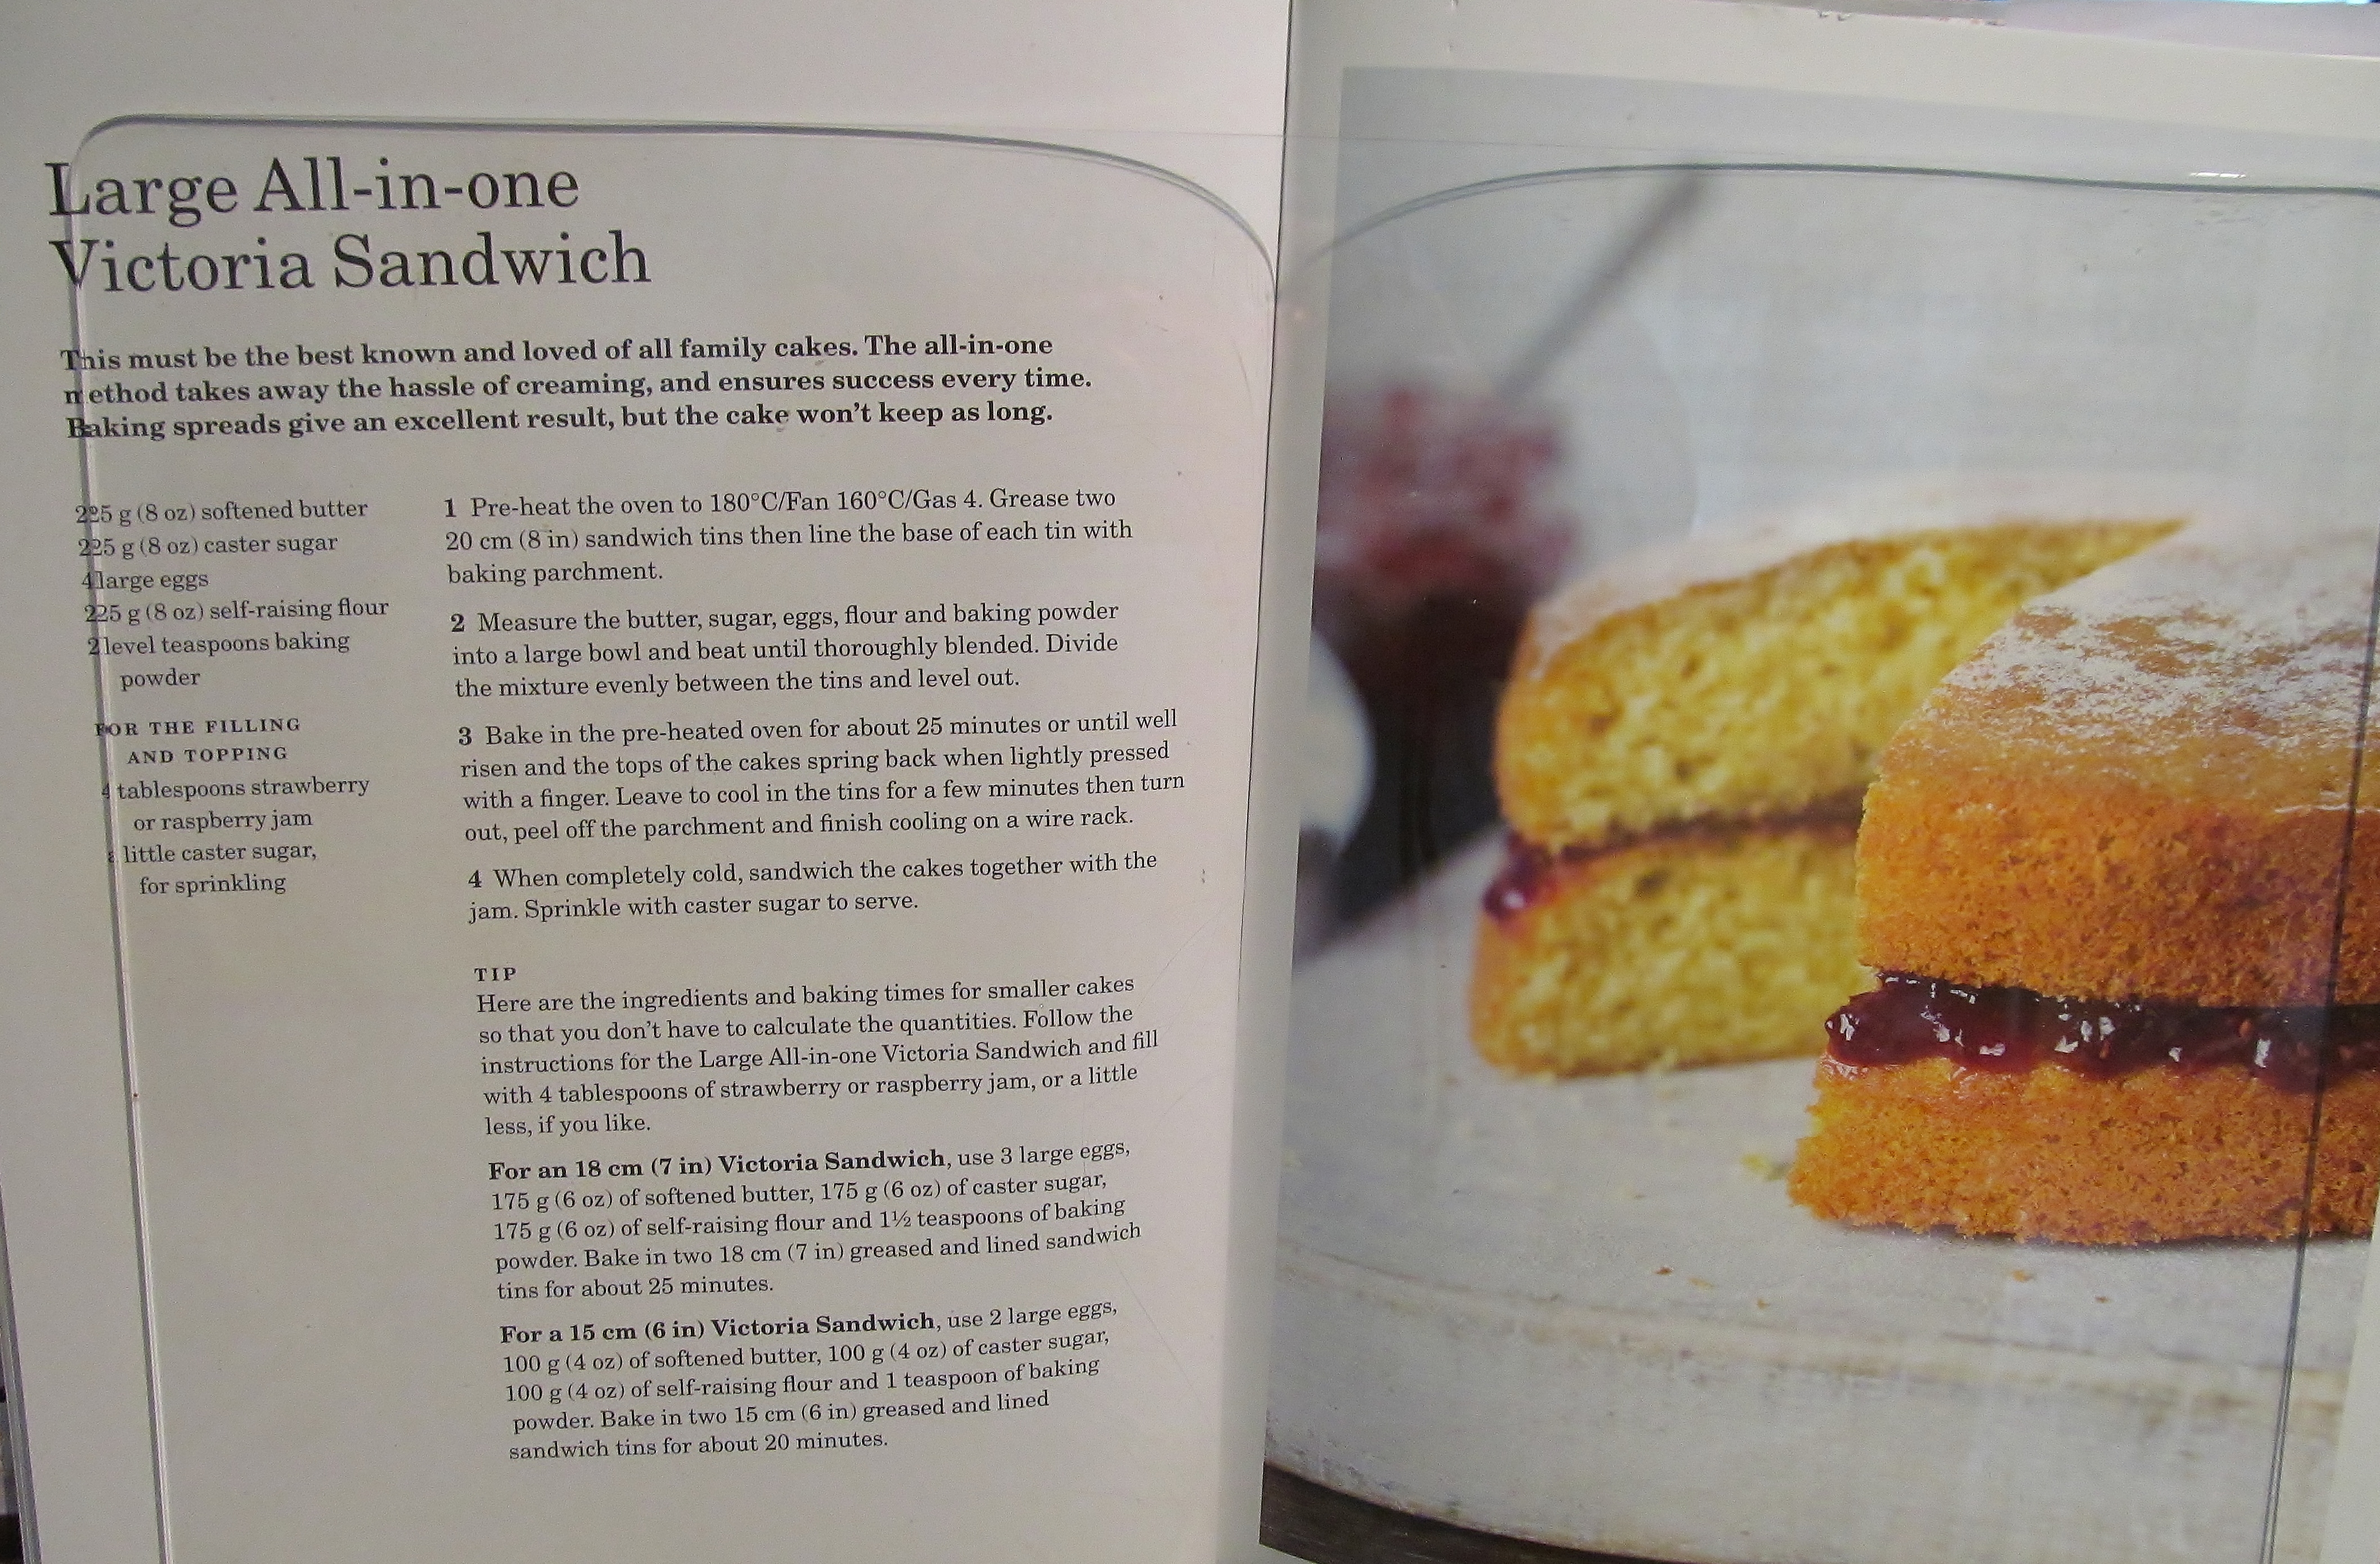
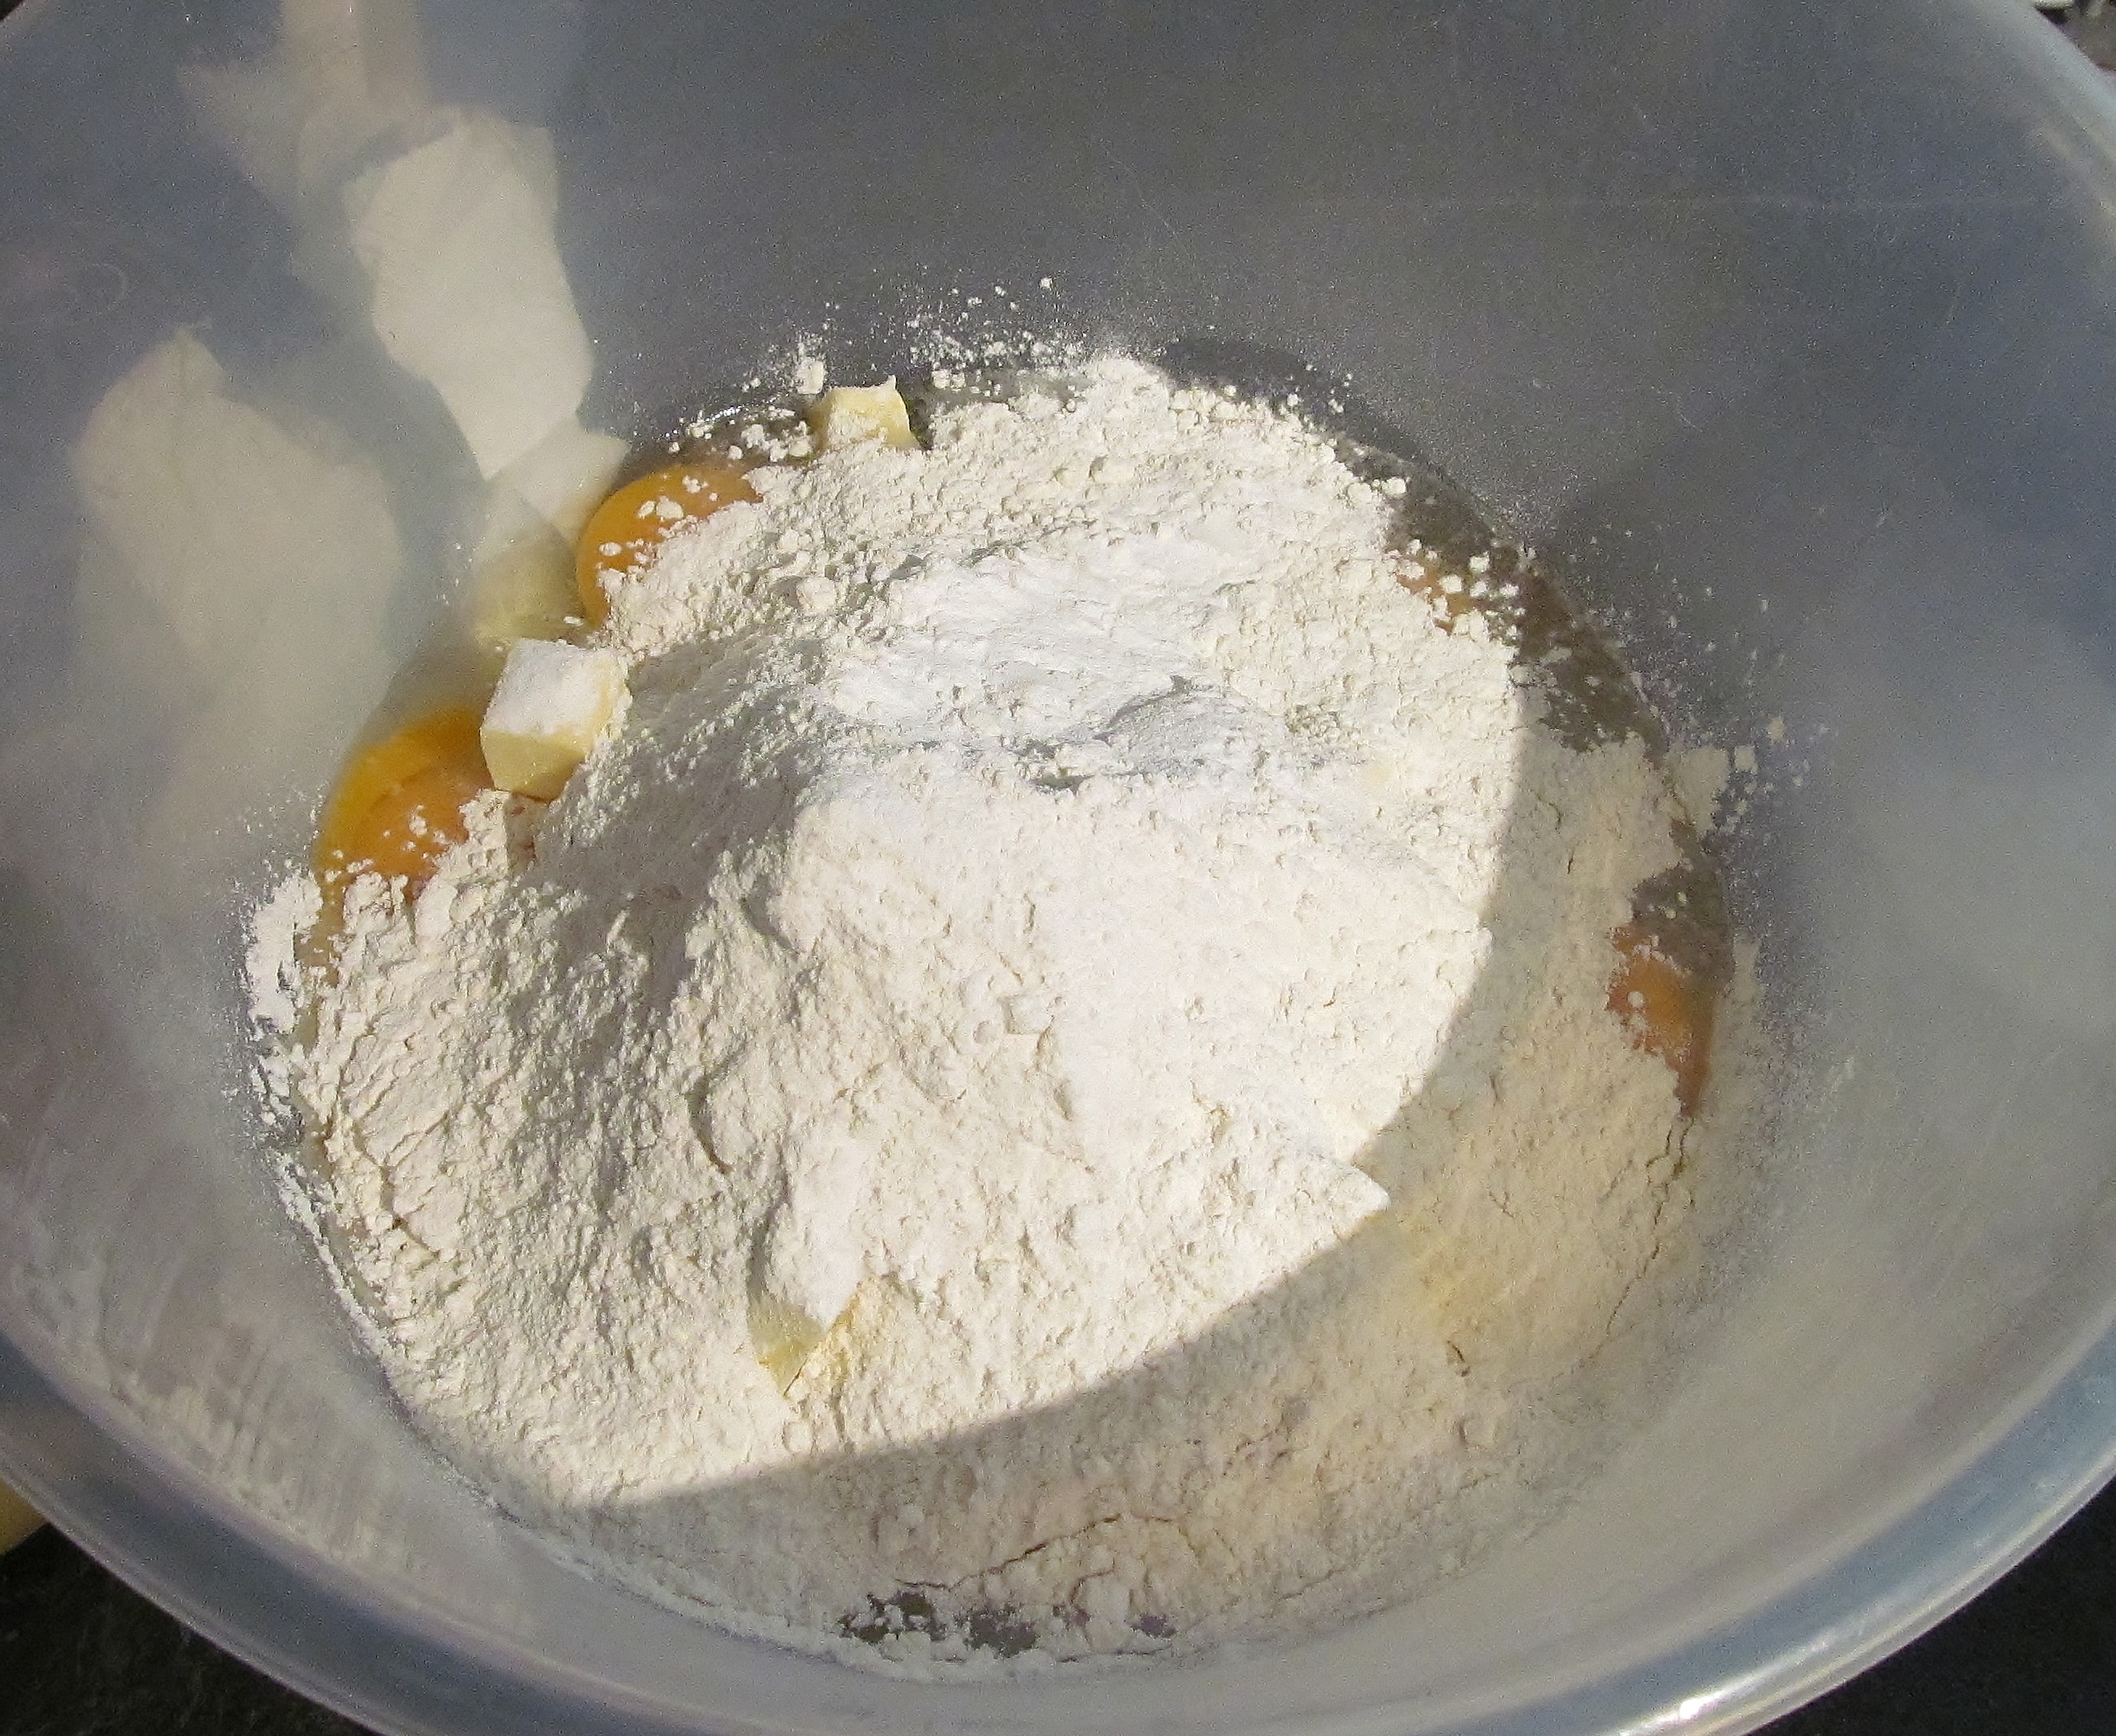
After the success of the victoria sandwich cake, I thought the cappuccino cake would go down well with him and reading the recipe, Mary tells you to pretty much throw all the ingredients in a bowl and mix together, but do not over mix (??!!) So, I weighed out all the ingredients, put them all in a bowl and with a quick whizz of the electric hand mixer, job done, just needed to divide the mix between two sandwich tins and into the oven for about half an hour.

Mary Berry's Cappuccino Cake

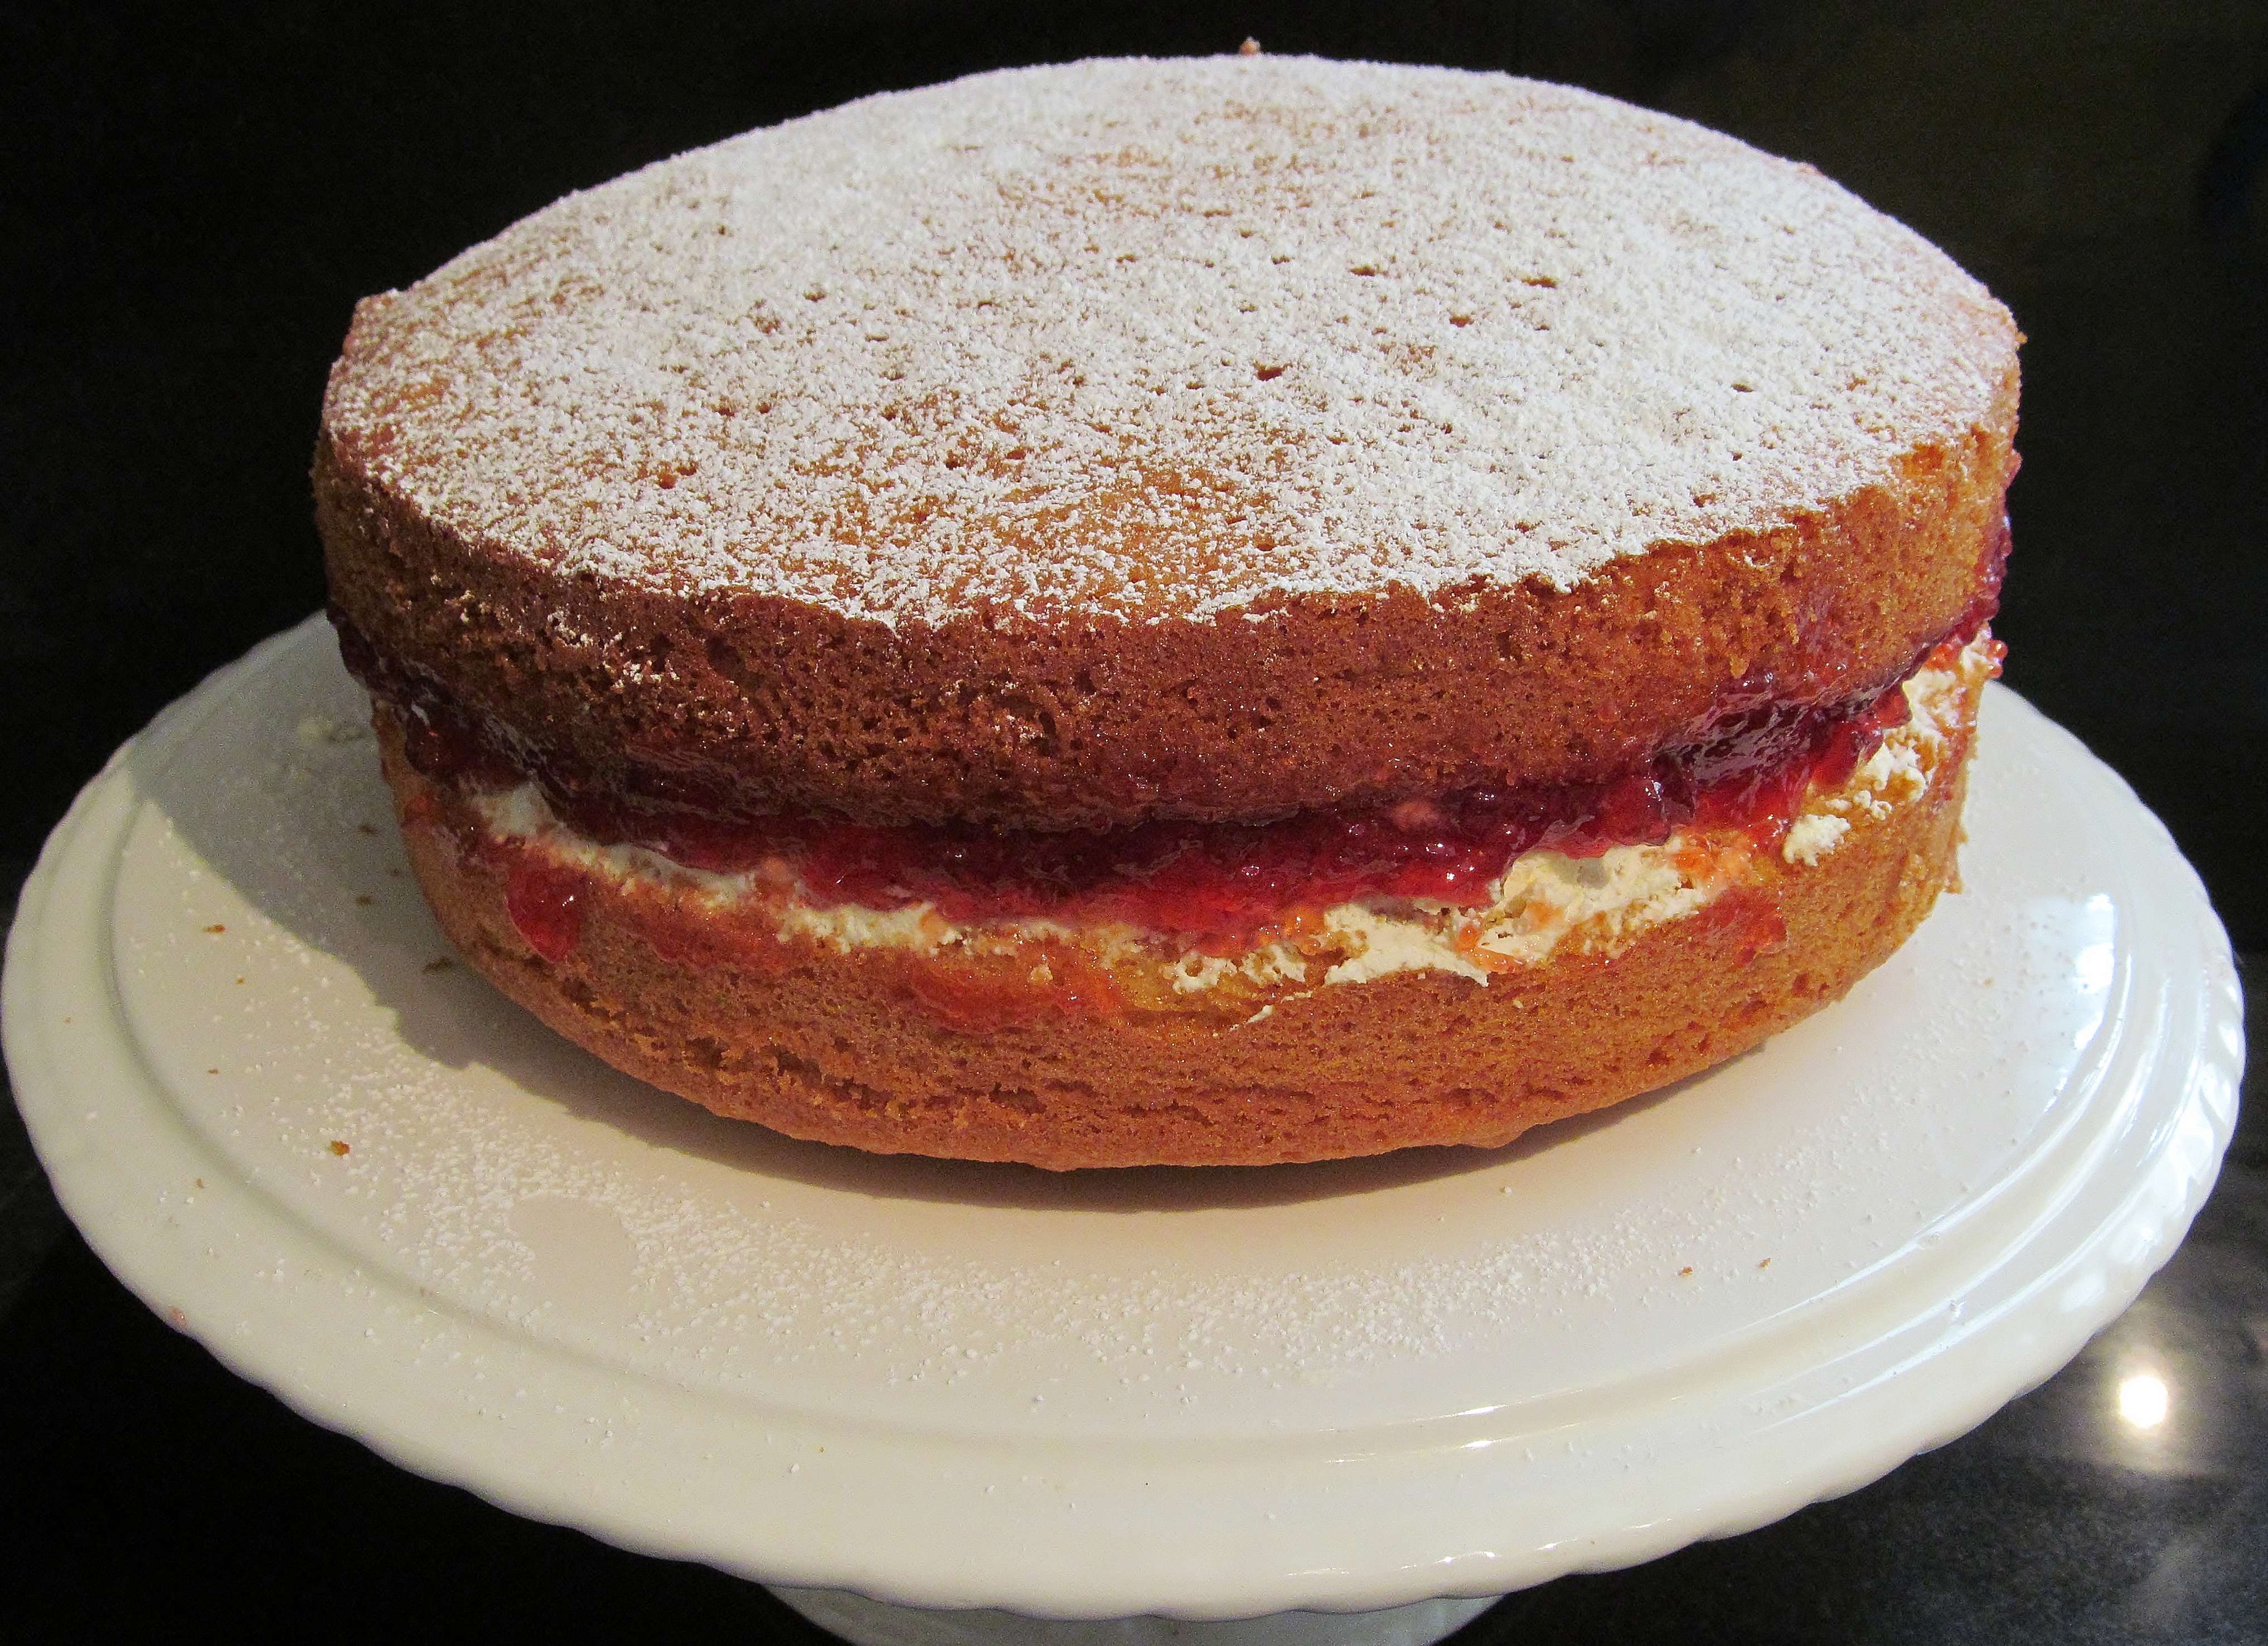
After the half hour was up and timer had gone ping, I checked the cakes but they were not quite done so another five minutes or so and out they came. They looked lovely and after a few minutes, i was able to take them out of the tins and put them on the cooling racks.

A while later I finished the cakes with quite a lot of whipped cream, and coffee. To add my own spin to it, I added a few chocolate flakes to the top, some chocolate hearts and some candles.

Kim's Cappuccino Cake

Happy Birthday to my lovely hubby, hope you enjoyed your cake! xx

Week Thirty – Mary Berry’s Large All-In-One Victoria Sandwich Cake

Welcome to week thirty. It seems a bit of a milestone and it still only seems like yesterday that I began this challenge, inspired by Mary Berry’s Baking Bible, The Great British Bake Off and the lady who undertook this challenge before me and wrote her blog “Rising to the Berry“. I read about her in the newspaper and often look at her blog when I choose a recipe to see what she thought about it.

Mary Berry's large all in one victoria sandwich cakee

After last week’s cake that took up quite a lot of time, I wanted a recipe that was quick and fairly easy as I didn’t have the time to give to much else this weekend. This recipe, Mary tells you to put everything in a bowl, mix together and spread between two tins, what could be easier?

I weighed out all the ingredients into a bowl and used my electric hand mixer to make short work of it all. Then I lined both my sandwich tins and divided the mix between the two and levelled each one as carefully as I could. Then they went into the oven and I set the timer.

After the allocated time, I checked the cakes and gave them a little longer as they weren’t quite so set in the middle. Then finally they were done, I removed them from the oven, allowed them to cool slightly, took them out of their tins and put them on the wire rack. when they were cool, Mary suggests filling them with Jam but I was a little indulgent and put some double whipped cream in with it too! A small dusting of icing sugar on the top and I was done for this weeks challenge.

Kim's large all in one victoria sanwich cake

Week Twenty Nine – Mary Berry’s Divine Chocolate Birthday Cake

Greetings! Week twenty nine , just a little late in happening because hubby, the hairy hoolies and I managed to get away last week in our caravan for a long awaited chill out time and we stayed on a lovely site called Fairlight Woods. A beautiful small site with woods all around and doggy heaven! We were only 2 miles from the beach so I was happy too- I find the beach and the waves crashing onto the shore soooo relaxing and the dogs loved it too.

the hairy hoolies on Winchelsea Beach April 2013

Anyhow, back to the bake….as it was my other mum’s birthday, I chose the divine chocolate birthday cake recipe. I got all the ingredients and set off, thinking it would be just another twist on the usual sponge mix. How wrong I was. Mary asks for 5 eggs, 4 of them separated into yolk and white. You put the 4 yolks, a whole egg and the caster sugar in a bowl and whisk until thick and fluffy…..with me so far? Then melt the huge amounts of dark chocolate , add a spoon of hot water with a spoon of coffee granules, allow to cool slightly and add to the egg yolk mix with some ground almonds…..getting interesting isn’t it…….not a jot of flour in sight…..then whisk the egg whites until firm but not dry- an interesting phrase Mary! Then fold this into the mix and pour into the lined cake tin. Bake for 50 minutes or until the skewer comes out clean , allow to cool in the tin for 10 minutes then turn out on to the rack to cool. I can honestly say this is the most peculiar recipe I have followed to date and wondered quite what would come out at the other end- I still had time to do a supermarket run to get a birthday cake if it was a disaster!

I must say, it didn’t look too bad when it came out and when I got it out of the tin, it retained it’s shape and had a lovely chocolatey aroma.

Kim's chocolate cake fresh out the oven

The icing was a breeze in comparison, oodles more dark chocolate ( not my favourite- so I resisted a nibble!) melted, with butter added, allow  to cool to get the consistancy and then cover the cake in it and allow to set. Decorate if you like. I had some pretty icing roses I added to it.

Kim's divine chocolate birthday cake

I took the cake to the birthday takeaway with some sparkler candles- I put five on the cake, and they were so difficult to light,then burned so quickly, we laughed so much just trying to get them done and “Happy Birthday” sung!

sparkler candlesHappy birthday!

Week Twenty Eight – Mary Berry’s Bunny Rabbit Cake & Easter Biscuits

Mary Berry's Bunny Rabbit Cake

Week twenty eight and the Easter theme continues. Mary makes a bunny rabbit birthday cake in her book but I thought it would make a nice easter cake and funnily enough, in my search for a bargain, I found a silicone easter bunny cake in my local Lidl and it inspired me. Mary’s recipe for making this cake is pretty much throw it all in a bowl and mix it together until smooth, so that’s exactly what I did!

the throw it all in together mix

The fun came when pouring the mix into the silicone bunny and ensuring it went into all the nooks and crannies! Then into the oven it went and the timer went on. While it was baking, I looked at how Mary suggested decorating it. She suggests dessicated coconut, but I thought grated chocolate might be more in keeping with Easter (that’s my excuse…..!) so I grated some milk chocolate, white chocolate, pink chocolate buttons and orange chocolate buttons and made the butter icing.

Lidl's silicone bunny case

I had also decided to make some Easter biscuits so I made this dough which was easy enough, and rolled out the dough. I didn’t have any easter cutters so I used a heart cutter.

The cake came out of the oven and was left to cool a while before I took it out of the silicone shape. It came out really well and I left it to cool completely. The biscuits went into the oven at this point. My hubby likes this point as he gets to have “first dibs” on the leftovers in the bowl and if there isn’t anything in it that is harmful to the dogs, they often get the last lickings before it goes in the dishwasher!

the hoolies love the bowl

The decorating of the rabbit cake was trickier than it looked. Having to put on the butter cream and then the chocolate shavings and trying to keep any bits that fell on the floor away from the dogs- in case anyone doesn’t know, chocolate , raisins, currants etc- VERY bad for dogs, can even kill them so please don’t let them anywhere near them.

Kims Bunny Rabbit Cake

Finally the cake was finished, the tidying up of all the shavings, bowls and surfaces took forever.

Mary Berry's Easter Biscuits

The biscuits, I decided to put an icing cap on so I rolled out some fondant icing, and used the heart cutter to cut the toppings. I have some pretty cutters so I pressed these into the topping and then allowed the icing to set before using food colourings to paint them to make them look pretty.

Kim's Easter Biscuits


Week Nineteen – Mary Berry’s Iced Fairy Cakes

Have you missed me? I am “back in the saddle” as they say and while still recovering from my surgery on New Year’s Eve, I wanted to get back to some kind of normality so decided I would spend a little time in the kitchen and Mary Berry‘s bible has 2 recipes– her fairy cakes and then on the next page, iced fairy cakes so rather than do this twice, I combined it, made the fairy cakes and iced them!

Mary Berry's Iced Fairy Cake

I made 2 batches of fairy cakes, one plain as per Mary Berry’s recipe and one to which I added cocoa so they were chocolate fairy cakes and the icing had cocoa in it to make it chocolatey too. A simple recipe and probably really easy to do but making them was the longest I had stood in the kitchen for a while.

Kim's fairy cakes


The results were good, I was pleased with the cakes and as they are very moorish , I gave my hubby’s mum and dad some to save our waistlines.

Kim's finished fairy cakes

I didn’t put many details on about my recent ill health and surgery, but I had an amount of time where I thought I might have a serious illness and was “off my game” for a while. Luckily, I had a lovely GP who sent me to the hospital and I found myself on a Fast Track to surgery rollercoaster. I had never had surgery before and was a little anxious to say the least. I have come out of it the other side, recovering well and the results show that my fears can be laid to rest. To give you a flavour of what I went through, you can read further here:

http://www.nhs.uk/conditions/Hysteroscopy/Pages/Introduction.aspx

http://www.nhs.uk/conditions/Laparoscopy/Pages/Introduction.aspx

http://en.wikipedia.org/wiki/Oophorectomy

On a lighter note, I hope you have managed to watch The Great Comic Relief Bake Off http://www.rednoseday.com/whats-going-on/whats-on-tv/bake-off, it certainly helped my recovery and gave me the motivation to get back to my baking challenge. I will also be making a donation to this very worthwhile cause and ask that if you can , you do so too.

Finally, and yes this is one of my longer blogs, I would like to thank my hubby, my mum and my other mum and dad for all the love, help and support over the last month or two, without you guys, it would have been so much tougher. Much love to you all. x

Week Seventeen – decorating the Christmas cakes

Week seventeen and this week is devoted to the endless task of decorating the Christmas cakes made last week.

These are going to be gifts for friends and family and it’s so close to Christmas that if they read this and see the photos it won’t matter too much.

Kim's Christmas Cake 1Kim's Christmas Cake 2 Kim's Christmas Cake 3 Kim's Christmas Cake 4 Kim's Christmas Cake 5

I would also like to take this opportunity to thank family and friends for the endless support in the last two weeks when I have been to hell and back with a health scare. The news is better than I feared and now I am looking forward to spending the Chriatmas period in the company of those I love and cherish- after all , that is the underlying spirit of christmas.

To all who read this, I wish you a Happy Christmas where ever you are and a peaceful New Year.

Week Sixteen – Mary Berry’s Classic Rich Christmas Cake

As promised, this week is Mary Berry‘s Christmas Cake and I make a few christmas cakes as gifts and usually look for a different recipe each year so this fitted in well. I don’t usually leave making my cakes until the middle of December but I just don’t know where the time has gone!

Mary Berry's Classic Rich Christmas Cake

Anyhow, I wrote a shopping list of all the ingredients that Mary’s recipe calls for and I Lakeland dividing tinhad a good work out carrying all the bags needed for the sizes of cakes I needed to make. I used the chart on the other page of Mary’s Bible to see what size tin I was using and the quantity needed. I had purchased an amazing tin from Lakeland last year ( yes, I just love Lakeland!) which is a massive tin on its own but has dividers so it can make varying size cakes. I used my tin divided into four to make four smaller cakes.

My next workout was weighing out all the ingredients and then mixing them by hand- I found muscles I didn’t know I had! I also had the fun of lining each of the tin sections individually. ( I had left the fruit to soak in the brandy as Mary recommended by the time I did this.)

Finally, after a huge amount of mixing , the cake mix was divided and the cakes went into the oven………for FOUR hours! They have come out a very rich dark brown, and now need to be wrapped in foil and “fed” for the next few days before decorating. As they will be gifts, and some of the people they are intended for read this, I will take photos and post after they are in receipt of their present!

Kim's christmas cakes

Week Twelve – Marbled Chocolate Ring Cake

Week twelve and I feel like I have settled into this challenge now and look forward to what to make next. This week was a special week for me as I passed my Social Care with Children & Families Diploma, and with a Distinction too! Woohooo! So I was looking for this week’s inspiration with the view of a celebration and this fitted the moment, and I could do it in my mixer, as my thumb is on the road to recovery but not up to any hand mixing yet.

Mary Berry’s recipe called for a ring mould tin and to line this. Not as easy as it sounds so I thought I would look online to see if there any any hints and tips. Unfortunately I found nothing, zip, nada…….so decided to give it a go myself. It didn’t look pretty but it did the job!

The mix was pretty straightforward, just throw pretty much everything in a bowl and mix- my kind of cooking! Then add half this mixture in various places in the tin, add the cocoa/water mix to the rest of the mix , and then add to the tin. This should give it it’s marbled effect. Then into the oven for 40 minutes or so.

40 minutes later and the buzzer pinged, I looked at it but it was a bit underdone so I added another 5 minutes to the timer. Then it was done , time for a little cooling and then to tip it out. The paper lining worked well and came off easily and then the cake was left to cool.

The topping is pretty much dark chocolate, mixed with some butter and melted, then poured on the top. Mine covered the whole cake but didn’t look as smooth as Mary’s photo in the bible. This topping then needed to cool before the final drizzle of milk chocolate to finish it off.

I am pleased with the final result and can’t wait to cut into it to see how well the marbled sponge came out. Oh, and my certificate is in the photo – to prove that I did it and I can now add the following letters after my name – S.A.C. Dip……. very posh so……


signing off for week twelve’s efforts

Kim, S.A.C. Dip.

Week One – The Coffee Victoria Sandwich Cake

Ok, here we go, week one and the challenge is on.

I made sure I got all the ingredients in and sat and read through the recipe. Mary Berry’s instructions are clear  and concise but with no fancy terms, she inspires confidence that i can do it…..

After a confidence bolstering cup of tea, I ventured into the kitchen and got out all the equipment I needed and all the ingredients.

Putting this cake mix together didn’t take long and to be honest, it felt like I was back at school in my home economics class. At the moment it didn’t feel so much of a challenge but a revision on what I already knew but I ploughed on regardless.

The mix done, I carefully divided it into the prepared tins,  put them in the pre-warmed oven, set the timer and it was time for that ever-so-english tradition of another cup of tea again.

“PING” went the timer and I approached the oven with trepidation.  How would they look?  Was it too soon?…..or too late to take them out? Had I been a bit too blasé in setting the timer and not checking every so often?

Phew- I wiped by brow with relief, they looked risen, brown and didn’t immediately subside when I looked at them, I removed them and set them aside to cool and then removed them faily easily from the tins onto the cooling rack.

I then set to making the coffee buttercream – I love making buttercream icing but the initial mixing always creates clouds of icing sugar which seem to settle on every surface nearby!

The final step, putting it all together, would it resemble in any way the picture on Mary Berry’s book? Well, not so pretty or precise but not bad for a first effort…..

Well,, I will leave that up to you, but week one’s challenge is under my belt, i will now spend the week browsing the challenge bible and deciding what week two will bring……

Kim

Inspired by “The Great British Bake-Off” !

http://www.dailymail.co.uk/femail/article-2191208/Mary-Berry-helped-bake-away-blues.html

One day last week, I was browsing the news online and came across the above article, a young mum who set herself a challenge to bake EVERY recipe in Mary Berry‘s “Baking Bible” cook book. I read it with interest as I have always liked baking but have pretty much stuck to fairly easy stuff such as cupcakes which look great with little skill or effort.

This young mum worked her way through Mary Berry’s book, not front to back, but ensured she covered every recipe – boy was she eager! She baked 2-3 recipes a week even when she was on holiday.

I admired this lady and decided that after watching “The Great British Bake-Off” that I should set myself some culinary challenges and this article inspired me.

So, I went online (ahhh retail therapy…), ordered my copy and waited for it to come through. I then sat and flicked through all the recipes, some I had no worries of completing, others I had fancied making and some looked a real challenge!

I decided that one recipe a week, most likely a weekend challenge is what I would go for and announced on Facebook what I was going to do.

My hubby , work colleagues and in-laws will become the taste panel and hopefully give their verdict and (hopefully not too much) constructive criticism!

Watch this space – week one – decided to start with a fairly simple (hopefully!) coffee victoria sponge cake………

Kim