Week One Hundred & Twenty Seven – Mary Berry’s Continental Cheesecake & Frosted Walnut Layer Cake

Week 127 and the old Mary Berry Baking Bible is now looking well used and “lived in” and there are few recipes left to choose from but I delved in with a bit more vigor than last week and came out with the last cheesecake recipe from that section and a frosted walnut layer cake.

Mary Berry's continental cheesecake

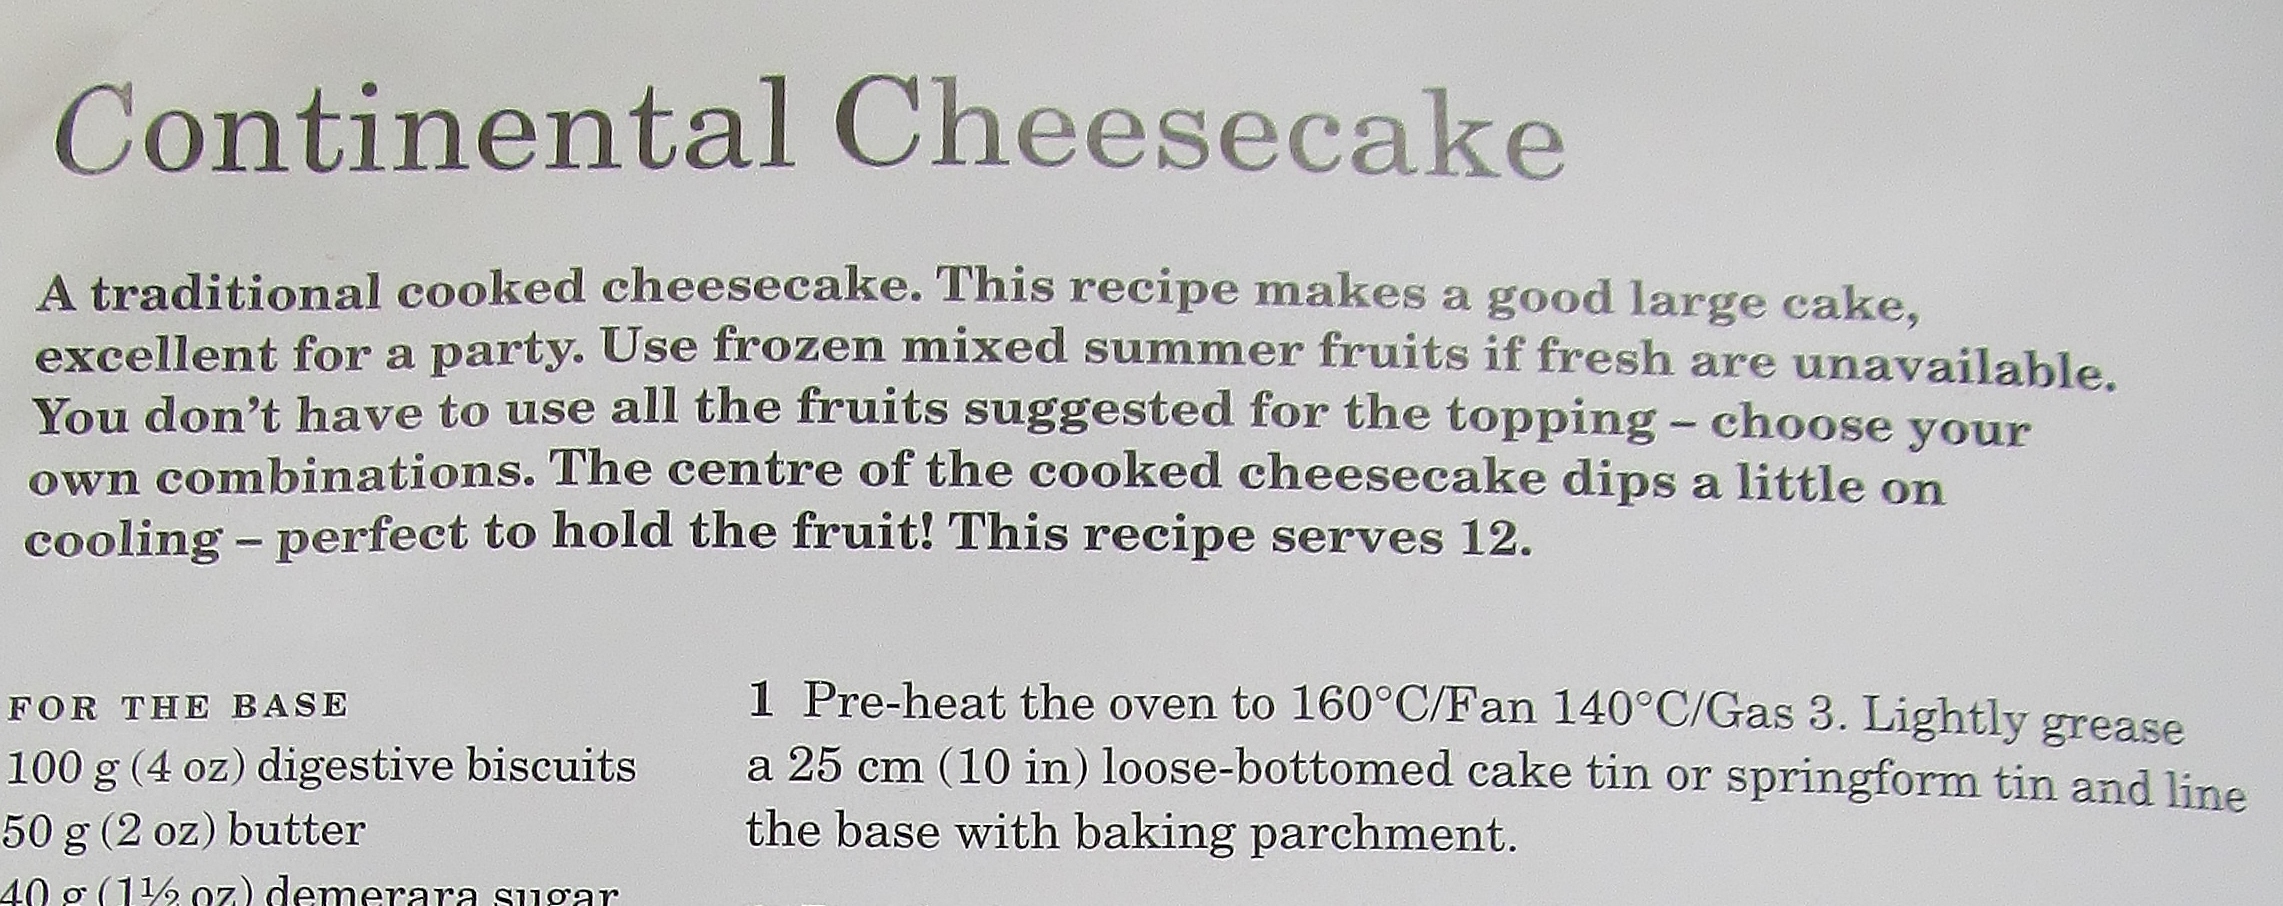
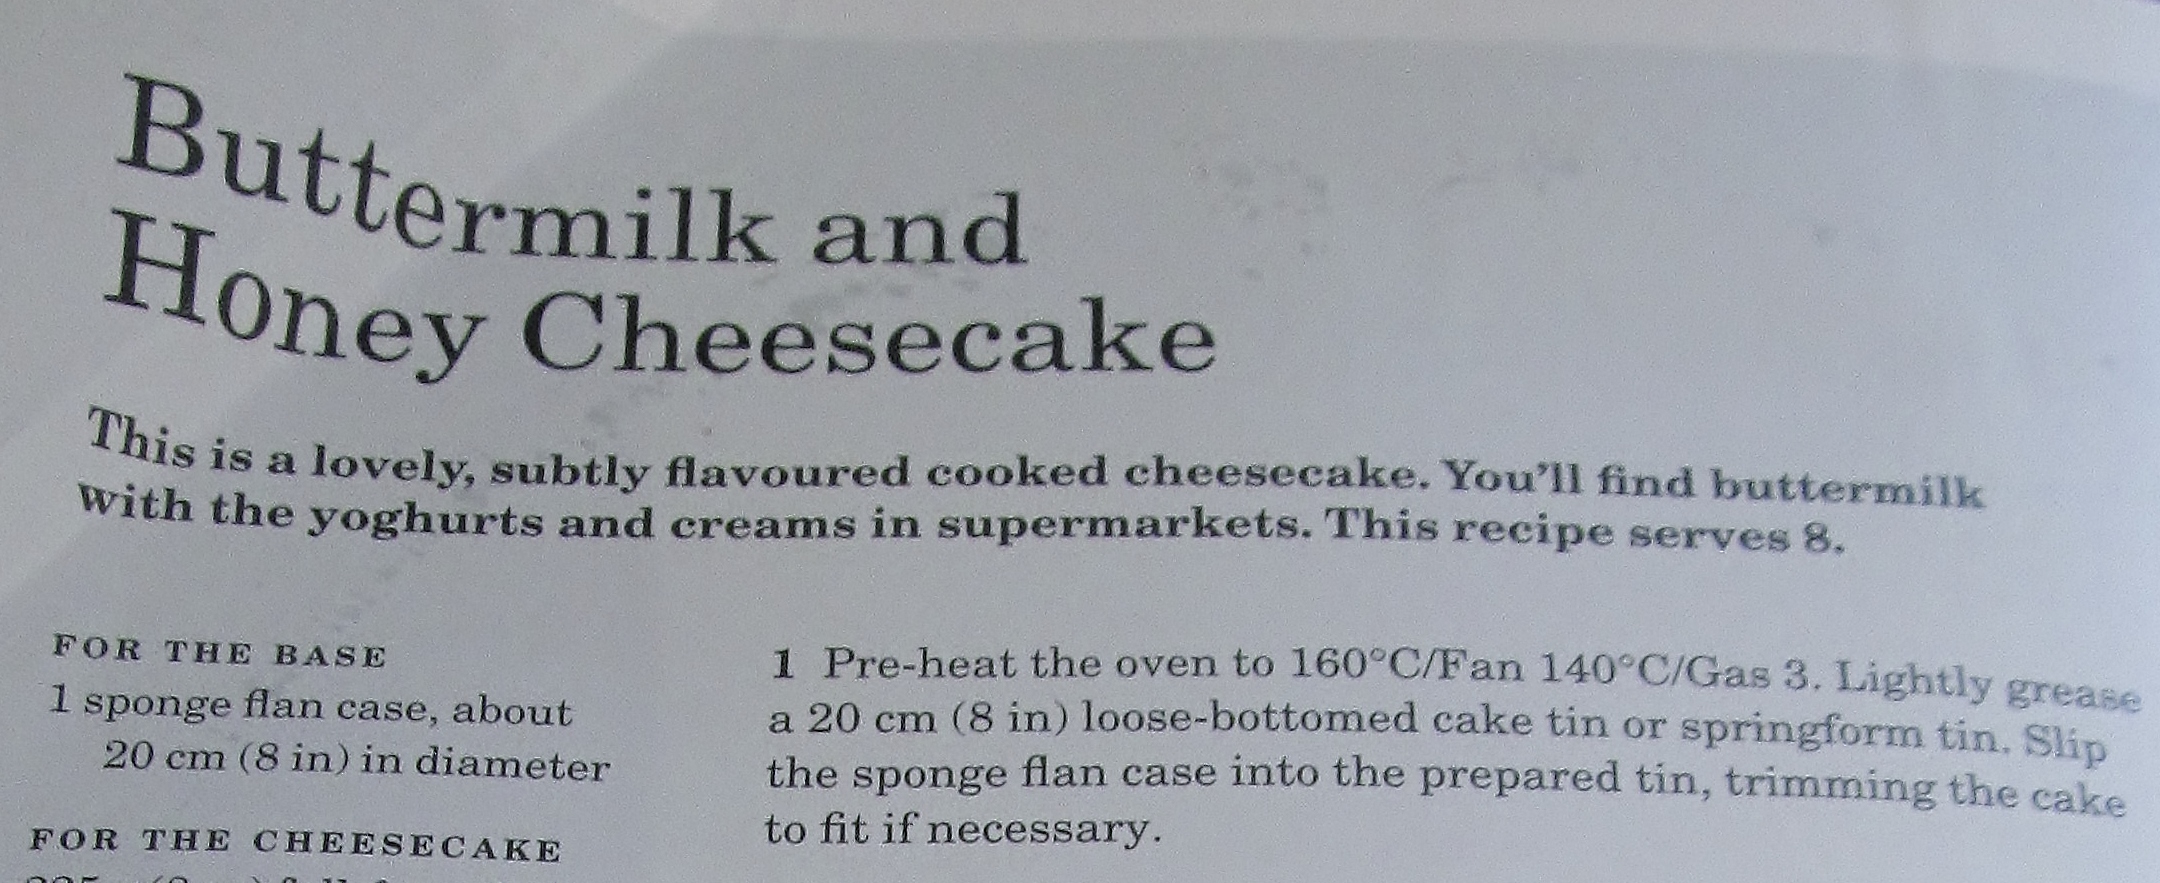
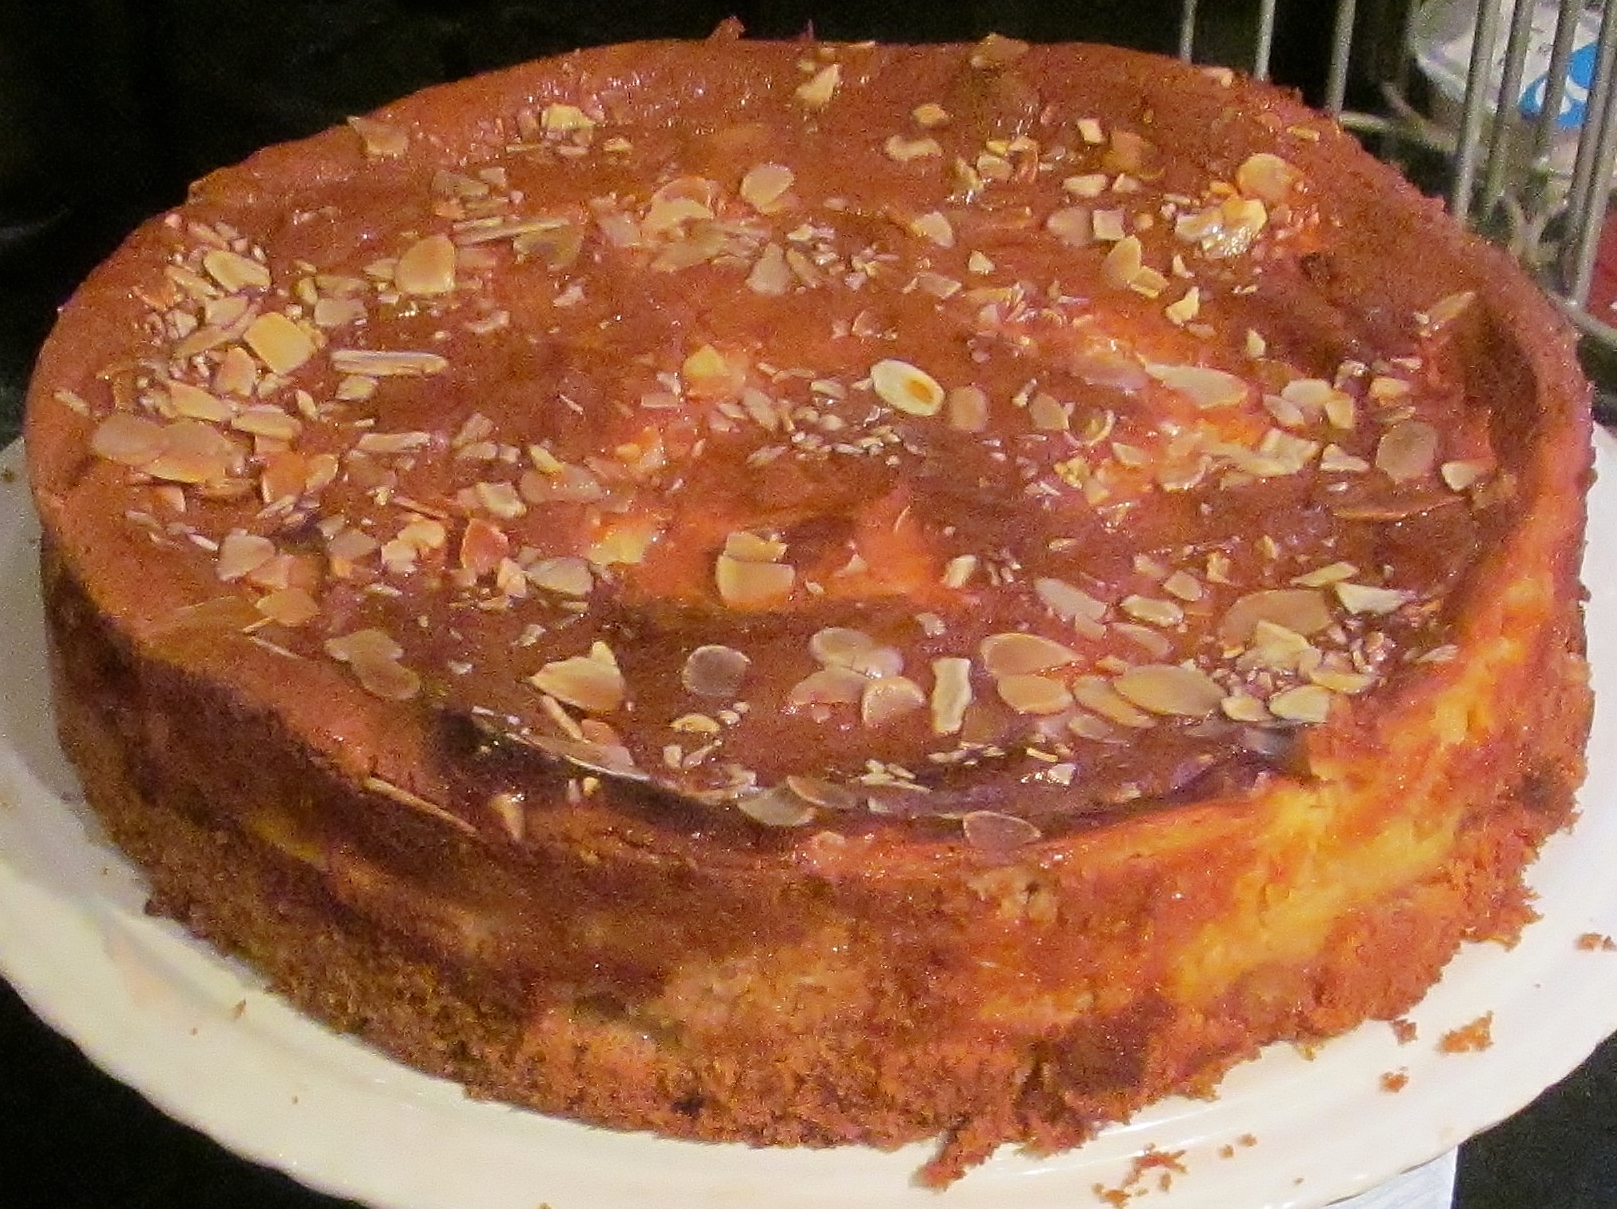
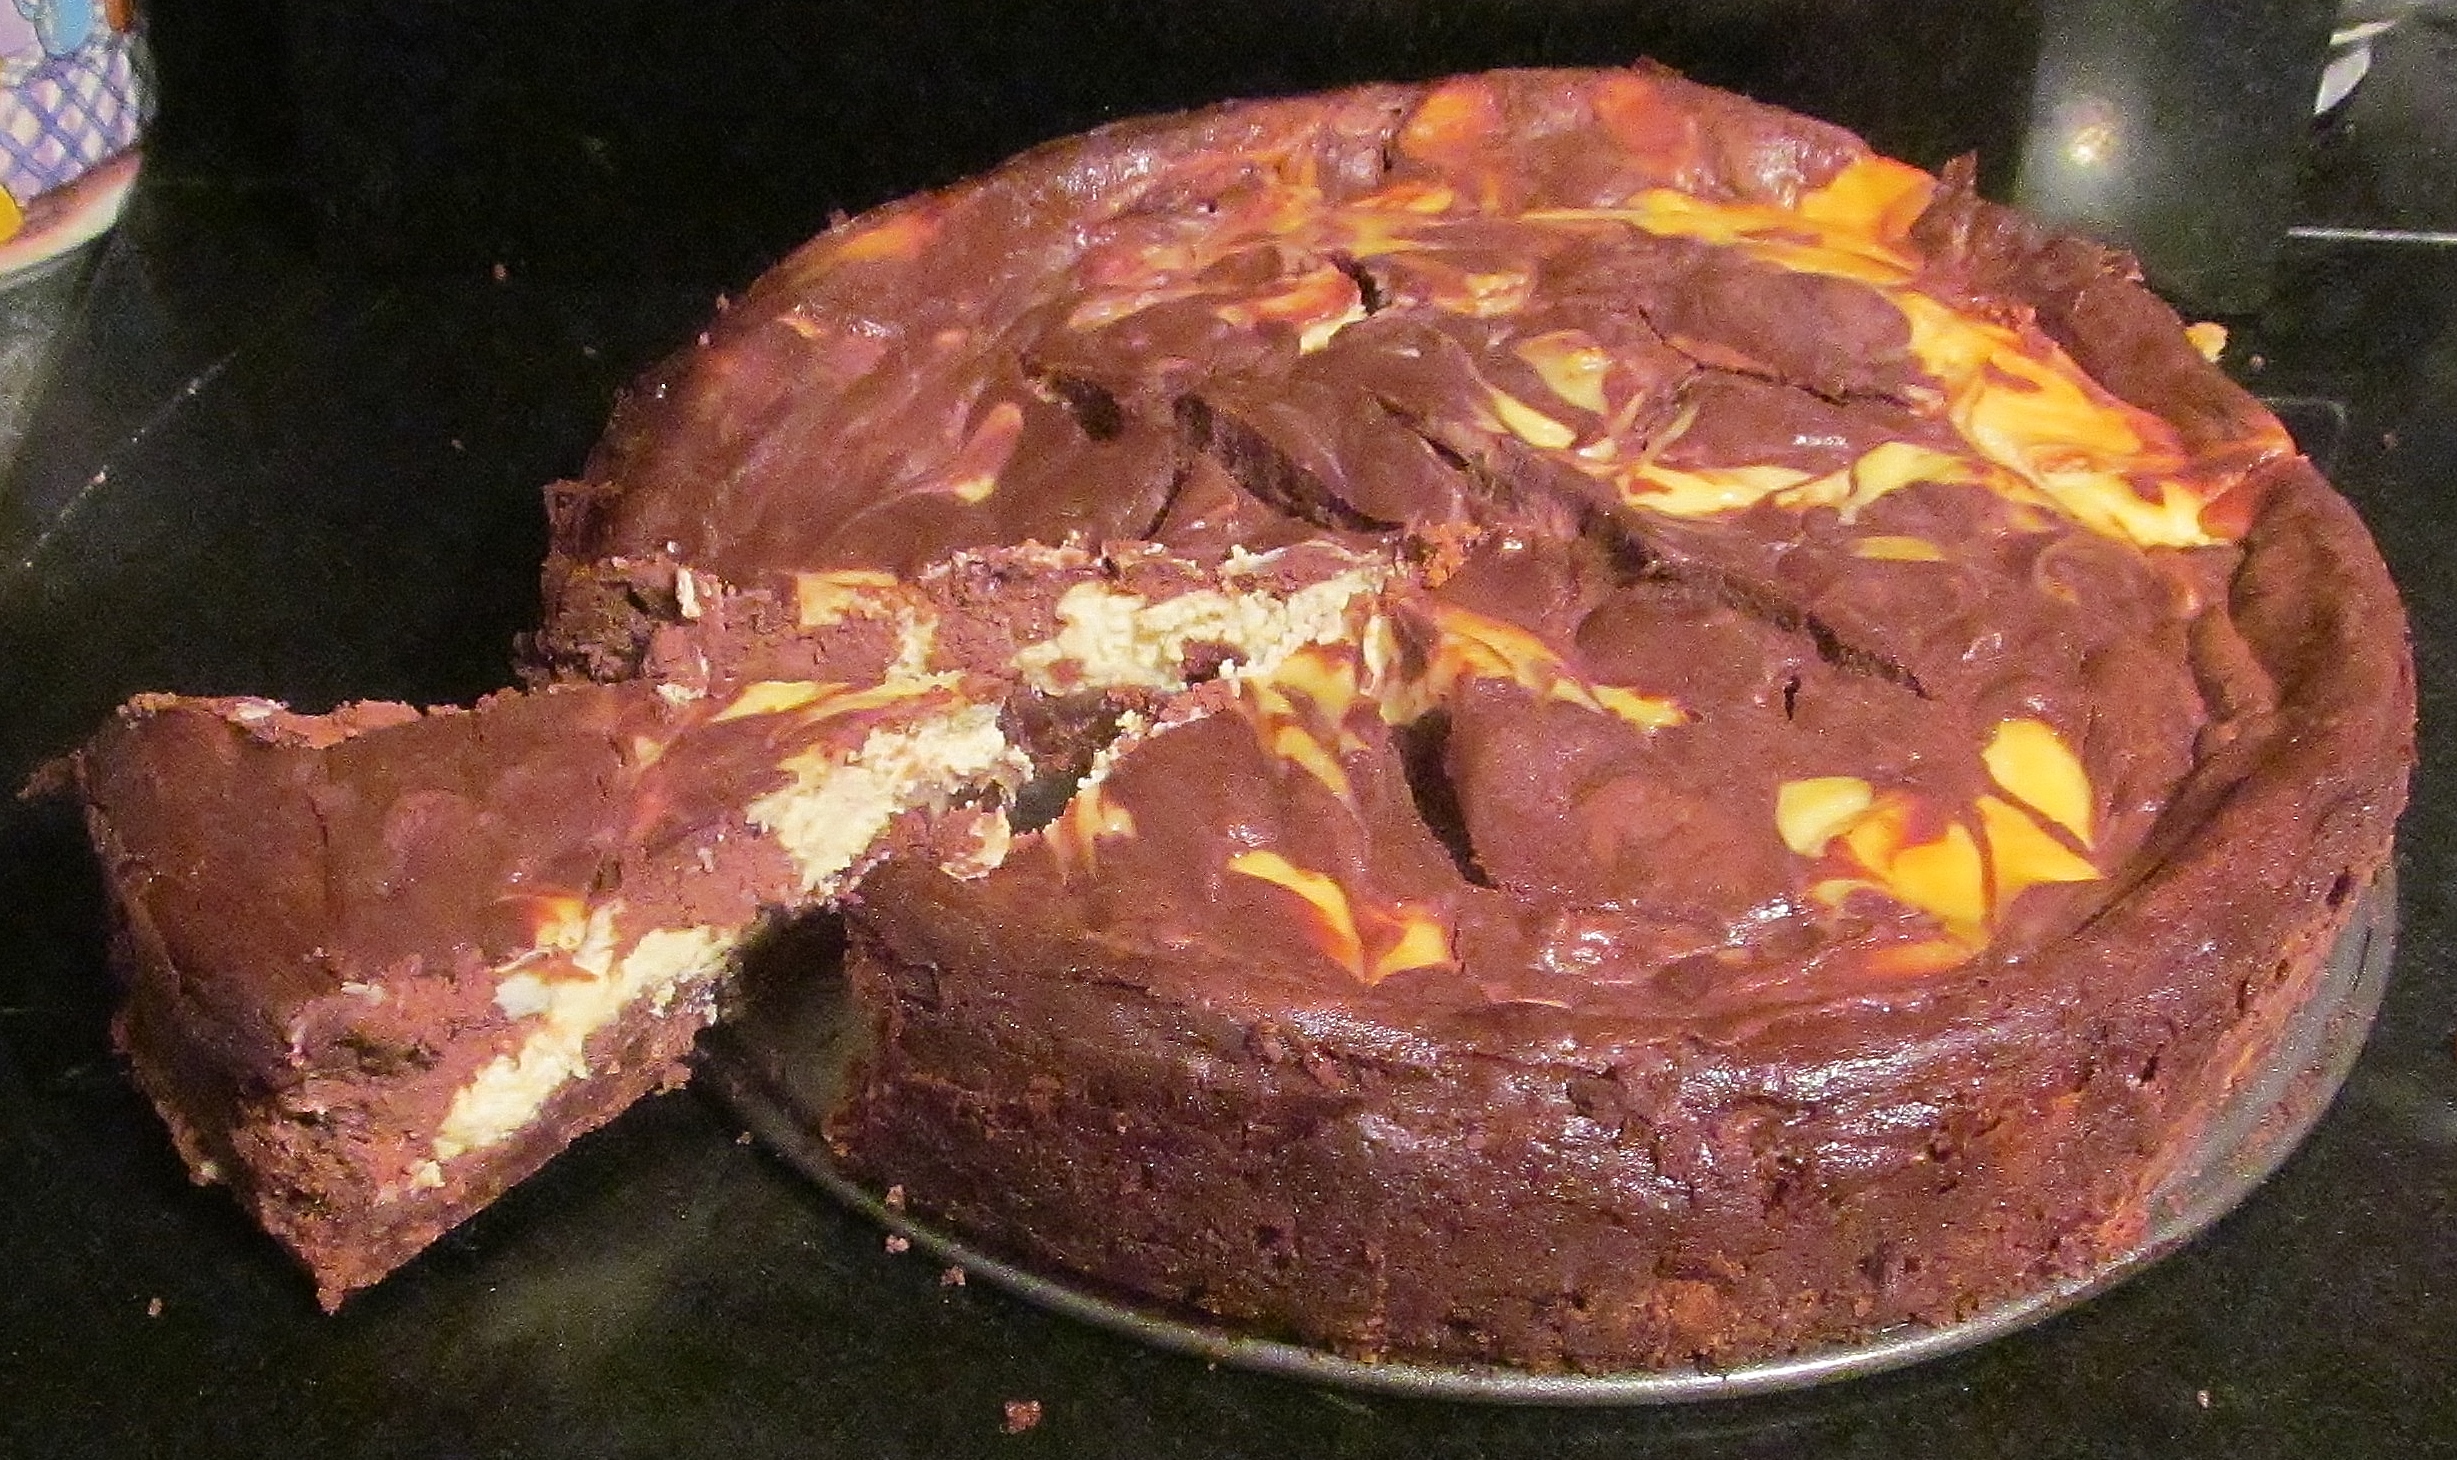
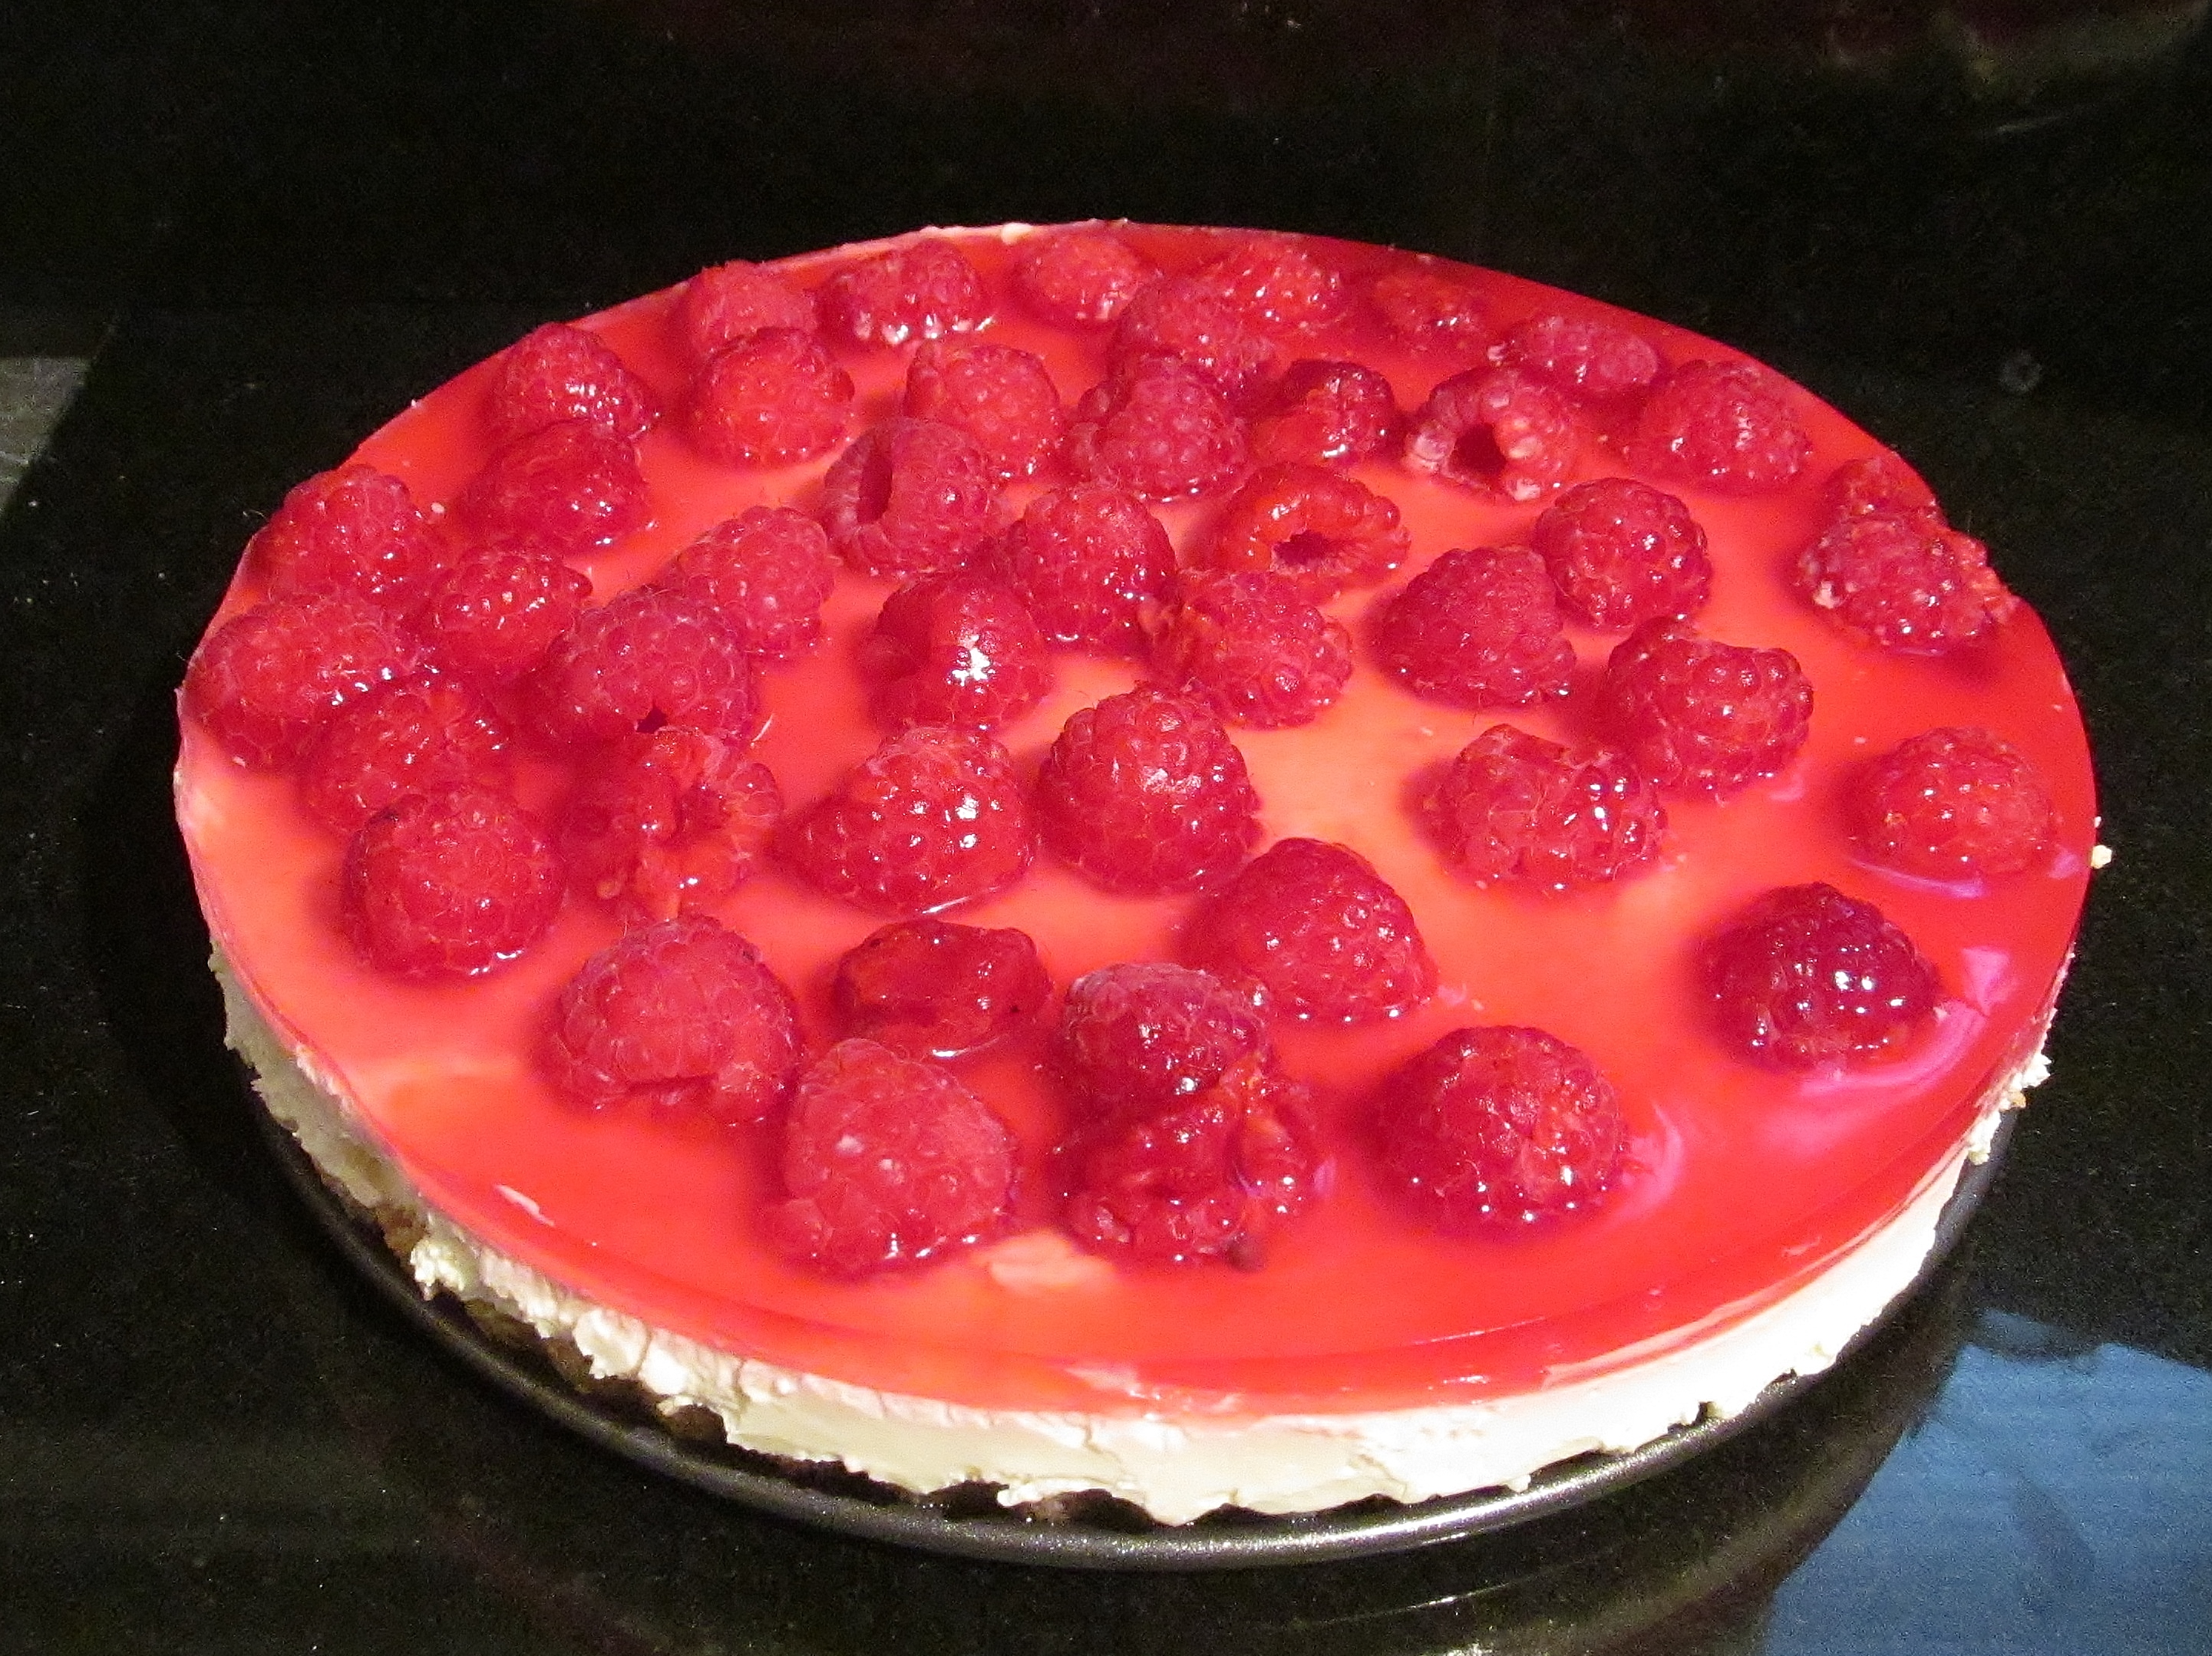
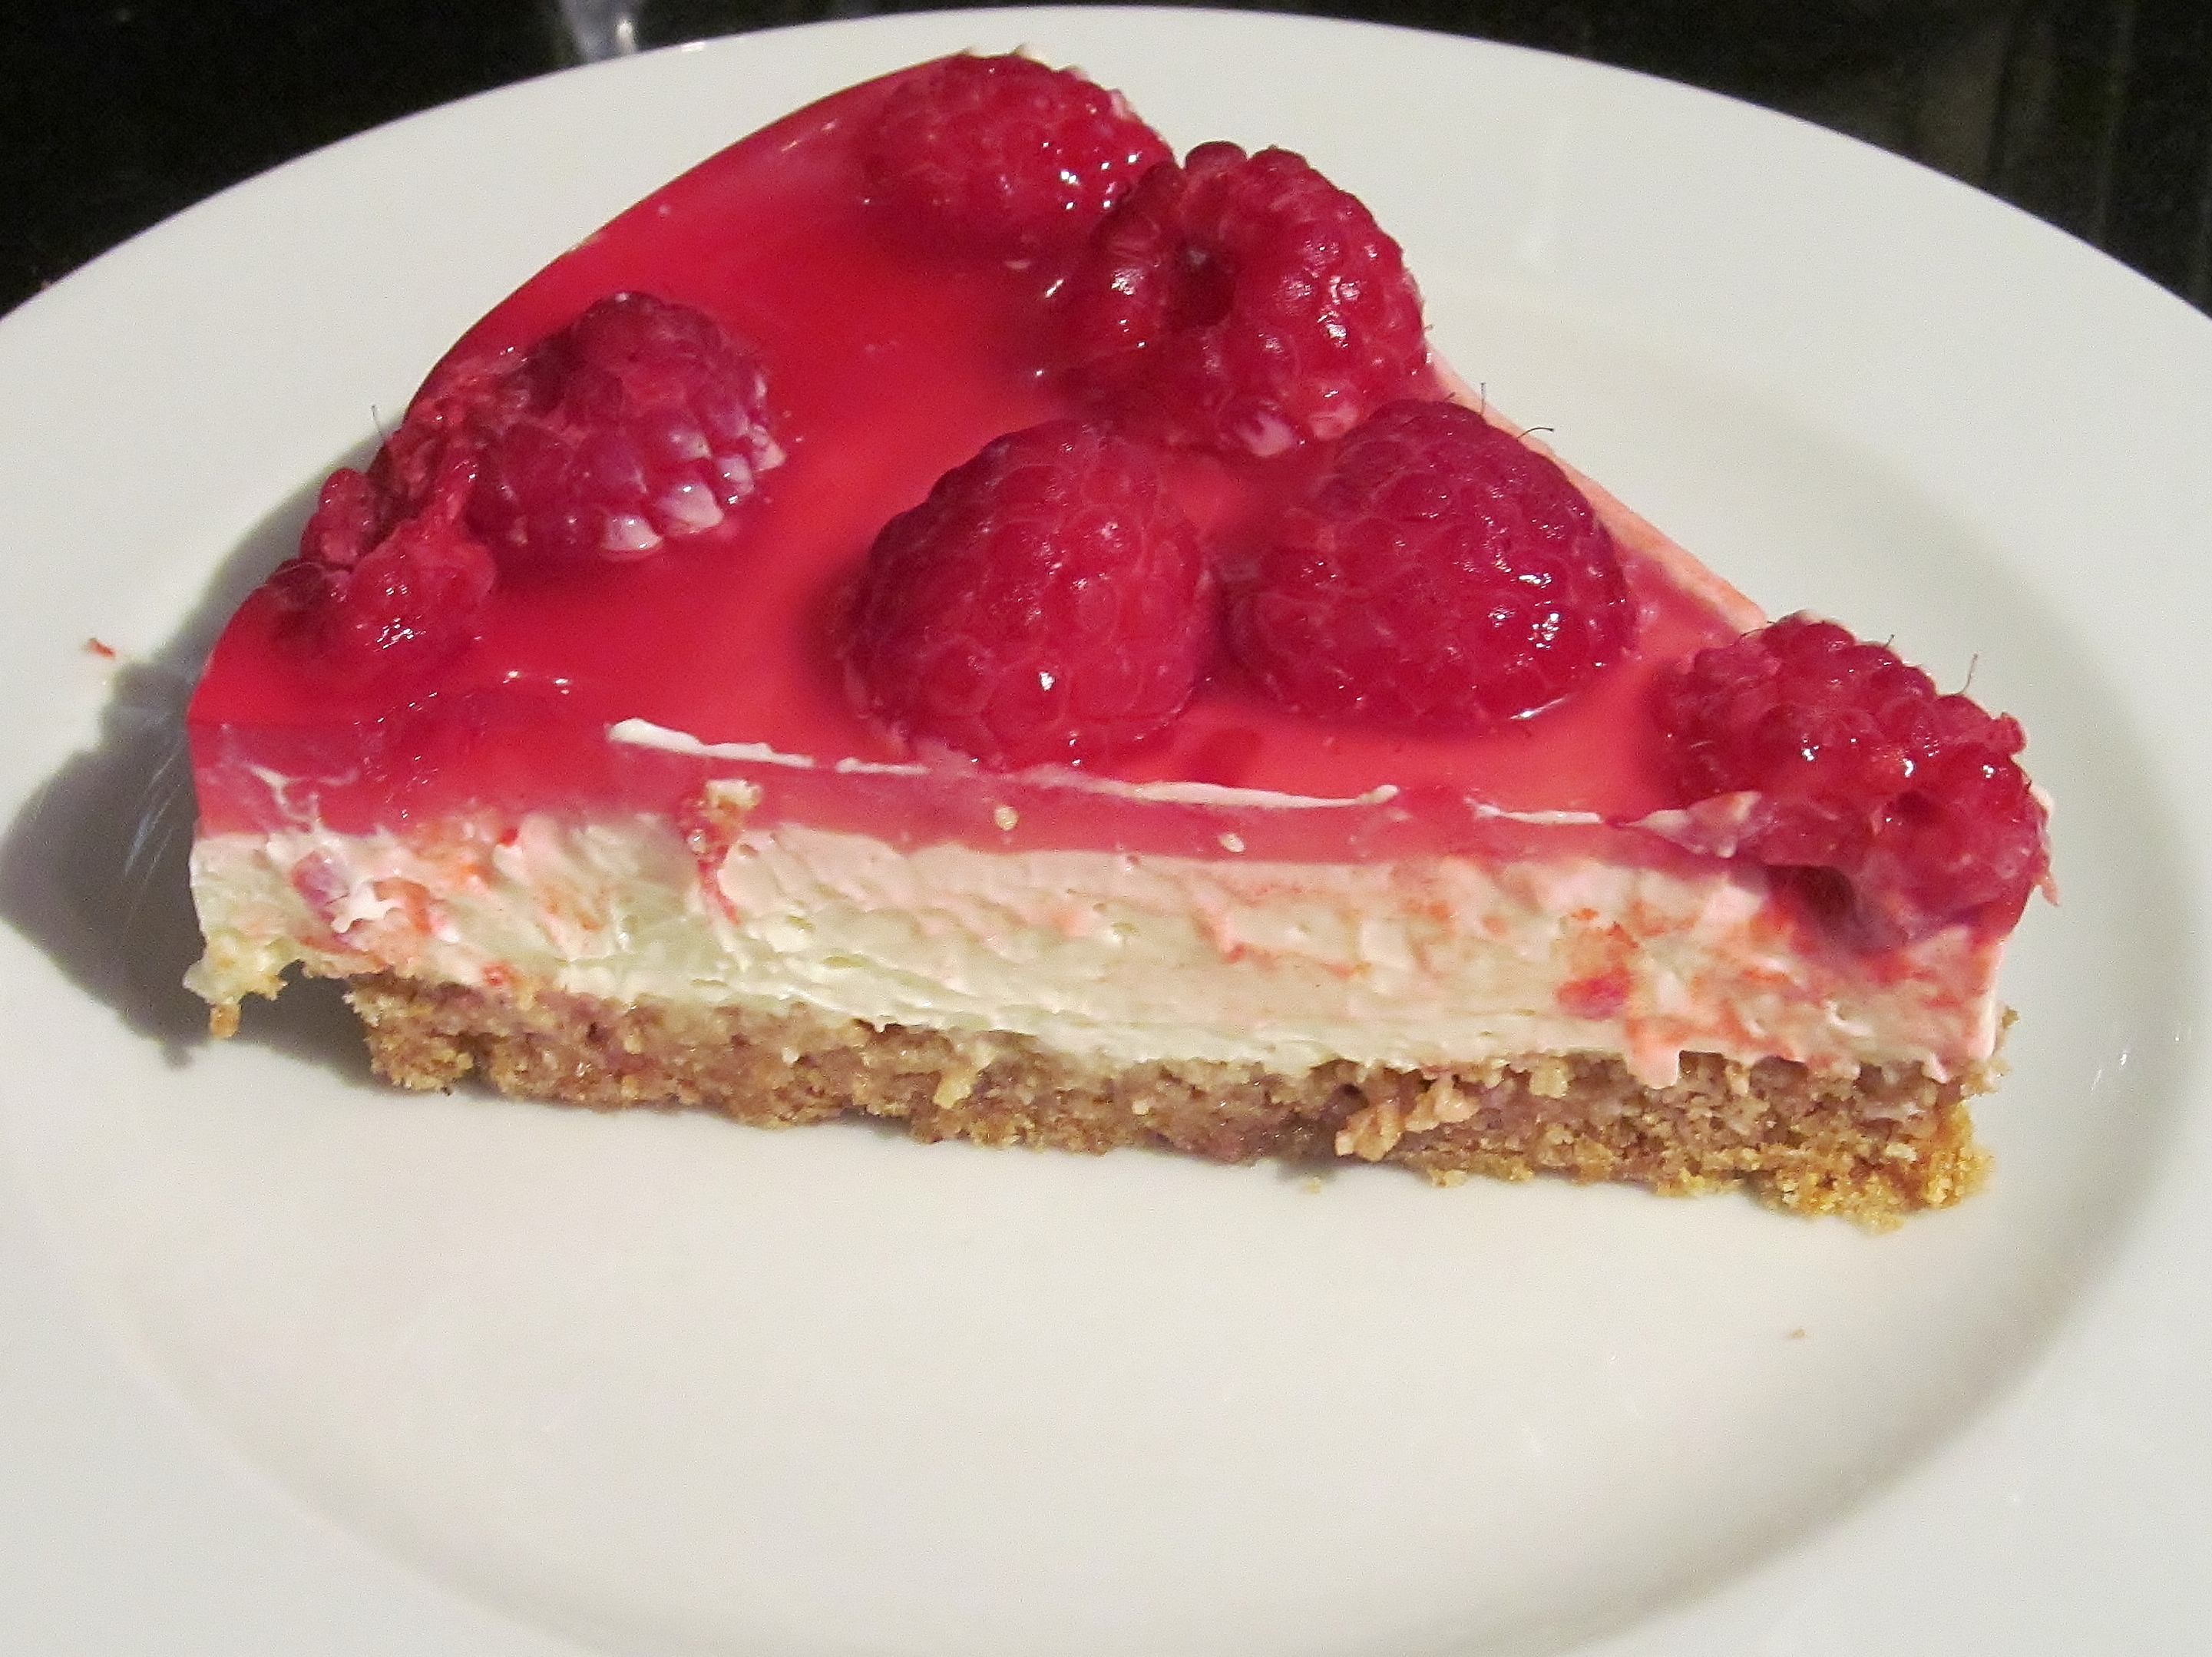
I began with the cheesecake as this a cooked cheesecake which involves several stages. I made the base first and I know Mary is quite lean on the biscuit and butter for her cheesecakes so I doubled the biscuit and butter amounts and melted the butter while crushing the biscuit for the base. I thought this gave a nice base to the cheescake with no gaps or holes. I put it in the fridge to set. Once it was set, I then set off to make the filling. This involved enormous amounts of ricotta cheese, with butter , sugar, flour, lemon and egg yolks all whisked together. Then fold in whipped cream and whisked egg whites and pour onto the biscuit base and bake for about 1 1/2 hours. When cooked, turn the oven off but leave the cheesecake in the oven for a further hour. Finally remove the cheesecake from the tin and decorate with cream and summer fruits.

Kim's continental cheesecake

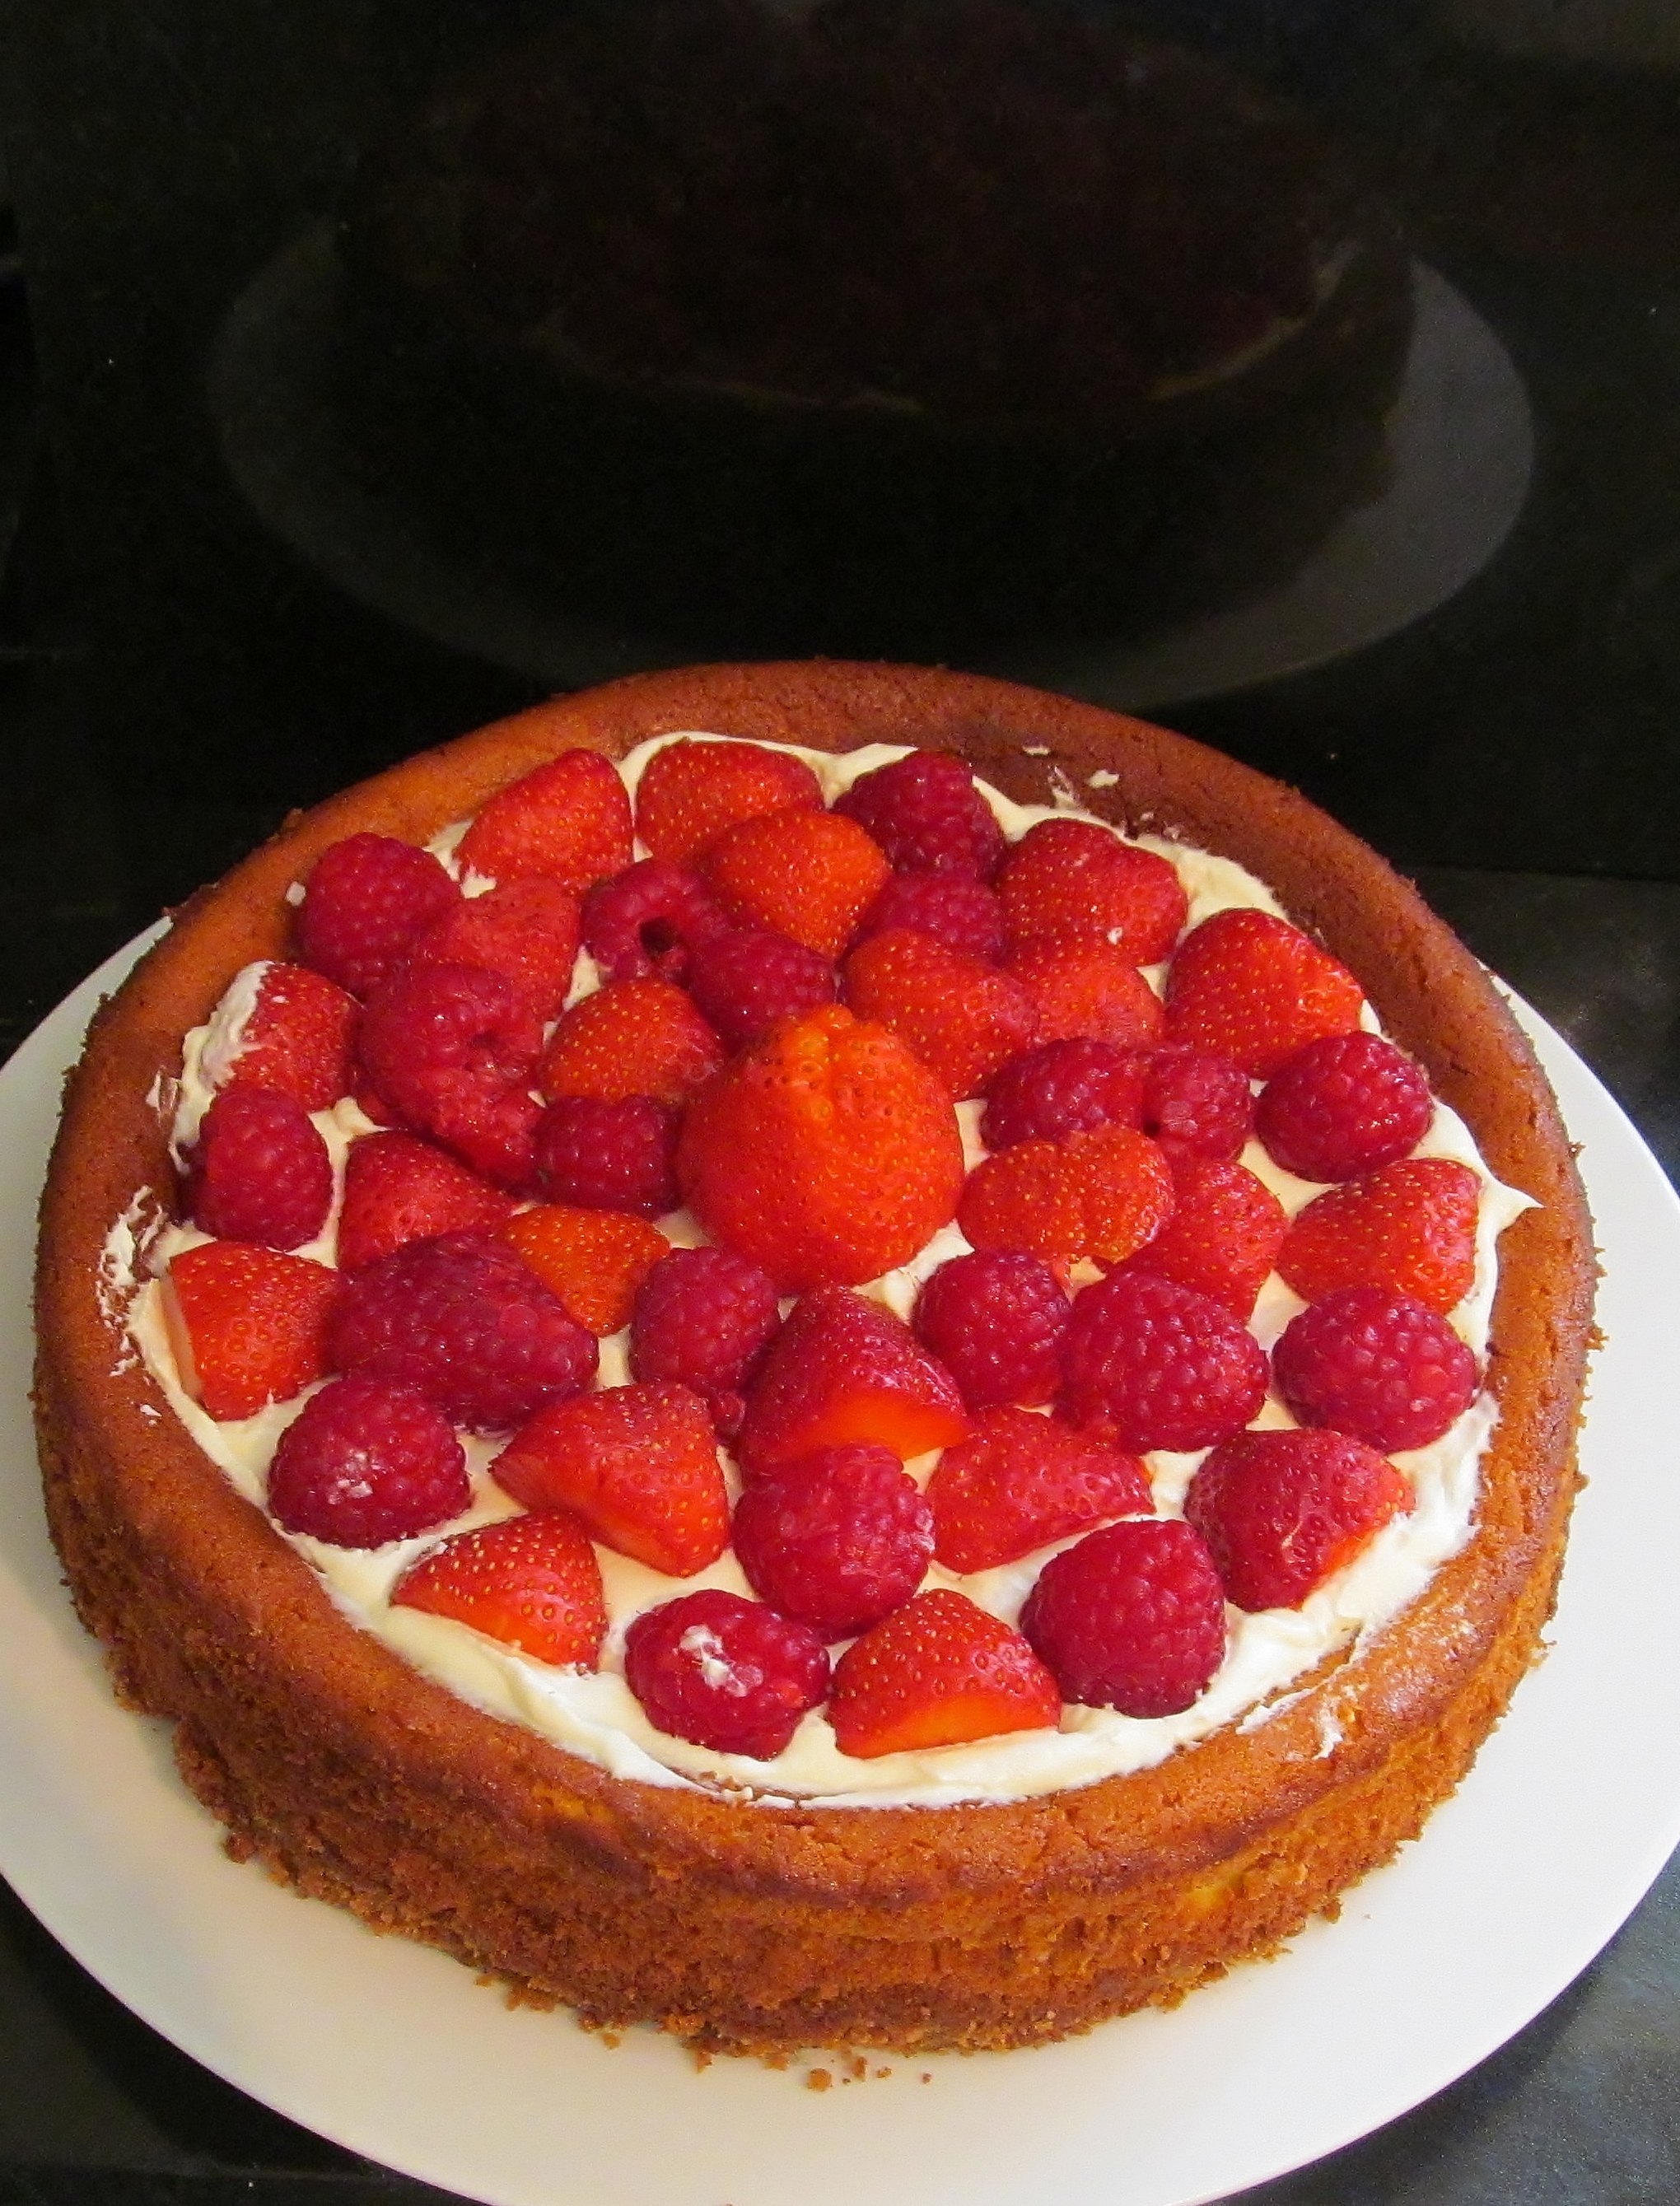
The recipe actually called for cooking some redcurrants, blackcurrants and blackberries in 2 tablespoons of water and sweeten to taste and then blend some arrowroot with some cold water and add the fruit and allow to thicken. I chose to keep mine simple with cream, strawberries and raspberries. We haven’t been overly keen on baked fruit cakes but this one was quite nice and would be nice possibly to do again.

Mary Berry's walnut layer cake

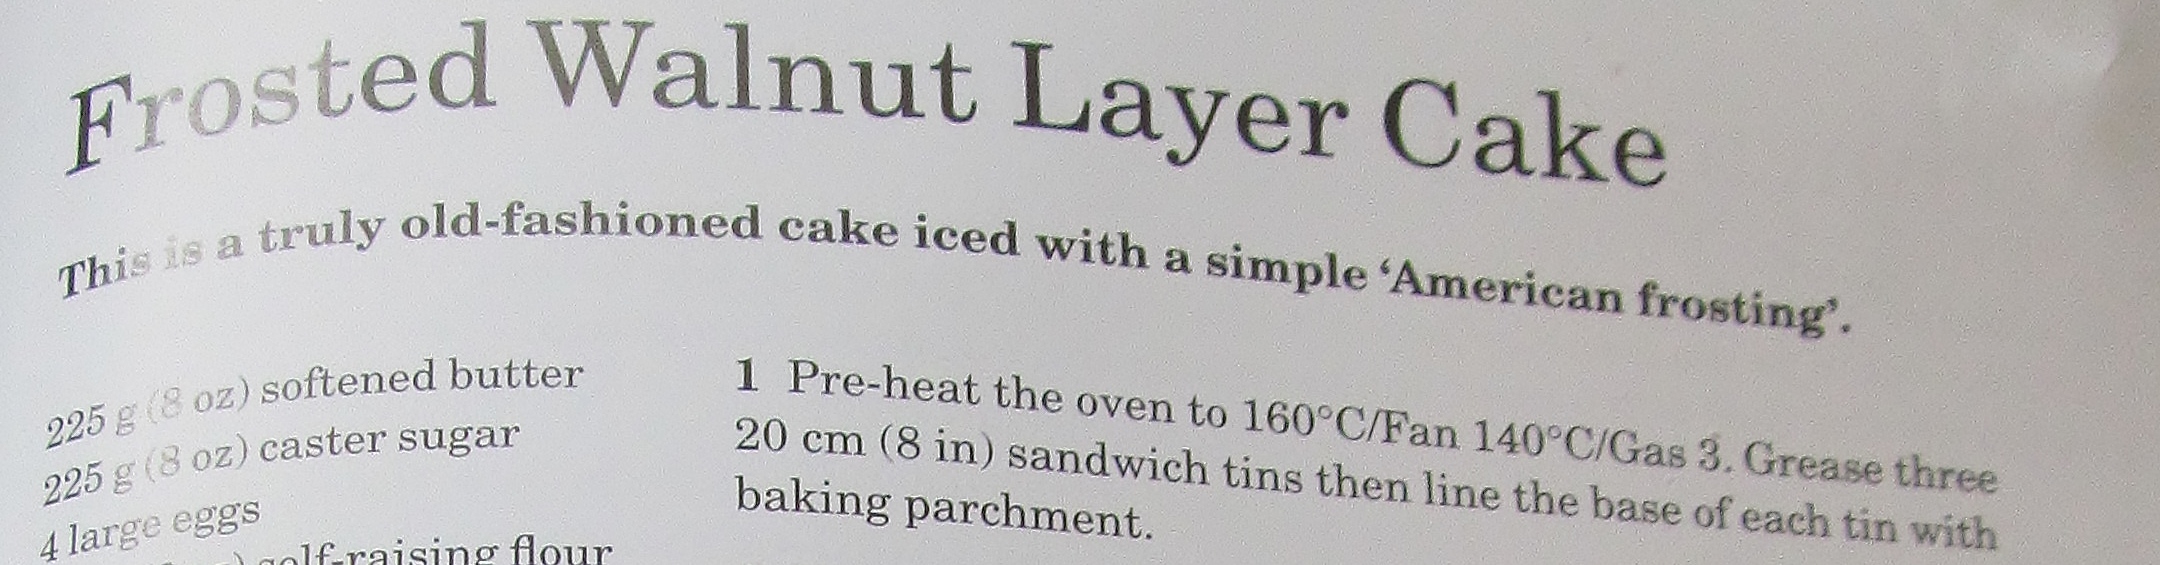
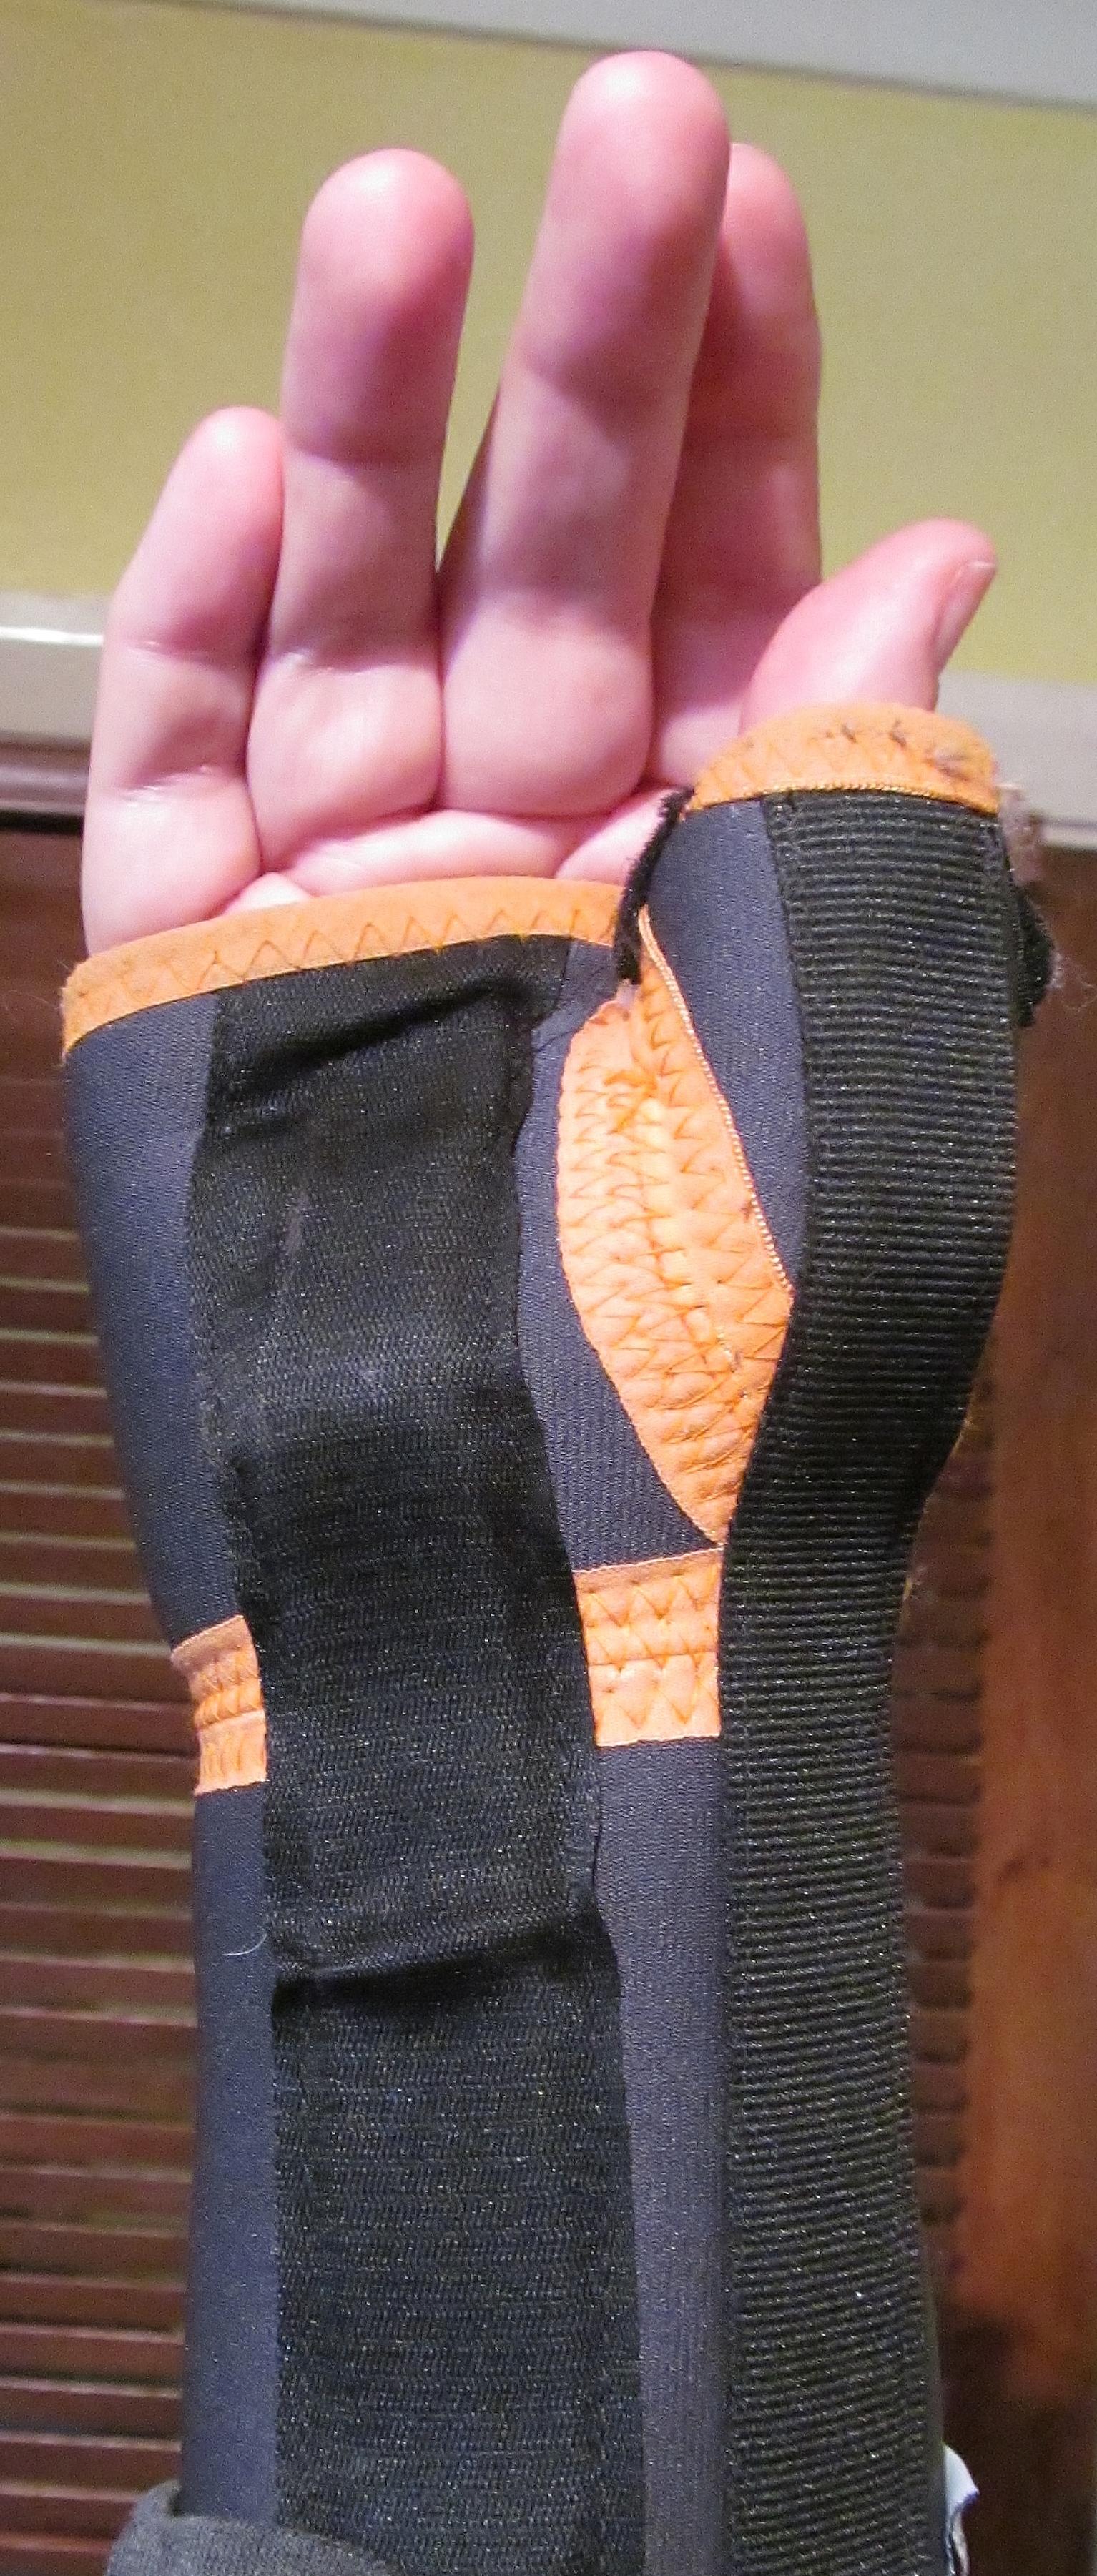
The second recipe was the frosted walnut layer cake. The initial sponge cake was one of Mary’s easy throw everything in a bowl and mix cakes – one of my favourites! Pour into the sandwich tins and bake. Once cooled prepare the frosting. This is where is got a little more complex!  Mary asks you to put all the frosting ingredients in a bowl and whisk over a pan of hot water – FOR 10-12 MINUTES!! My poor hand mixer was definately pushed to it’s limits of endurance, as was my wrist! Once the mix forms little peaks, sandwich the layers together with the frosting and then cover the top and sides with it, putting little peaks on the top and decorate with walnuts. Mary tells you to work quickly as the icing sets rapidly.

Kim's walnut layer cake

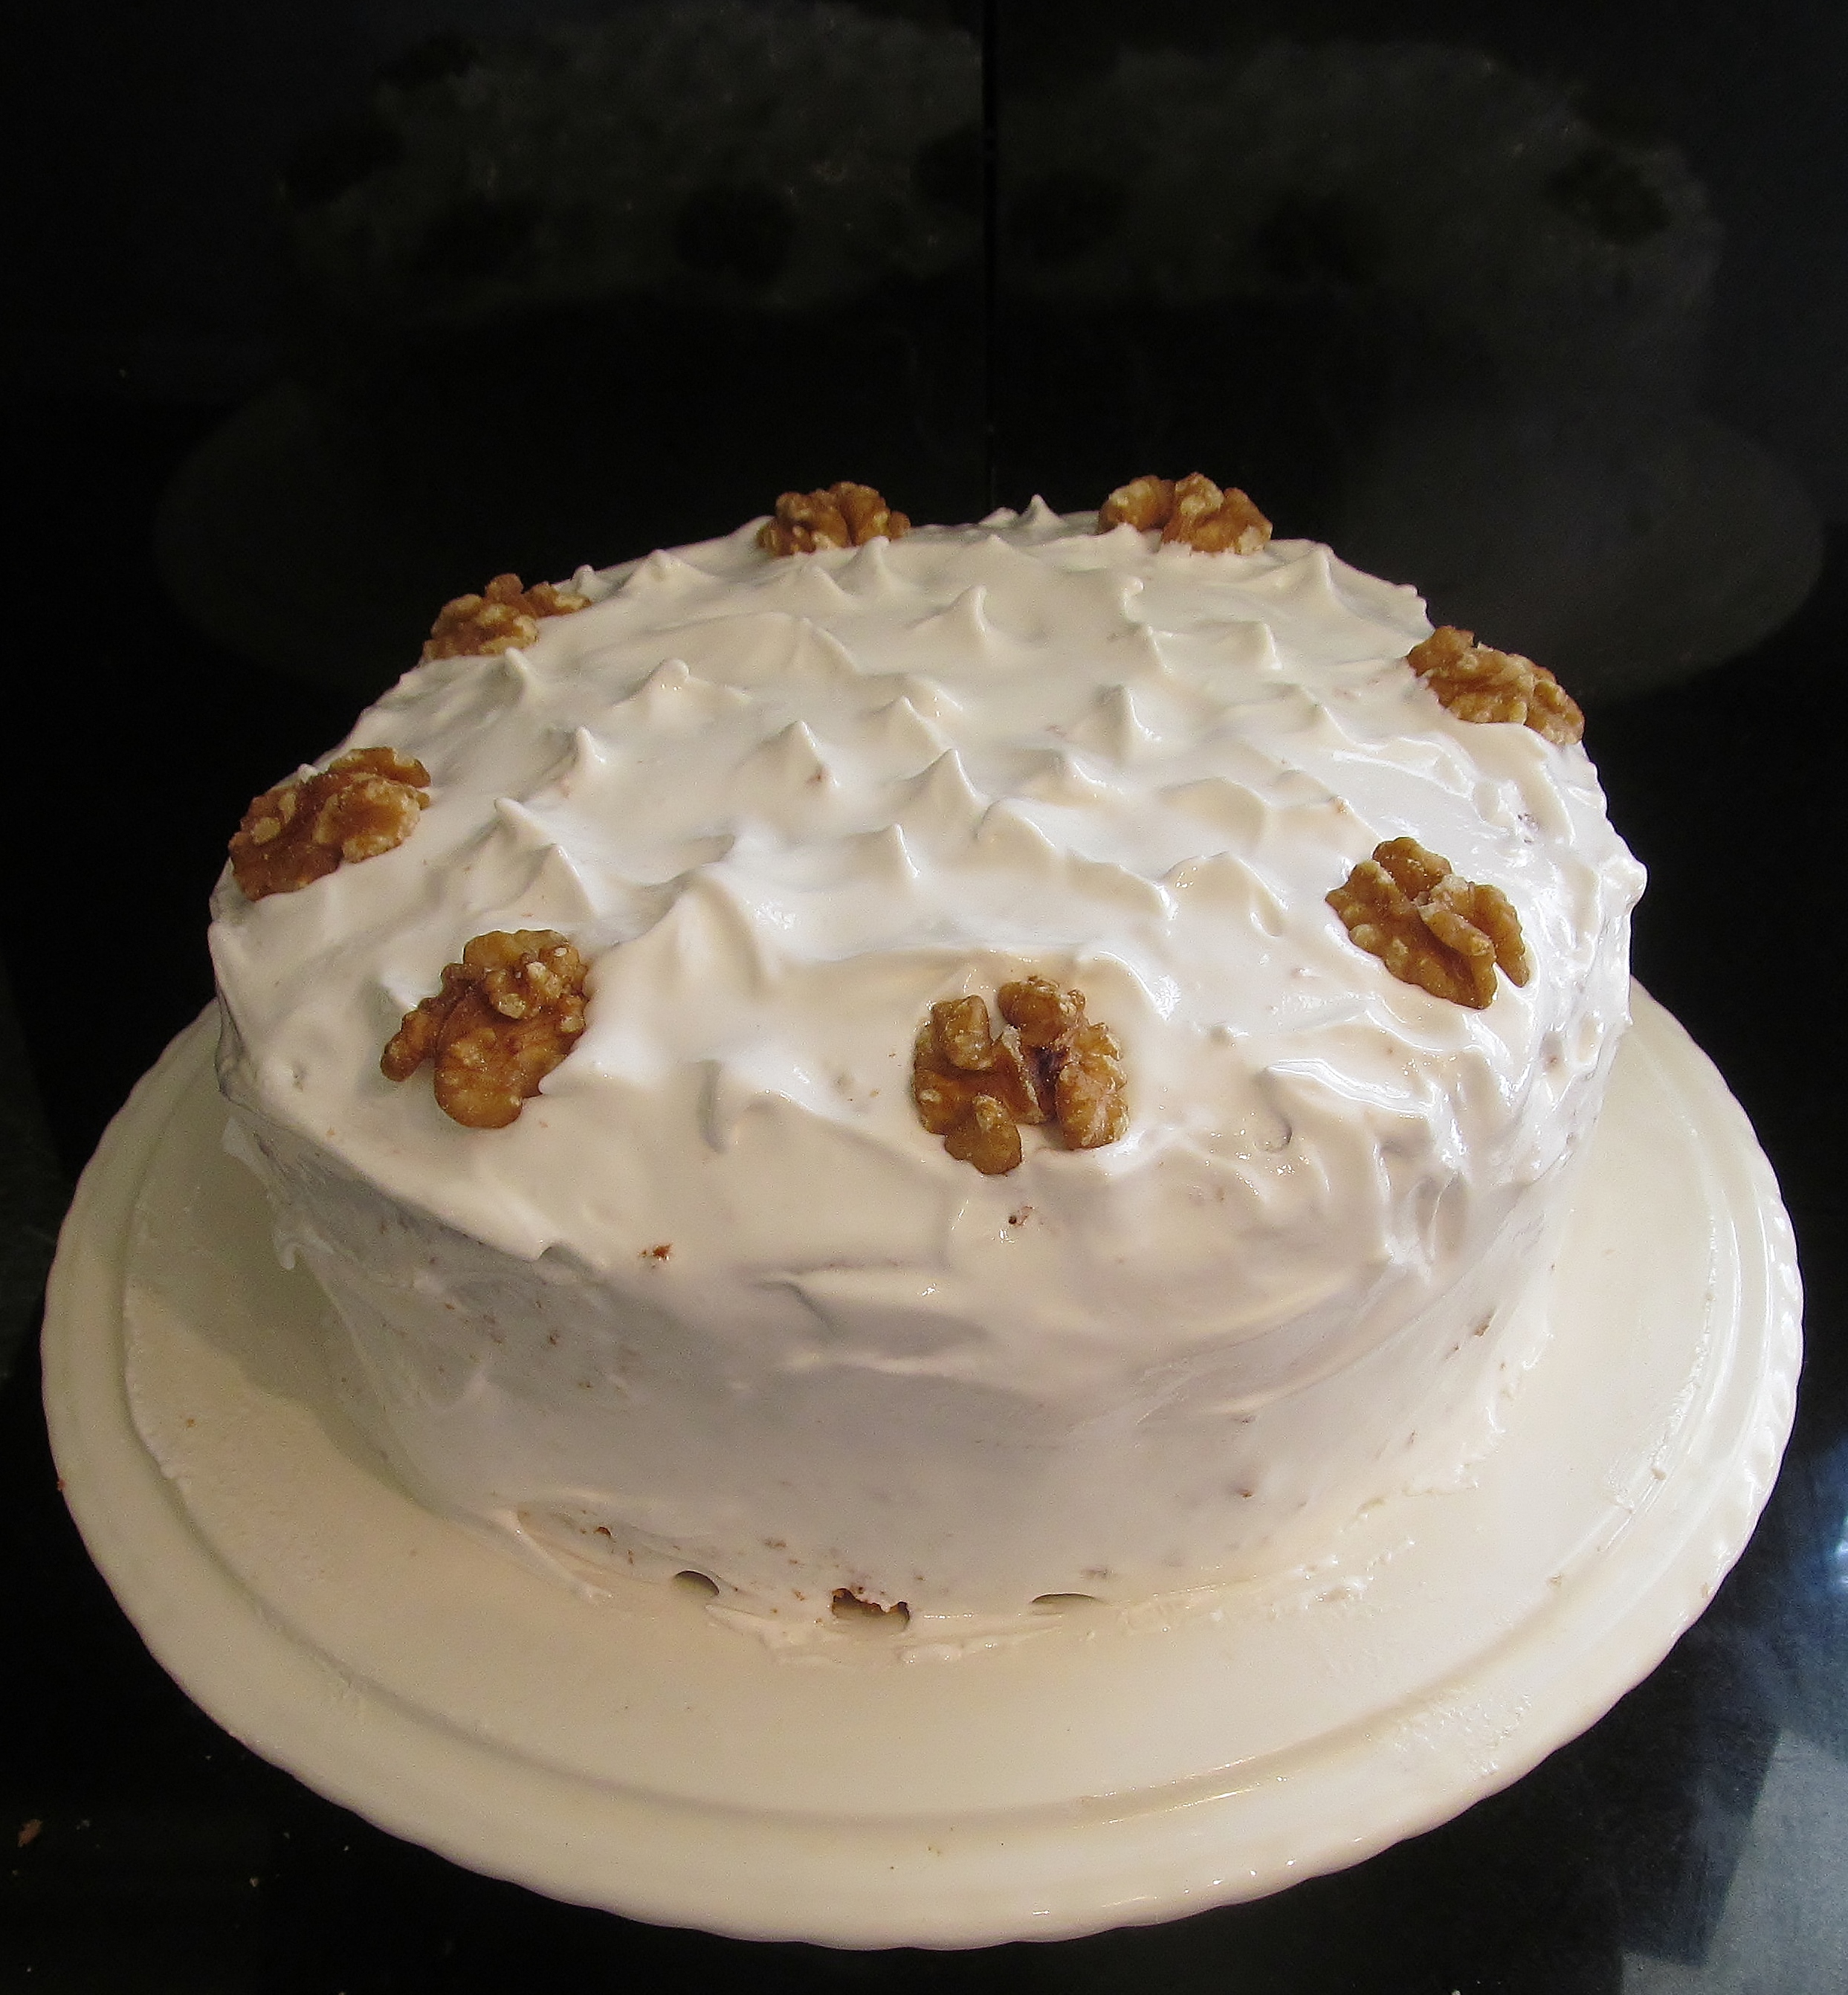
Leave the cake to set in a cool place and enjoy! This was a yummy cake and definately one I would make again.

The countdown has now reached another milestone now …… so near and yet……

20

Week One Hundred & Thirteen – Mary Berry’s Buttermilk & Honey Cheesecake

Week 113 and I decided to choose just one recipe this week as I was very conscious that I had an uneven number of bakes left so I decided to even it up by doing just one bake this week, at least that was the theory! I delved into Mary Berry‘s Baking Bible and chose one of the few cheesecakes left. I hadn’t been overly keen on the last baked cheesecake I made but hoped that this one would be more to our taste.

Mary Berry's Buttermilk & Honey Cheesecake

Mary asks you to buy a flan base from the supermarket for the base and use this to line the base of a springform tin. This certainly cut down on the preparation and I am all for making life easier when baking! I then followed Mary’s instructions for the topping and poured it onto the flan case bottom and put it into bake. I had never used buttermilk before but as Mary advises in her book, you should be able to find this with the creams in the supermarket, and she was right. I set the timer and did the usual weekend stuff…housework, dog walking, baking, the usual multi tasking and juggling!

multitasking

housework

When the timer pinged, I brought out the cheesecake and allowed it to cool thoroughly before removing it from the springform tin. It looked more like a cheesecake than the last one I had attempted and it definitely tasted better but we still found it quite dense and filling so another recipe to add to the not to be repeated list!

Kim's Buttermilk & Honey Cheesecake

People have been asking me what I will do when I have completed this challenge. I have given this a lot of thought and I have to say that it will be nice to bake something because I want to or it’s what I fancy rather than having to complete the challenge I set for myself. I probably won’t bake every week , I will use the time to improve my photography , or set some more time aside for my artwork which I very much enjoy but never seem to have the time to do anything of worth.

So, having completed just one recipe this week, the number of recipes left to go is …

48

Week One Hundred & Eight – Mary Berry’s Cheese & Celery Crown Loaf & Basic White Meringues

Week 108 and I am on track this week with my blog- for a change! This week I delved into Mary Berry‘s Baking Bible with more enthusiasm and found the cheese and celery crown loaf recipe and the basic white meringues. My goal this week was being able to use what ever kitchen gadgets I have to help with my sore hand.

Mary Berry's Cheese & Celery Crown Loaf

I began with Mary Berry’s cheese & celery crown loaf and got out a large bowl. I mixed the flour and the butter together with my hand mixer. I added the pepper, the chopped celery and the garlic from my garlic roller.

Kim's garlic roller

I then added the cheese from my electric grater! I stirred these together and then added the milk and the beaten egg. I added the dough hooks to my mixer and mixed it until I had a lovely dough mix.

cheats grating

Mary suggests you either knead the dough lightly into a neat round and put on a baking tray or divide the dough into 12 pieces and roll each piece into a ball. Place the balls into a greased cake tin , sprinkle with grated cheese and bake for about 40 minutes.

Prepared cake tin

This worked well for me and the finished crown loaf looked good and smelt amazing. I have managed to make a loaf without hurting my hand and this week my hand has been recovering in this brace which keeps it still so that the ligaments can heal with the occasional break for some physio so that I retain full movement.

Kim's sore hand

The second recipe was Mary Berry’s basic white meringues. I had to find some recipes this week that hubby could also eat- he had minor surgery in his mouth on his jaw and has had a liquid diet for a while. I thought the meringues with some ice cream might tempt him!

This recipe needed 3 egg whites so i used my egg separator to do this and save my hand and then my hand mixer to beat the egg white until thick and glossy.

Kim's egg separator

I then added the sugar , a little at a time , continuing to beat with the mixer until all the sugar was in. Mary then asks you to add the mix into an icing bag.One tip I have found really useful is to buy disposable icing bags, really easy to find now.

Kim's disposable icing bags

I then use a large glass to hold the bag open so that you can put the mixture into the bag really easily.

Kim's icing bag holder

I then piped small rounds as per Mary’s instructions and put the meringues in to bake for about 1 1/2 hours. I then left the oven door open while turning the oven off to allow the meringues to cool.

Kim's meringues

Hubby has yet to sample the meringues but hopefully they will be tasty with some ice cream. Hope you feel better soon hubby. xx

get well


The countdown continues and now there are 56 recipes left to go…..


Week Ninety Nine – Mary Berry’s Orange Drop Scones & American Chocolate Ripple Cheesecake

Week 99 – wow it’s almost 100 blogs for this Mary Berry challenge and I am still a way to go yet- I take my hat off to Anneliese who completed her “Rising to the Berry” challenge that inspired me in just 18 months! When I begin to flag or get a bit despondent, I read the original article about her and I remember what inspired me to start this path.

Any how, on this week’s dip into Mary Berry’s Baking Bible, I found the orange drop scones and the American chocolate ripple cheesecake. I started at the weekend with the orange drop scones which were a breeze to make. Mary’s recipe for these is easy to follow and mix and I halved the recipe as this was just going to be brunch for hubby and I.

Mary Berry's Orange Drop Scones


I heated my ceramic frying pan and poured spoons of the mixture in, about three at a time. I gave each one a few minutes and flipped them over. You could smell the orange in them as they were cooking. Soon enough, Hubby and I had 5 or 6 each in the middle of a plate and we enjoyed them with some butter and maple syrup- yum!

Kim's orange drop scones

The second recipe I chose was the American chocolate ripple cheesecake which is a baked cheesecake. The recipe is a staged recipe in that you begin by putting some dark chocolate digestives in a bag and crush them, melt some butter, add the crushed digestives, mix well and press into the base of a loose bottomed tin. I always think Mary skimps on this part so as usual I topped up the base with some more crushed biscuit and butter mix. I then put this in the fridge to set.

Mary Berry's American Chocolate Ripple Cheesecake

Mary then asks you to beat the cheese mix until soft and melt the chocolate. Put half of the cheesecake mix in blobs on the cheesecake base and add the chocolate to the other half and mix well. Add this to the base in between the white mix and then use a spoon to swirl it around so it has a rippled effect. Bake as per the recipe and don’t worry that the cheese cake cracks when it cools , Mary warns you about this. Keep the cheesecake in the fridge . It is very rich and you will only want a small slice but it is best eaten as fresh as possible.

Kim's American Chocolate Ripple Cheesecake


Week Eighty Six – Mary Berry’s Mushroom & Garlic Stuffed Picnic Loaf & Cheese Straws

Week eighty six and I thought I would be a little adventurous this week and attempt something with yeast! I delved into Mary Berry’s Baking Bible and found the mushroom and garlic stuffed picnic loaf and to complete the savoury theme, cheese straws to compliment.

I made the bread dough as per Mary’s instructions and left it to rise or prove for two hour. With the lovely weather we have been having, this wasn’t an issue for me this time! I read the recipe carefully and Mary suggests either making one whole loaf that is stuffed or rolls so I opted for rolls as they are shared more easily.

Mary Berry's Mushroom & Garlic stuffed picnic loaf

The only issue I had was following the instructions for filling and folding the dough which proved to be tricky as it isn’t a sealed loaf. I added the filling and molded, coaxed, prodded and poked the dough until it resembled a roll rather than a wreck and left them to prove for a while longer. Then finally they went into the oven for about 15 minutes. When they came out, I had to brush them with some of the mushroom oil from the recipe and leave them to cool.

Kim's mushroom & garlic stuffed picnic loaf

The second recipe was for cheese straws. This was an easy dough to put together and then wrap in clingfilm for half an hour. Time ran out and the dough wasn’t used until the following day and needed to be worked a bit as it was a solid block!

Mary Berry's Cheese Straws

I rolled it out and cut the dough into straws and brushed them with egg and sprinkled with fresh Parmesan cheese. Into the oven they went for a short while until golden and brown.

Kim's cheese straws.

I have been trying to catch up with the Celebrity Master Chef – the episodes are currently stacked up ready to watch but I was pleasantly surprised to see how well Wayne Sleep did and how much he learned in such a short space of time.

I treated my kitchen this week too. I have seen some wall signs where the words are transferred directly onto the wall and found a lovely kitchen sign that reflected my love of baking! It was a bit of a pain to put up but worth it and I love it!

Kim's kitchen sign

Week Seventy Nine – Mary Berry’s English Muffins & Rich Cheesy Biscuits

Week seventy nine and all birthday celebrations had been put to bed so what to choose this week? I delved into Mary Berry’s Baking Bible with less enthusiasm than usual as I felt we were all a bit “caked out” and needed something more savoury this week.

I found the English muffin recipe which I decided to give a go and no, no bread machine in sight this week, these little delights would be made by my own fair hands! I got up fairly early on Saturday and weighed all the dry ingredients into the bowl as per Mary’s instructions. Mary then suggests that you add the tepid milk gradually using a food mixer with dough hooks to help. I was pleased about this as I didn’t think I would have the strength to mix this by hand at the moment. (My recovery is going well but I am not back to full strength just yet). The dough came together nicely and I lightly floured my work top and rolled the dough out and used a 3″ cutter to cut the muffins out. I placed the muffins onto a floured tray, dusted the top with semolina and covered the tray with a large plastic bag. I left the tray on top of my cooker. Mary suggests leaving them for an hour to rise. I used fresh yeast but I ended up leaving mine for about an hour and a half as my kitchen doesn’t seem to be the optimum place for dough rising! Finally Mary suggests you use a griddle or heavy based saucepan- I only had a large saucepan and heat it and place the muffins in it in batches for about 7 minutes each side until they have a nice brown colour and have risen well again.

Mary Berry's English Muffins

I was gobsmacked at how well they turned out- I , for the first time felt like a “proper” baker this week and I was really chuffed with them. I phoned my official taster who came and collected some still fresh from the oven and between that batch and what we had left over, they didn’t last beyond the end of the day- yum yum!

Kim's English Muffins

The second recipe was Mary’s rich cheesy biscuits. Mary asks you to put all the dry ingredients in a bowl and then add the butter and rub it in so that the mix resembles breadcrumbs. My other mum recently treated me to the new Lurpack  cook range and I used the butter which can be used straight from the fridge and is still soft enough to cook with. It rubbed in beautifully. Mary then asks you to beat the eggs together and add most of the egg to the mix to create a dough and have some left to glaze the biscuits. When the dough has come together, Mary tells you to wrap the dough in cling film and pop it in the fridge for about 15 minutes. Mine was in the fridge a little bit longer as I then popped out to go and pay the ransom demand for my hubby’s birthday card from my mum from the Post Office – (apparently it was 11p extra than the 1st class stamp she put on it but I had to pay £1.11 ransom to get it !), then I cam home via the supermarket as I had no poppy seeds or sesame seeds which Mary advises to put on there. Like most of my trips to the supermarket, I couldn’t decide on the topping so bought both…and a few other bits while I was in there! Finally I got home, rolled out the dough and used a round cutter to cut my biscuits. I put them on baking trays and glazed them with the left over egg. I then sprinkled half of them with poppy seeds and half with sesame seeds. In the oven they went for about 15 minutes.

Mary Berry's Rich Cheesy Biscuits

They smelt mouth wateringly good and were beautifully crisp from the oven. they had that biscuit snap noise which both Mary and Paul go on and on about in The Great British Bake Off! Funnily enough, these biscuits were divided between us and the official taster and they didn’t last beyond Sunday- but sadly went a little soft in the tin overnight!

Kim's rich cheesy biscuits

This week I was really pleased with my muffins, I couldn’t believe how well they turned out and I will definitely make these again. I have been a bit nervous of anything yeasty but it has given me confidence to tackle the rest of Mary’s bread recipes without resorting to the bread machine!

Week Forty Three – Mary Berry’s American Cheesecake

I thought this recipe was going to quick and easy for week forty three but between all the steps needed to make it and the chilling time, we are suddenly in Thursday and the blog won’t write itself! Mary Berry’s American Cheesecake sounded lovely and the base was easy enough, Mary tells you to melt the butter and add crushed digestive biscuits and press into the tin and chill.

Mary Berry's American Cheesecake

The middle section- the cheese of the cheesecake was next. As usual Mary wants full fat soft cheese and full fat greek yoghurt and double cream. Well by now, you know that I will be looking to try and make it slightly healthier so I shopped for low fat soft cheese, fat free greek yoghurt and the usual Elmlea double lite. These all had to be added together and then the juice of one and half lemons had to be added gradually. Pour this mix onto the biscuit base and chill at least overnight.

The final part was to add raspberries to the top of the cheesecake and some redcurrant jelly. Then- you guessed it, allow it to chill and set. I had initially used my trusty flan/quiche tin to make this but quickly realised when I added the cheese layer that the tin wasn’t going to be deep enough for the fruit topping. So I re-read the Mary Berry Baking Bible and she recommends using a spring form tin. Well, the hardship was going to do some retail therapy and buy a tin. Luckily it was only slightly bigger than the quiche tin so it transferred well. All I had to do was press the cheese layer to the edge of the tin so that the fruit topping and jelly didn’t go down the sides.

Kim's American cheesecake

The final cheesecake looked okay, I was pleased with it. I added the ingredients to the app on my phone which works out how many calories per slice…. the cheesecake serves eight, and one slice was THREE HUNDRED AND FORTY SIX calories! God knows what the calorie count would have been if I had used Mary’s full fat ingredients..

American Cheesecake

Week seven – Cheese & Olive Scone ….and a bonus..Chocolate Crispies!

Week seven…and it’s a bit late in publishing, my mum went home and I didn’t feel like baking ….or blogging…but now I’m back in the saddle, so where were we?

I fancied a savoury challenge this week and thought that Mary Berry’s Cheese & Olive Scone fitted the bill. It isn’t like your usual scones in that you don’t cut them out into neat little rounds, the recipe suggests you press it into a rectangular tin and mark it out into sections and bake. That’s what I did.

It mixed easily enough, no hiccups with making the dough and into the oven it went.

I also decided to do a “bonus” recipe, Mary’s bible has a children’s section and there were the old favourites of Chocolate Crispies recipe. Now, I am no “great shakes” in the cooking department, but even I thought that I would feel like a fraud if I devoted a week’s blog and challenge to chocolate crispies on their own…….!

So while I waited for the scone to bake, I mixed up the chocolate crispies and spooned the mixture into the cases. I then put these into the fridge and took out the scone bake.

The recipe said to take it out of the oven after 15 minutes and sprinkle grated parmesan cheese over it and return it to the oven for 5 minutes. I did this and got out the cooling rack ready.

I was really pleased with the way the scone turned out. I allowed it to cool and cut it into sections and put it in an airtight tin. We sampled it the following day with a little butter and even if I do say so myself, it wasn’t half bad!

So what to do next week? Back to something sweet I think………..